Making paper dolls is such a rich way for the kids to really get to know any character they are learning or reading about. It really forces the child to pay attention to specifics such as hair color, facial features, dress style, and habits. It also makes them feel very acquainted to the character after "making" them all afternoon. The familiarity they feel becomes a lasting knowledge of the person. All the more reason to surround your child with books full of characters worth getting to know.
“What kind of books? "Sories that make for wonder. Stories that make for laughter. Stories that stir one within with an understanding of the true natures of courage, of love, of beauty. Stories that make one tingle with high adventure, with daring, with grim determination, with the capacity of seeing danger through to the end. Stories that bring our minds to kneel in reverence; stories that show the tenderness of true mercy, the strength of loyalty, the unmawkish respect for what is good.”
― Gladys M. Hunt, Honey for a Child's Heart
When we were still a part of a homeschool co-op, Ginger learned how to make paper dolls. It was a craft that went along with a book they read in first grade, "The Prince and the Pauper" by Mark Twain. She kept those paper dolls in a little brown paper bag fixed into her notebook and fondly visited those paper dolls often. Every now and then she adds to her collection of characters, usually from history readings or favorite story personalities.

How to Paper Doll Like a Pro:
1) Find a template you like. (I've included one at the bottom of this post) Print it out on thick paper and cut out.
2) Decide what character (fictional, historical, or totally made up) and gather supplies to inspire your vision.
3) Draw on a face.
4) Yarn makes great hair. Ginger has had lots of fun designing new yarn hair styles.
5) For clothes you can draw directly on the paper doll, you can cut out clothes to stick onto your paper doll, using paper, tissue, fabric, etc. Also here is where the sky is the limit as far as accessories and embellishments. Just grab all your craft supplies and go crazy!
It's been so fun to watch Ginger's paper doll making skills grow the more she makes them, and I always remind her to write her name, the date, and the name of her character on the back of her paper doll so that when we look back through them, we're reminded of these times.


The Doll ginger is making today was inspired by our history reading about the first settlers of North America from England and how they met Pocahontas and her family. Pocahontas by the D'Aulaire's is a beautiful book for inpsiration.
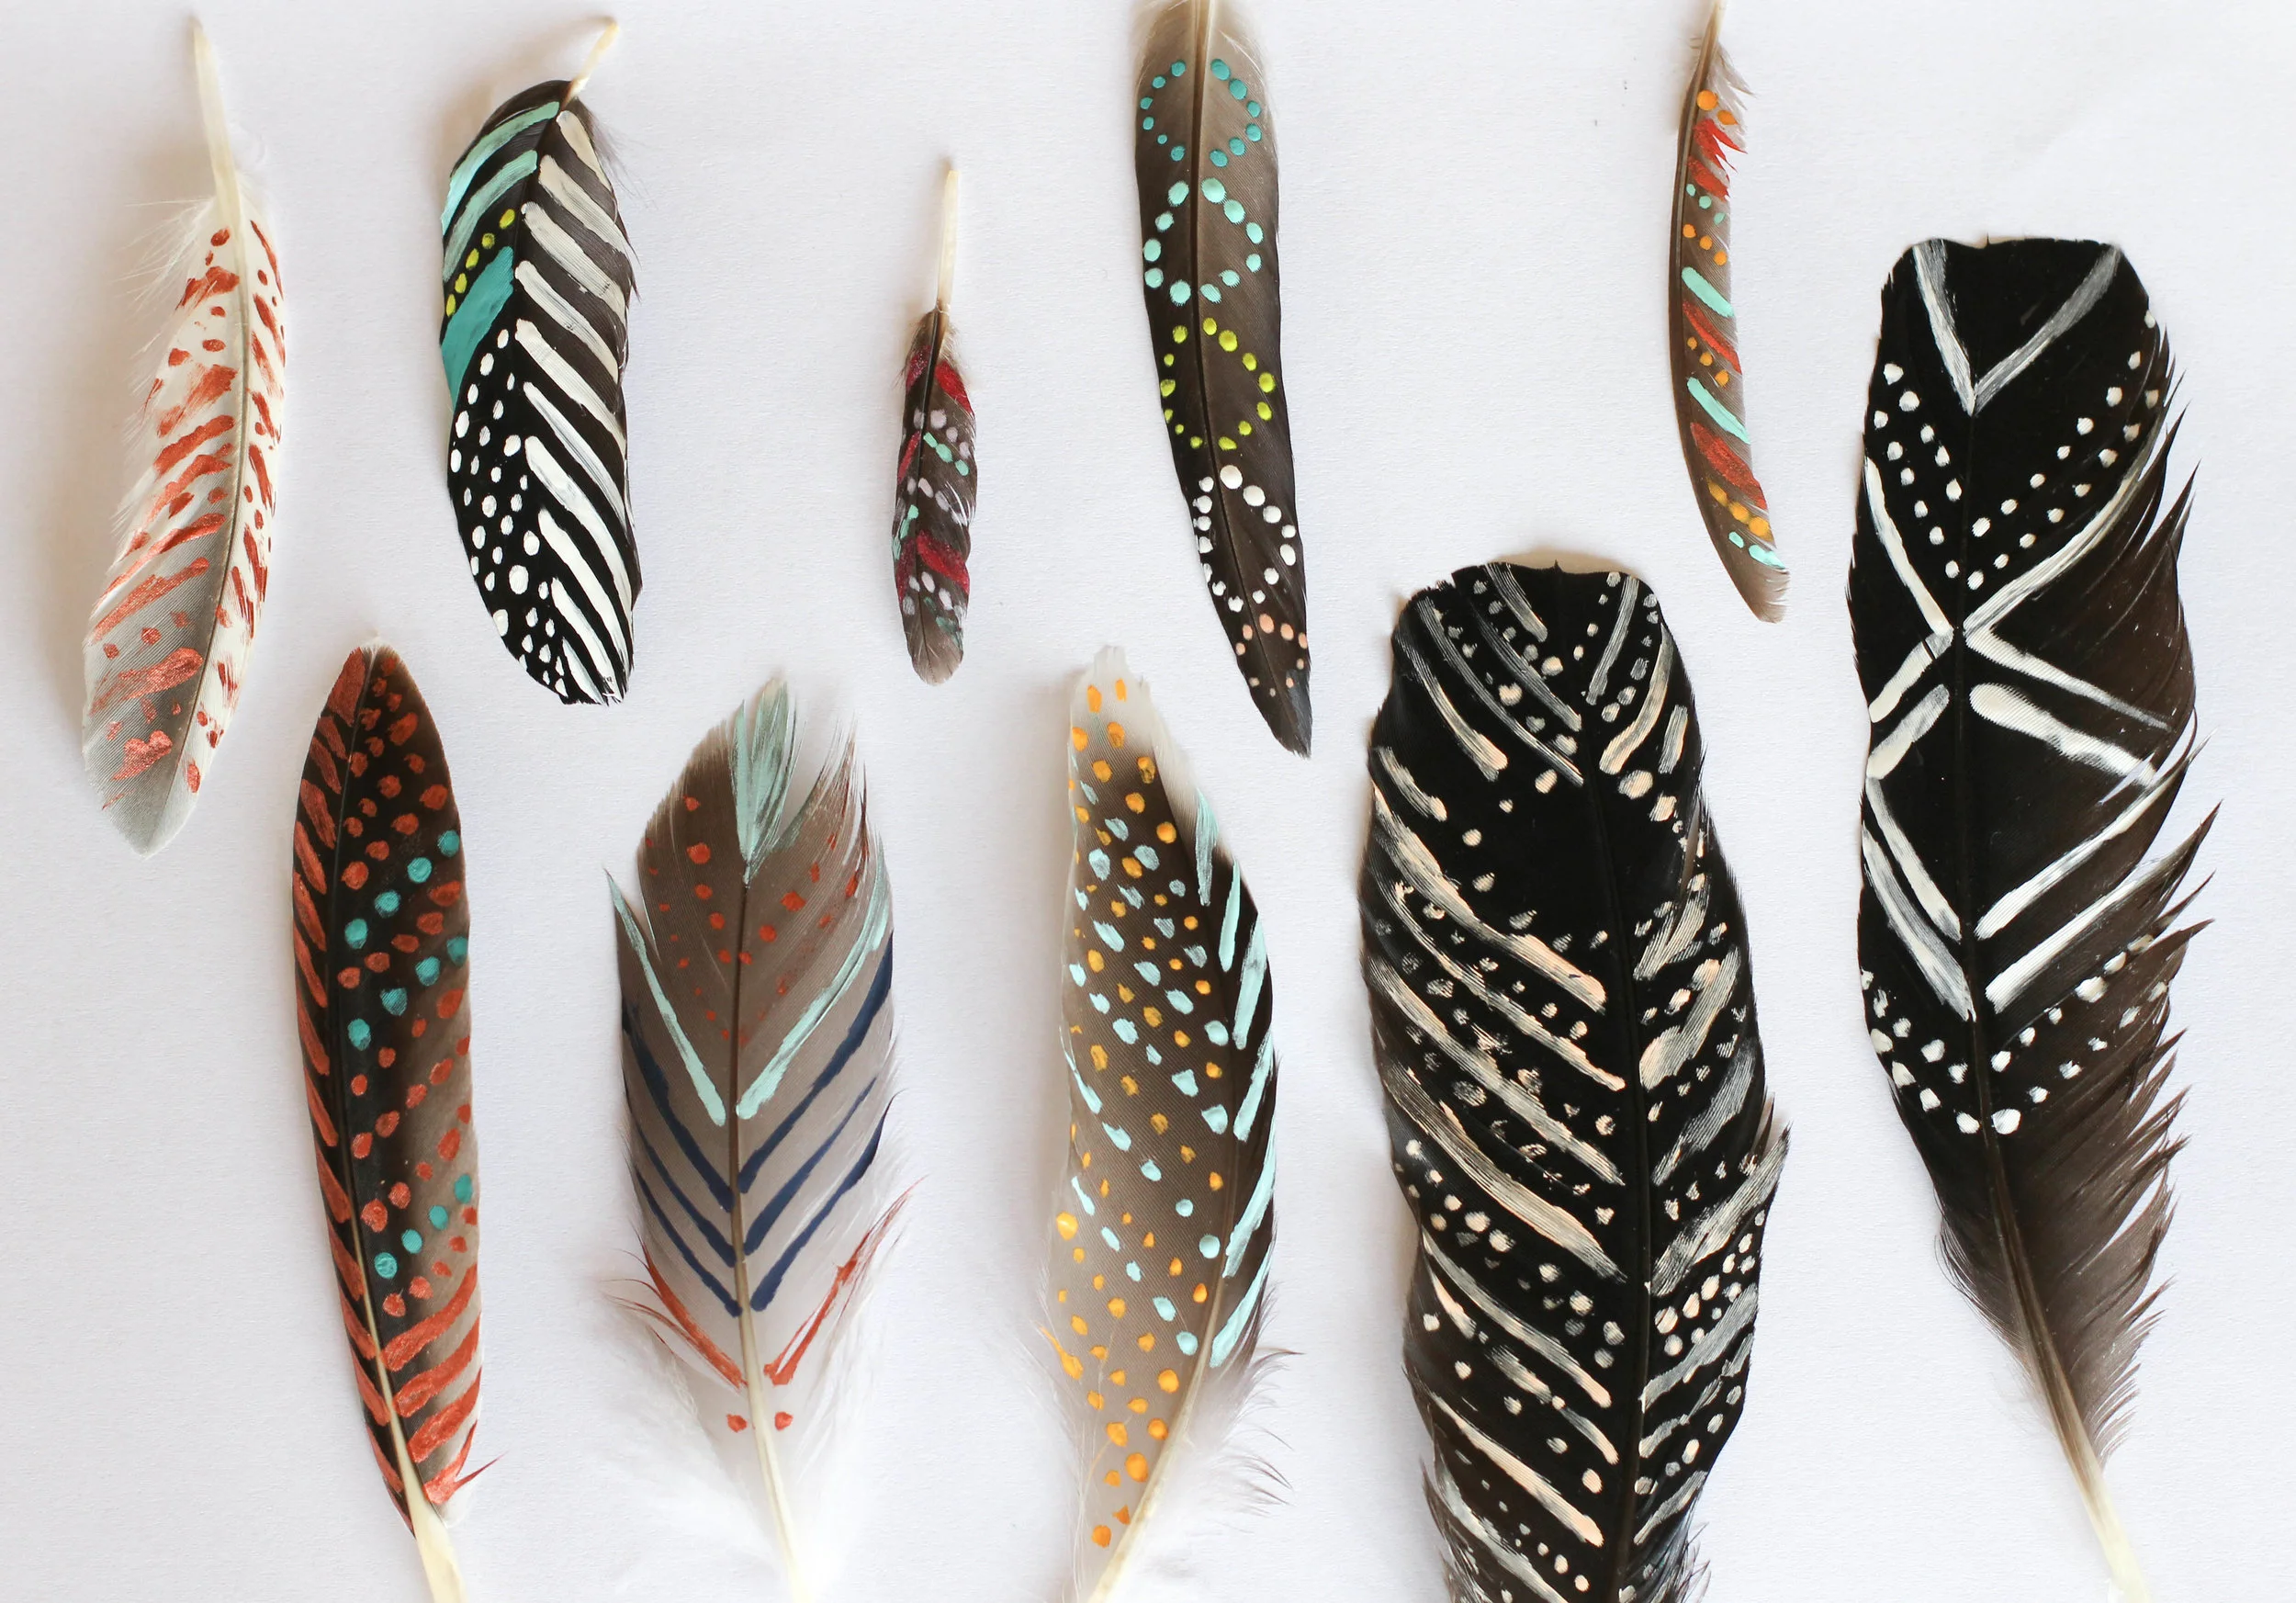
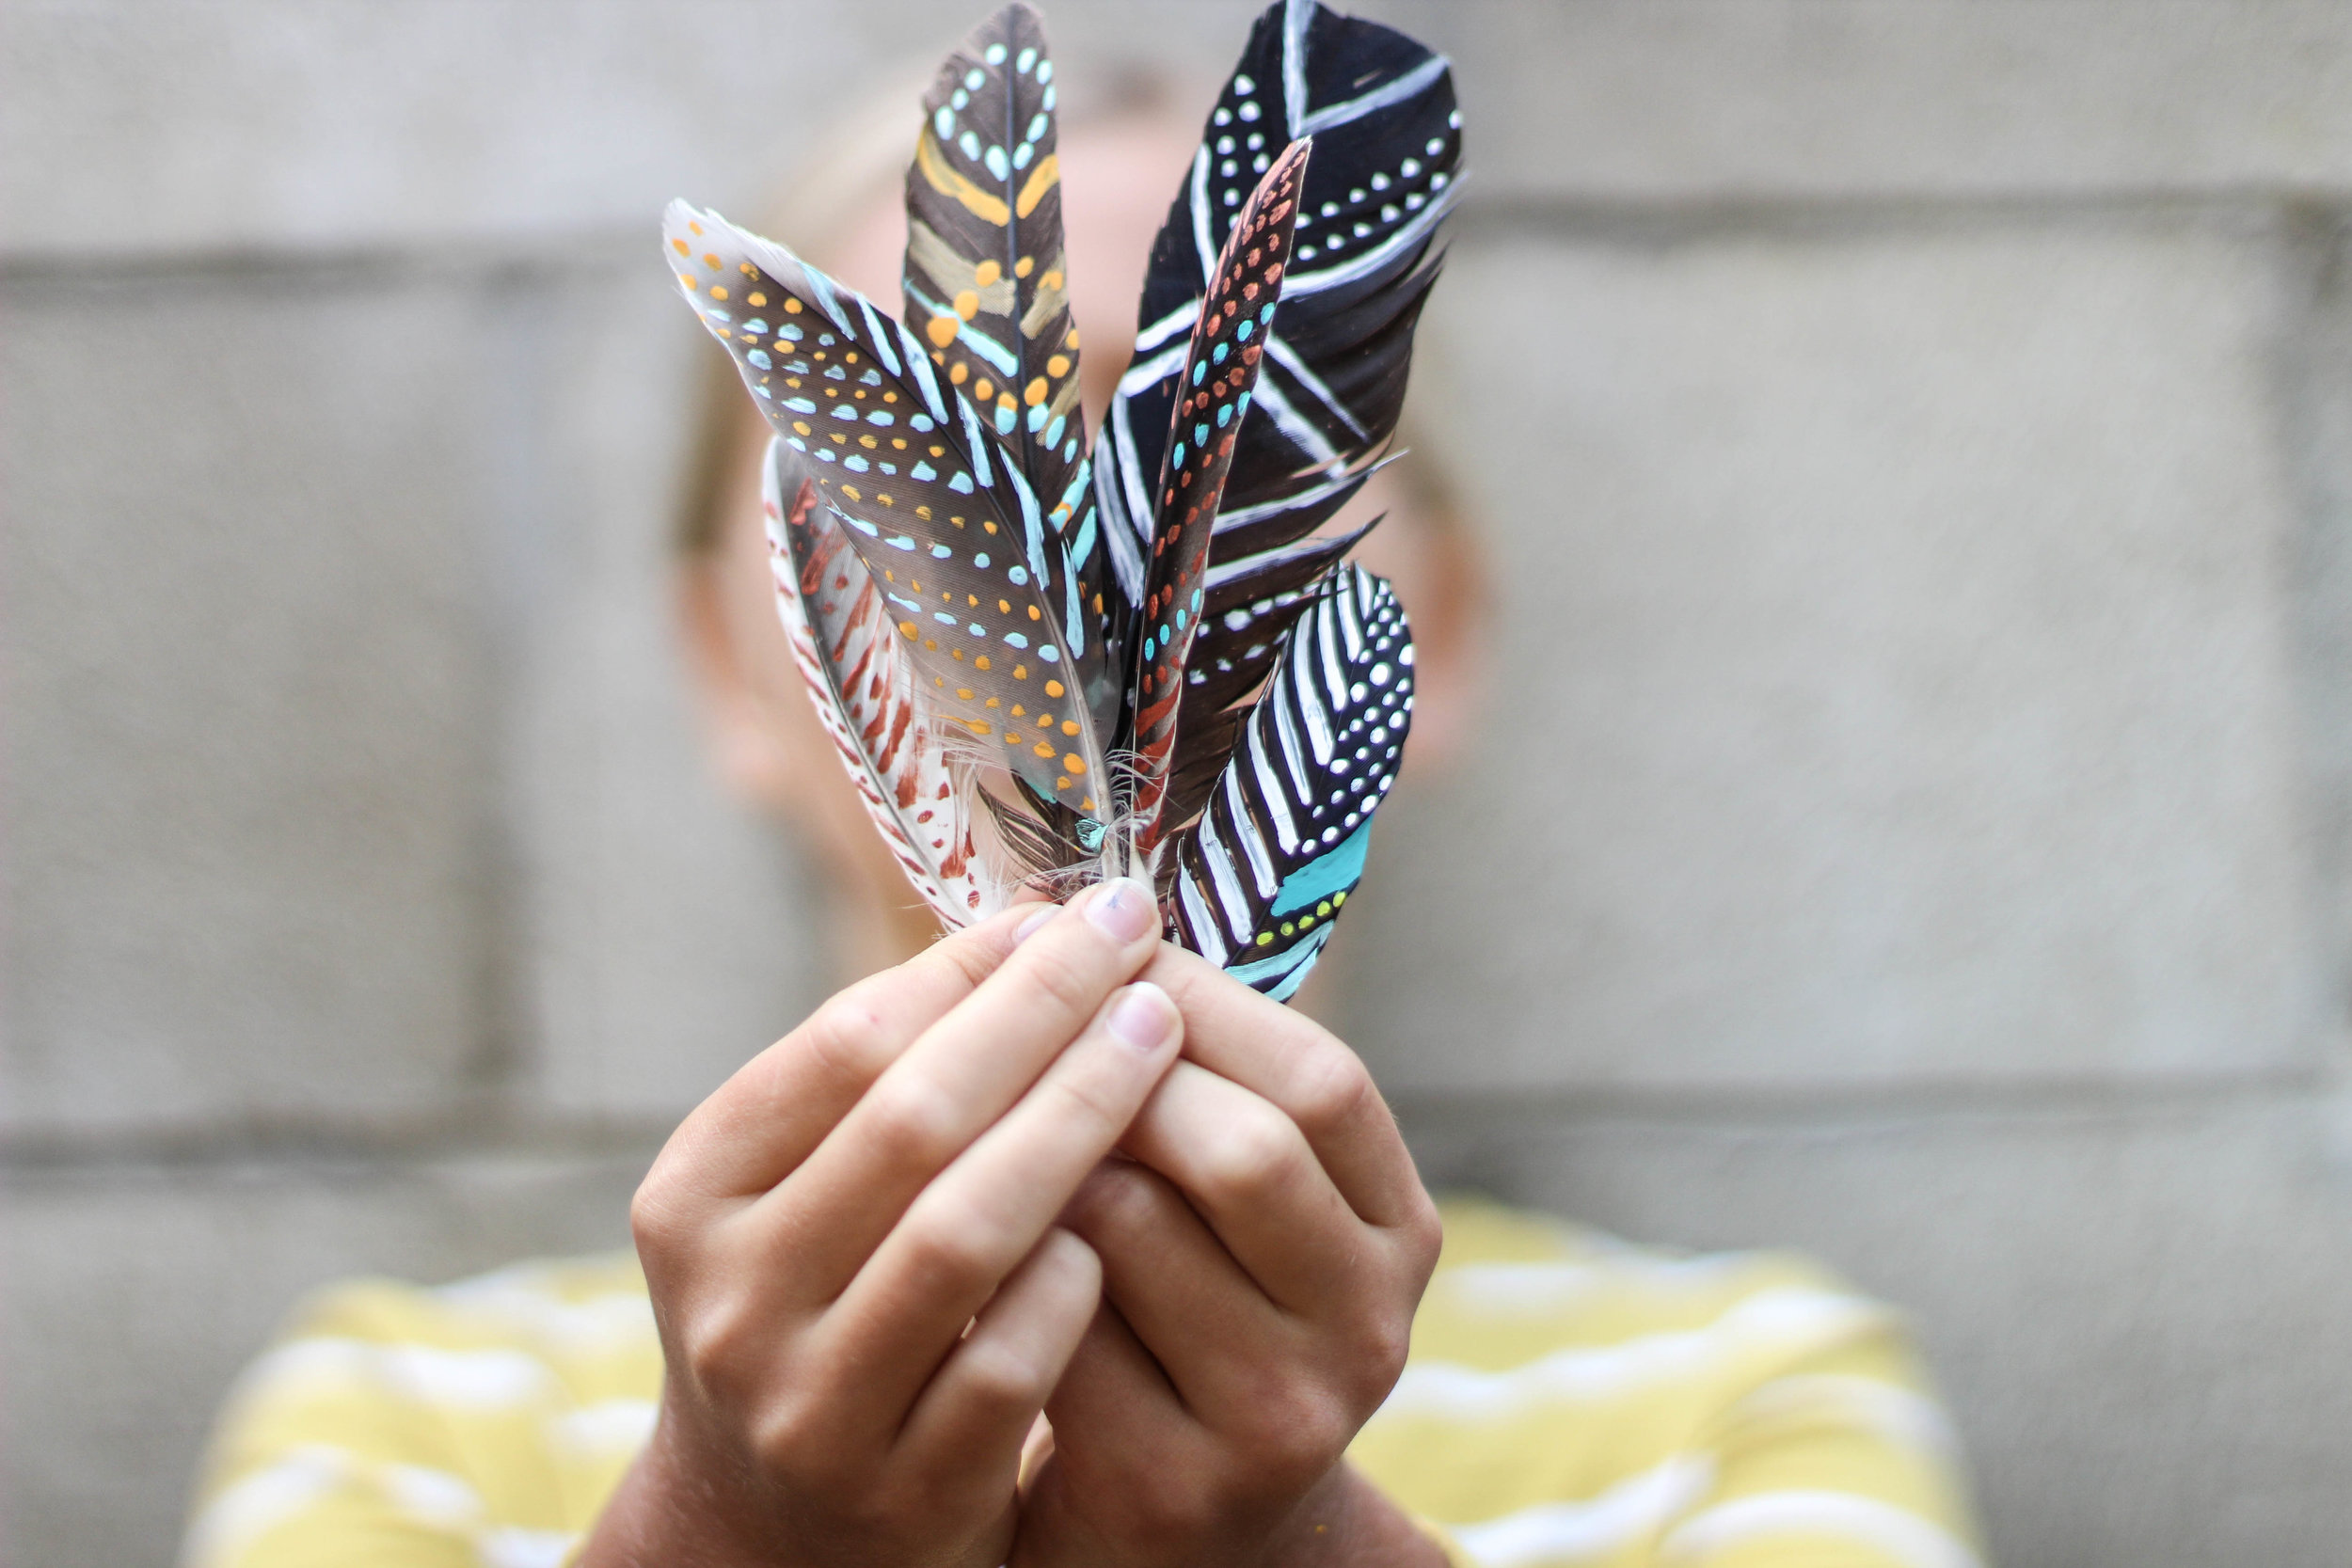
She also put to good use some of the feathers we painted a while back. Here's the How to Paint Feather's blog post I did to see how we made the painted feathers.

This blog post does contain affiliate links. Should you choose to make a purchase, I am paid a small percentage of money, at no additional cost to you. Thank you for supporting my blog in this way.