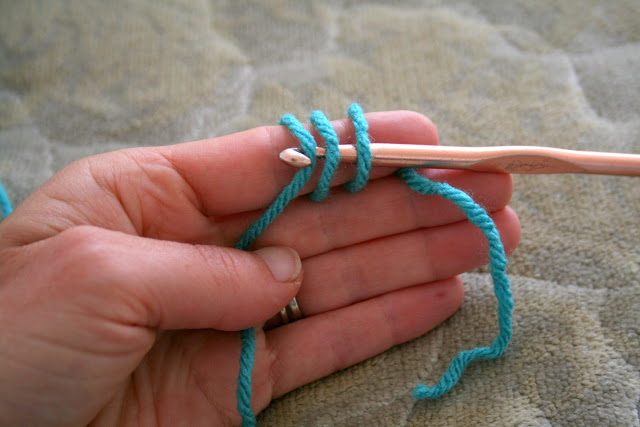
If you've been following along with my Blue Corduroy Crochet Lessons series, you now should know how to make a slip knot, do a chain stitch, and single crochet.
Ready to make a cotton dishcloth and practice your new skills?
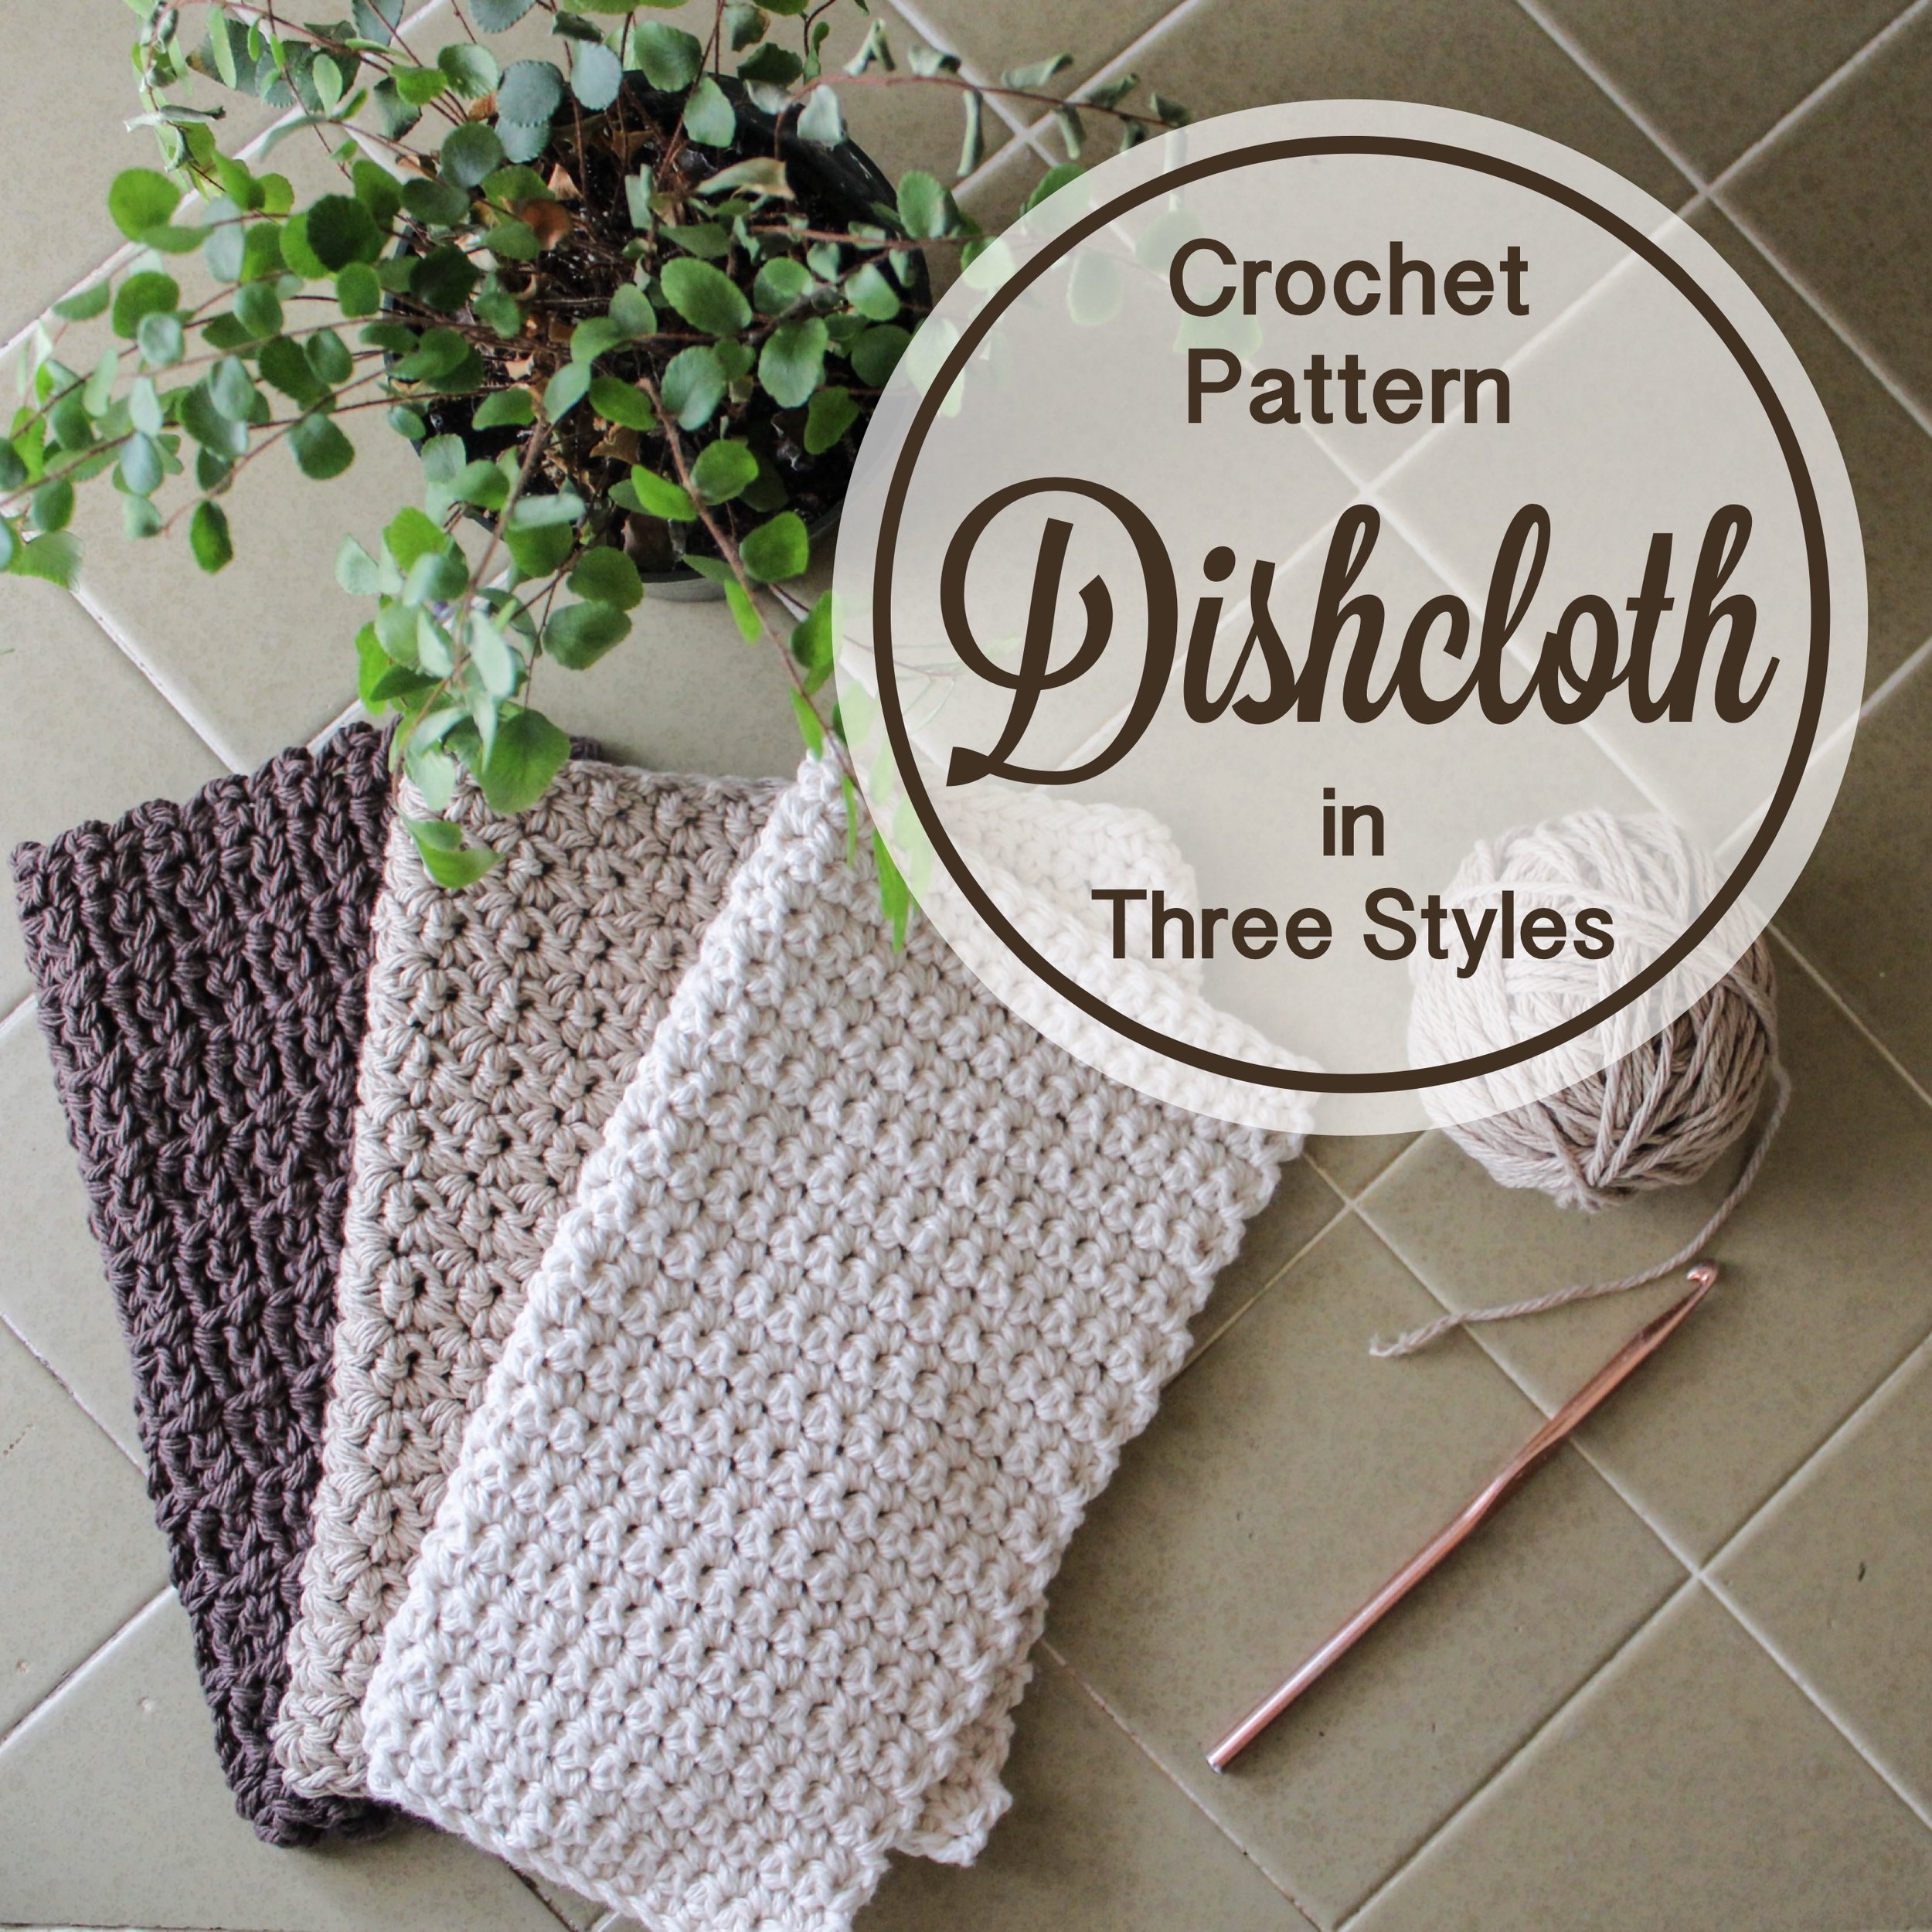
This Free Crochet Dishcloth Pattern is the perfect way for you to put your new skill into action creating a useful item. There are three variations on the single crochet stitch to help you improve your skills and keep you interested. One is the basic single crochet, the second helps you get in the rhythm of skipping stitches and doubling up on stitches, and the third is a combination pattern including chain stitches and single crochet stitches.

Reading a Crochet Pattern
Learning how to read a crochet pattern can take a bit of practice. The key is understanding the abbreviations used. It can feel a bit like cryptic code solving. Because we're starting off with a basic pattern, there are only 2 abbreviations you need to crack this code!
CH = chain stitch. The pattern will tell you when to chain stitch and how many to do.
SC= single crochet. The pattern tells you when and where to make each single crochet.
The other thing I find useful when following a pattern is to not get overwhelmed with trying to understand the whole pattern all at once. If I just take it one direction, one stitch at a time, then I usually find it much easier to comprehend.
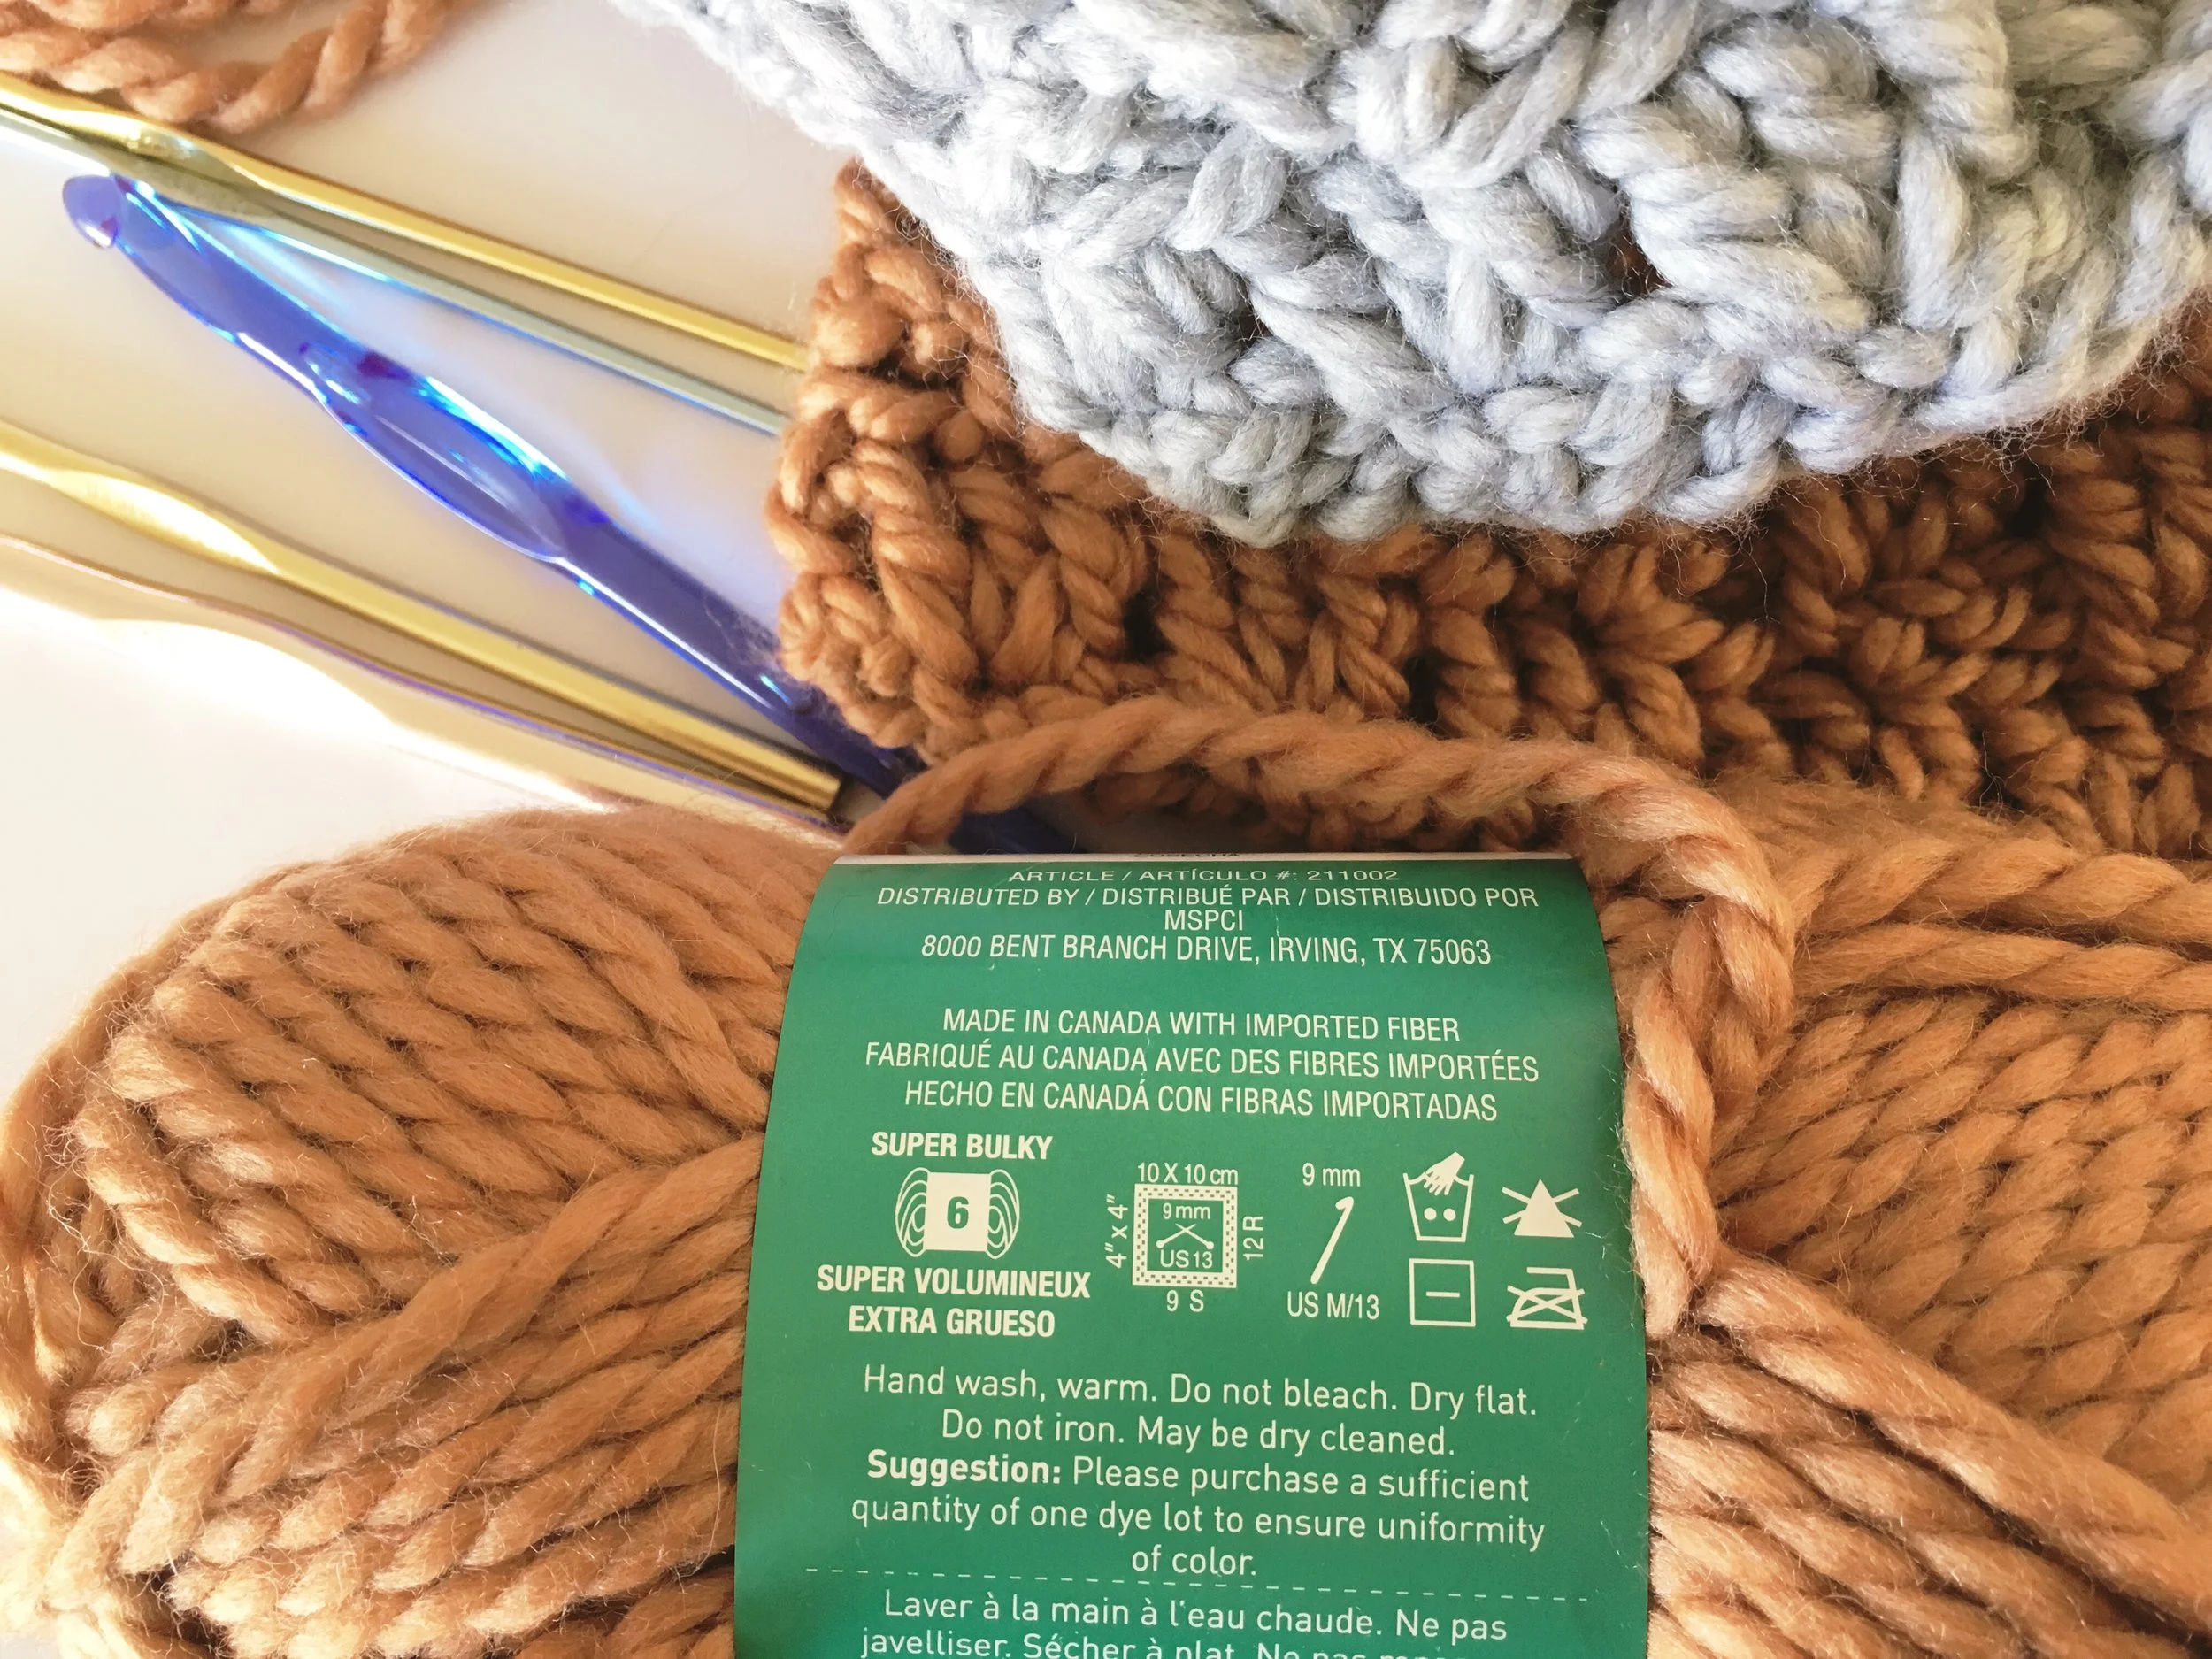
The pattern will also suggest what yarn to choose and which crochet hook to use. So you don't have to wander around the yarn shop getting distracted by all the beautiful options!
Enjoy making your cotton crochet dishcloths, I'd love to see yours when you're done!

Enjoy making your cotton dishcloths, I'd love to see yours when you're done!
Sign up for my newsletter and be the first to know about fun new projects and cute new products!