4 Easy and Quick Knit and Crochet Baby Bonnet Patterns for You to Make

It’s been a dream of mine for a few years now to have a collection of patterns available for you. This is just the beginning, because in my dream, there’s going to be a lot more where this came from!

Here is a round-up of the baby hat patterns I’ve made this last year and I’ve been so thankful for the wonderful response from all the people who have bought and made these patterns with great success!

Both knit and crochet patterns are available as well as FREE patterns and lessons to get you started!

Crochet Baby Bonnet Patterns

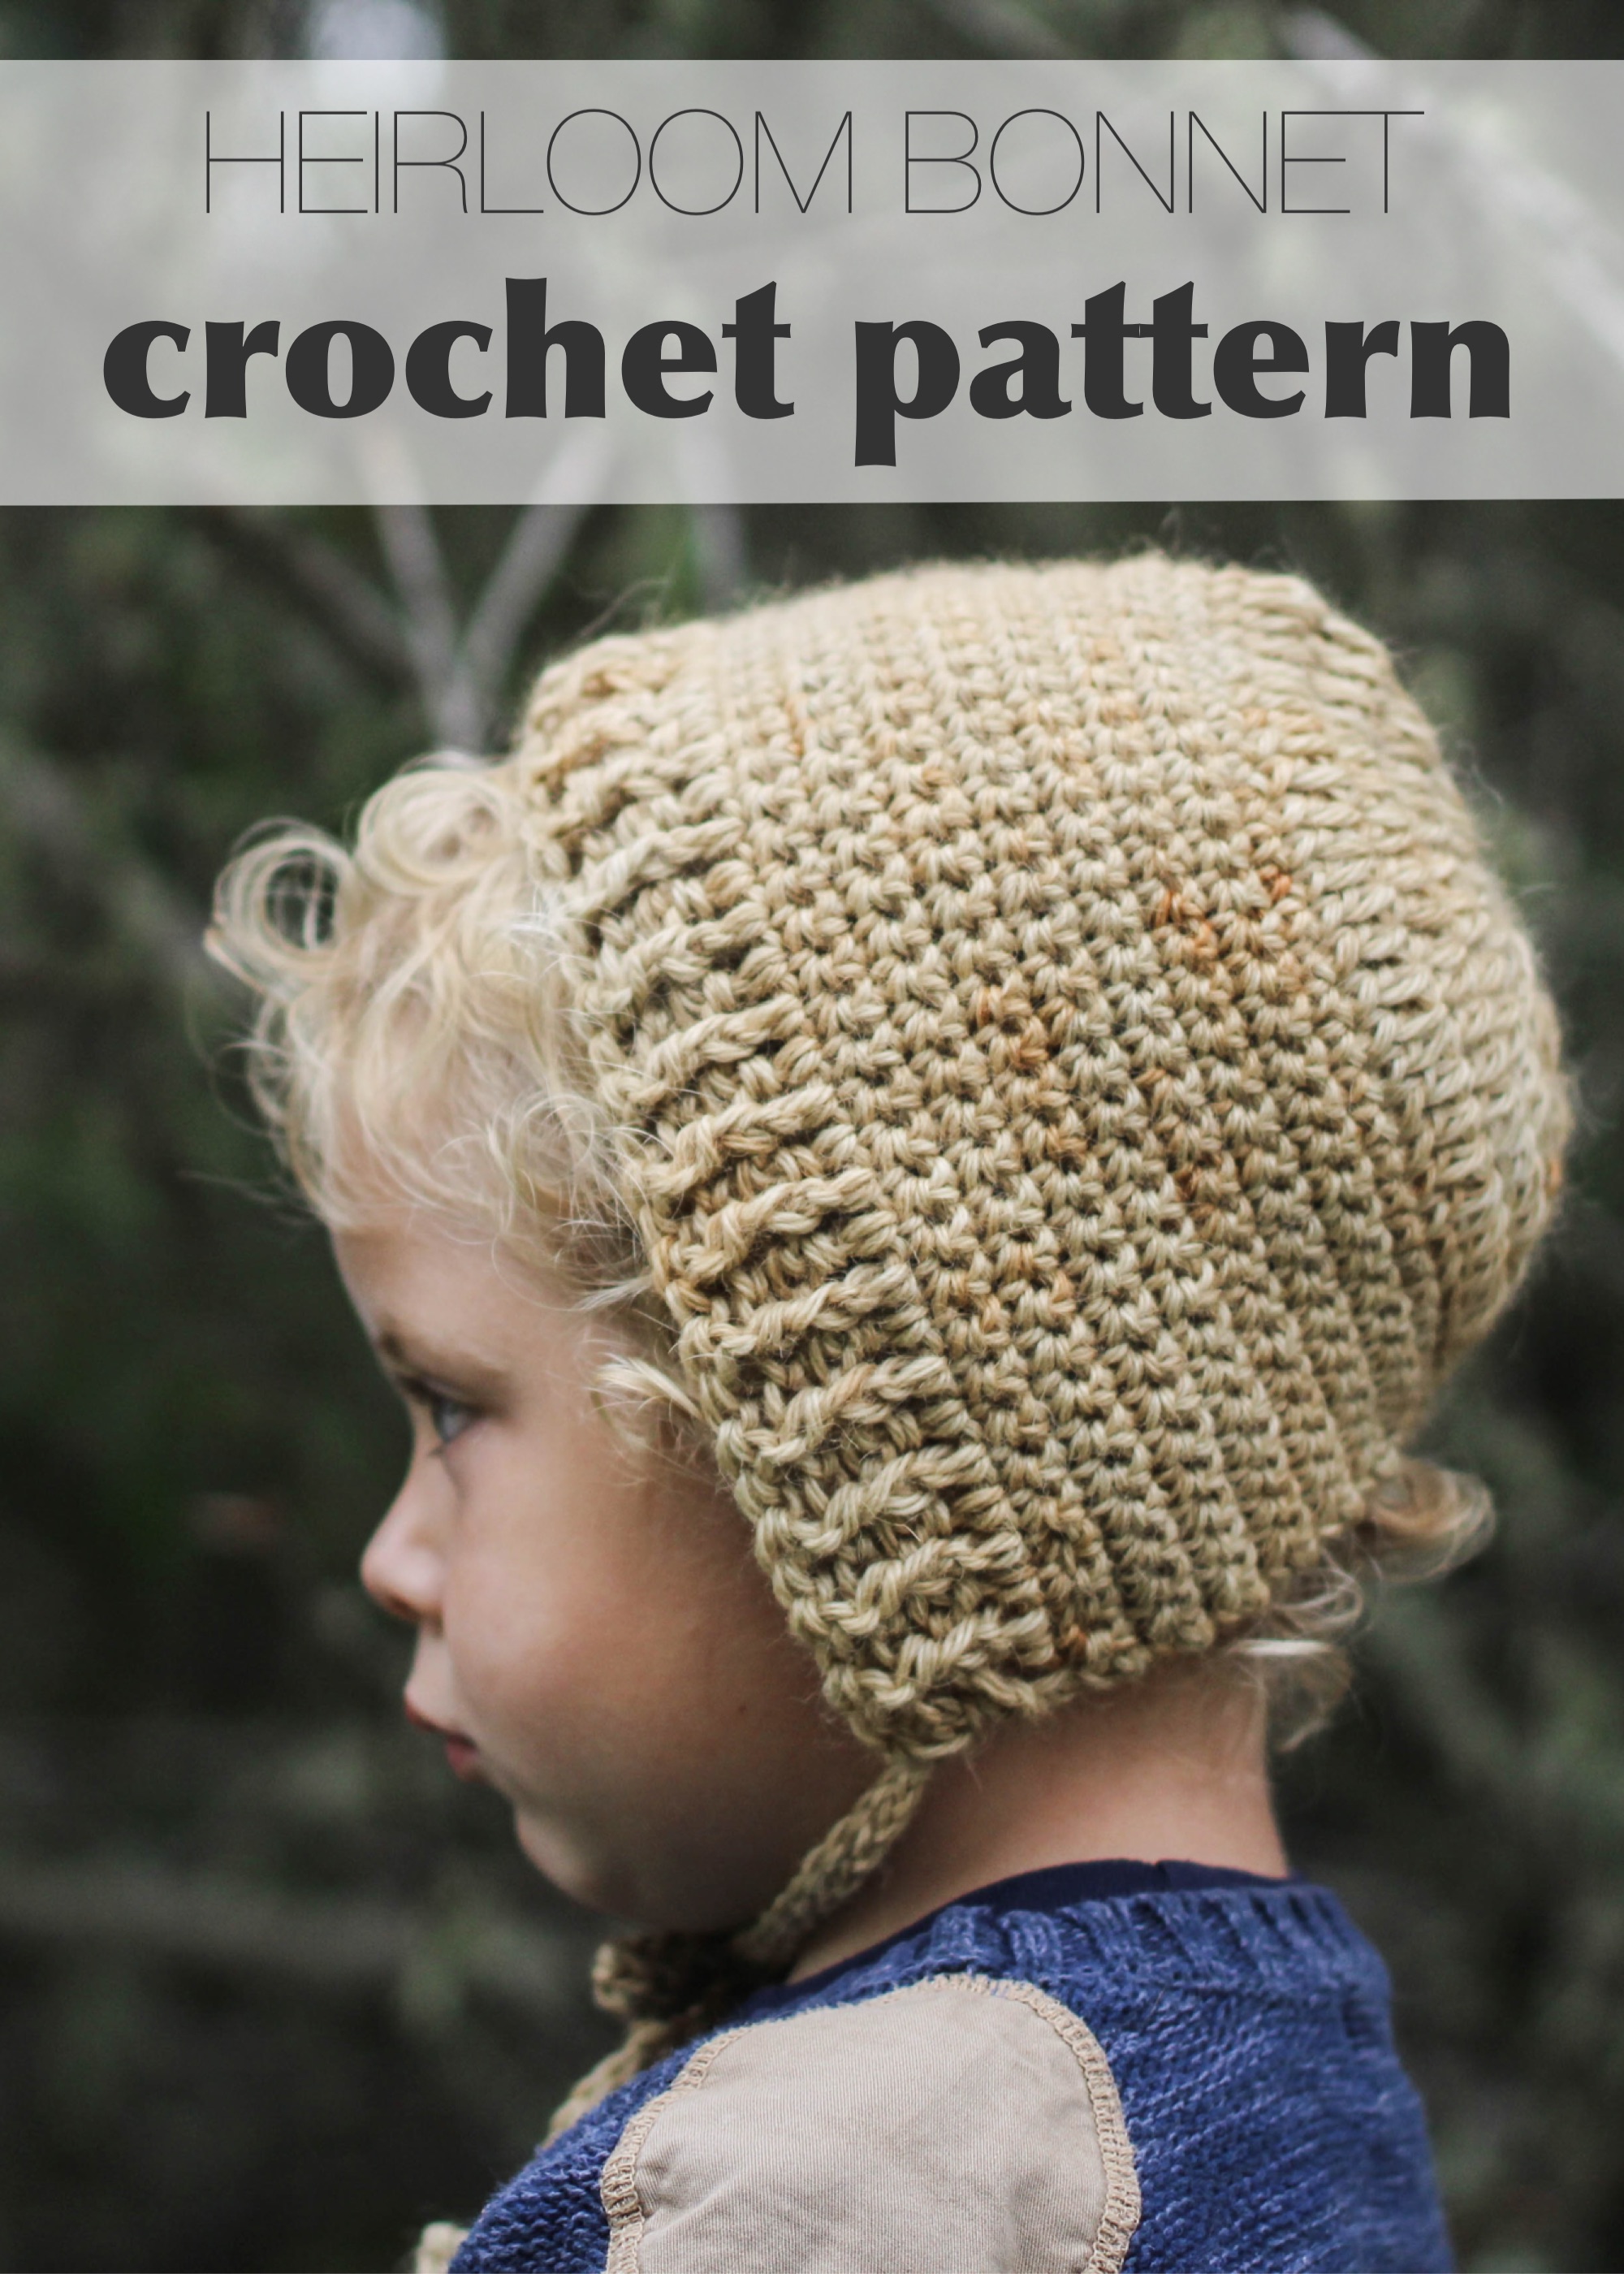
Heirloom Bonnet Crochet Pattern

This simple Heirloom Crochet Bonnet is a great beginning bonnet pattern. Mostly made with single crochet stitches and an easy to read pattern. I highly suggest using Magnolia and Oak Fibers Baby Alpaca yarn, once you do, you’ll never want to crochet with anything else! See this blog post for more details: Simple Crochet Baby Bonnet Pattern Blog post.

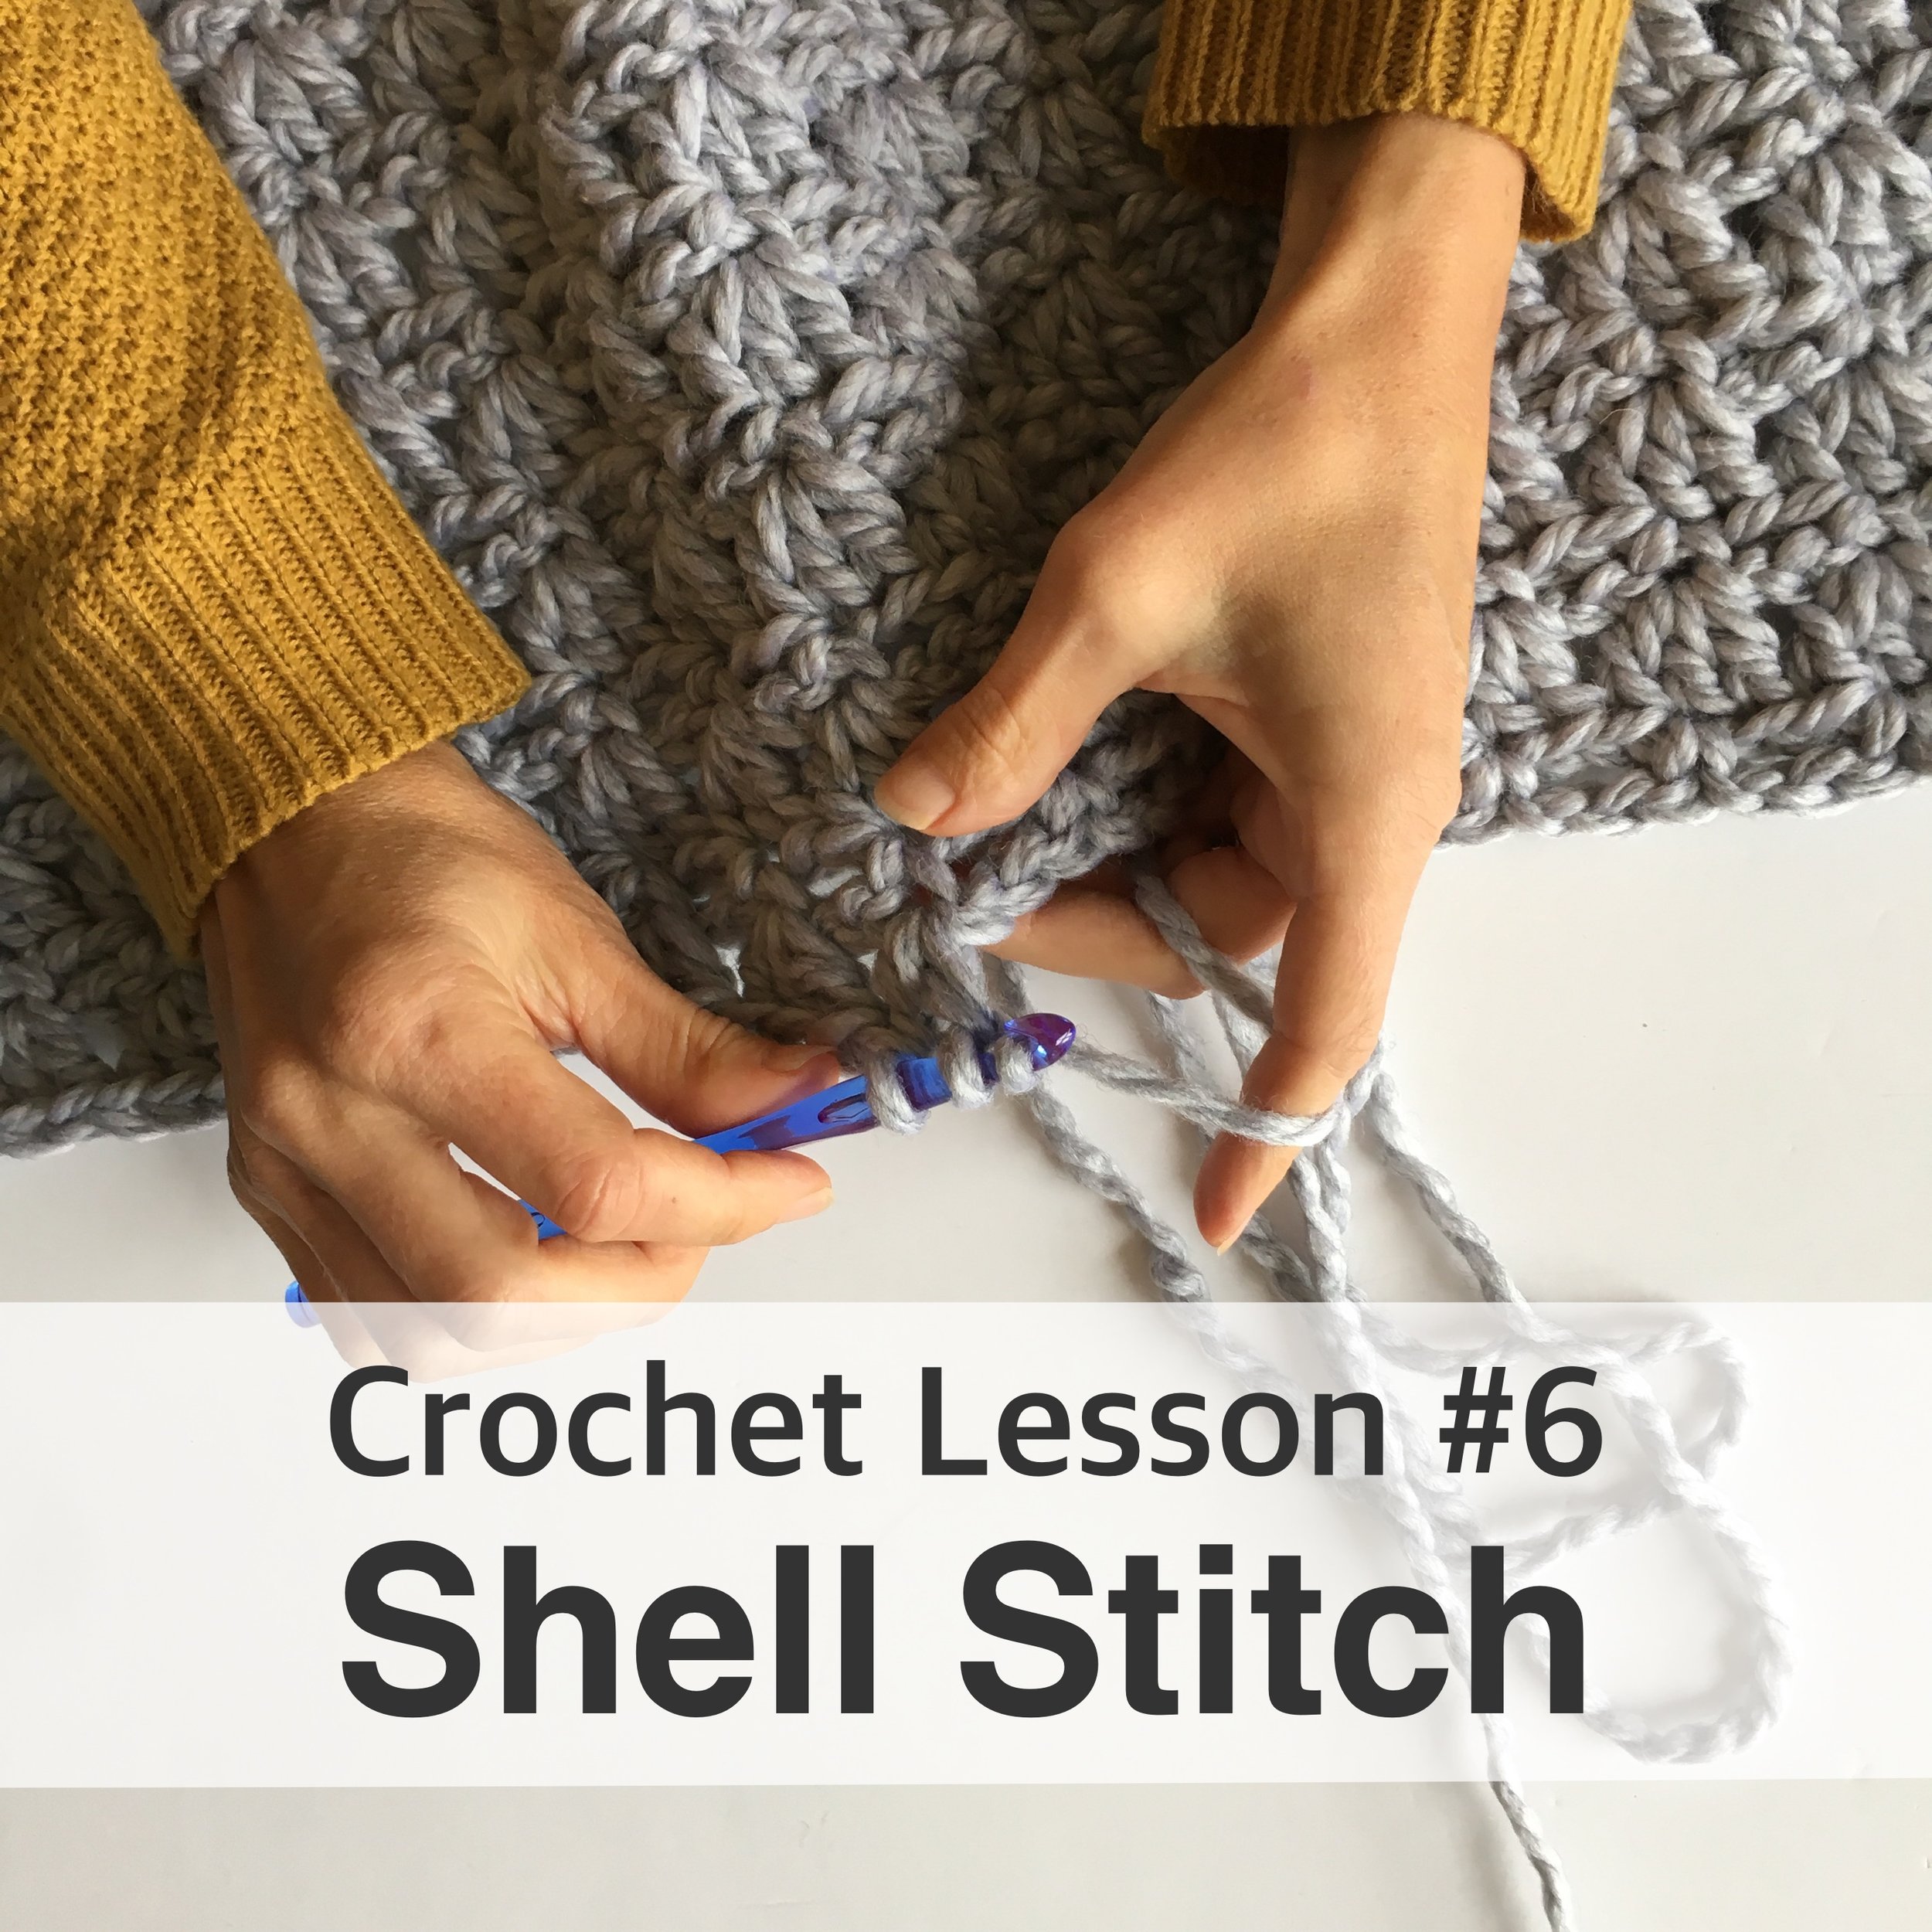
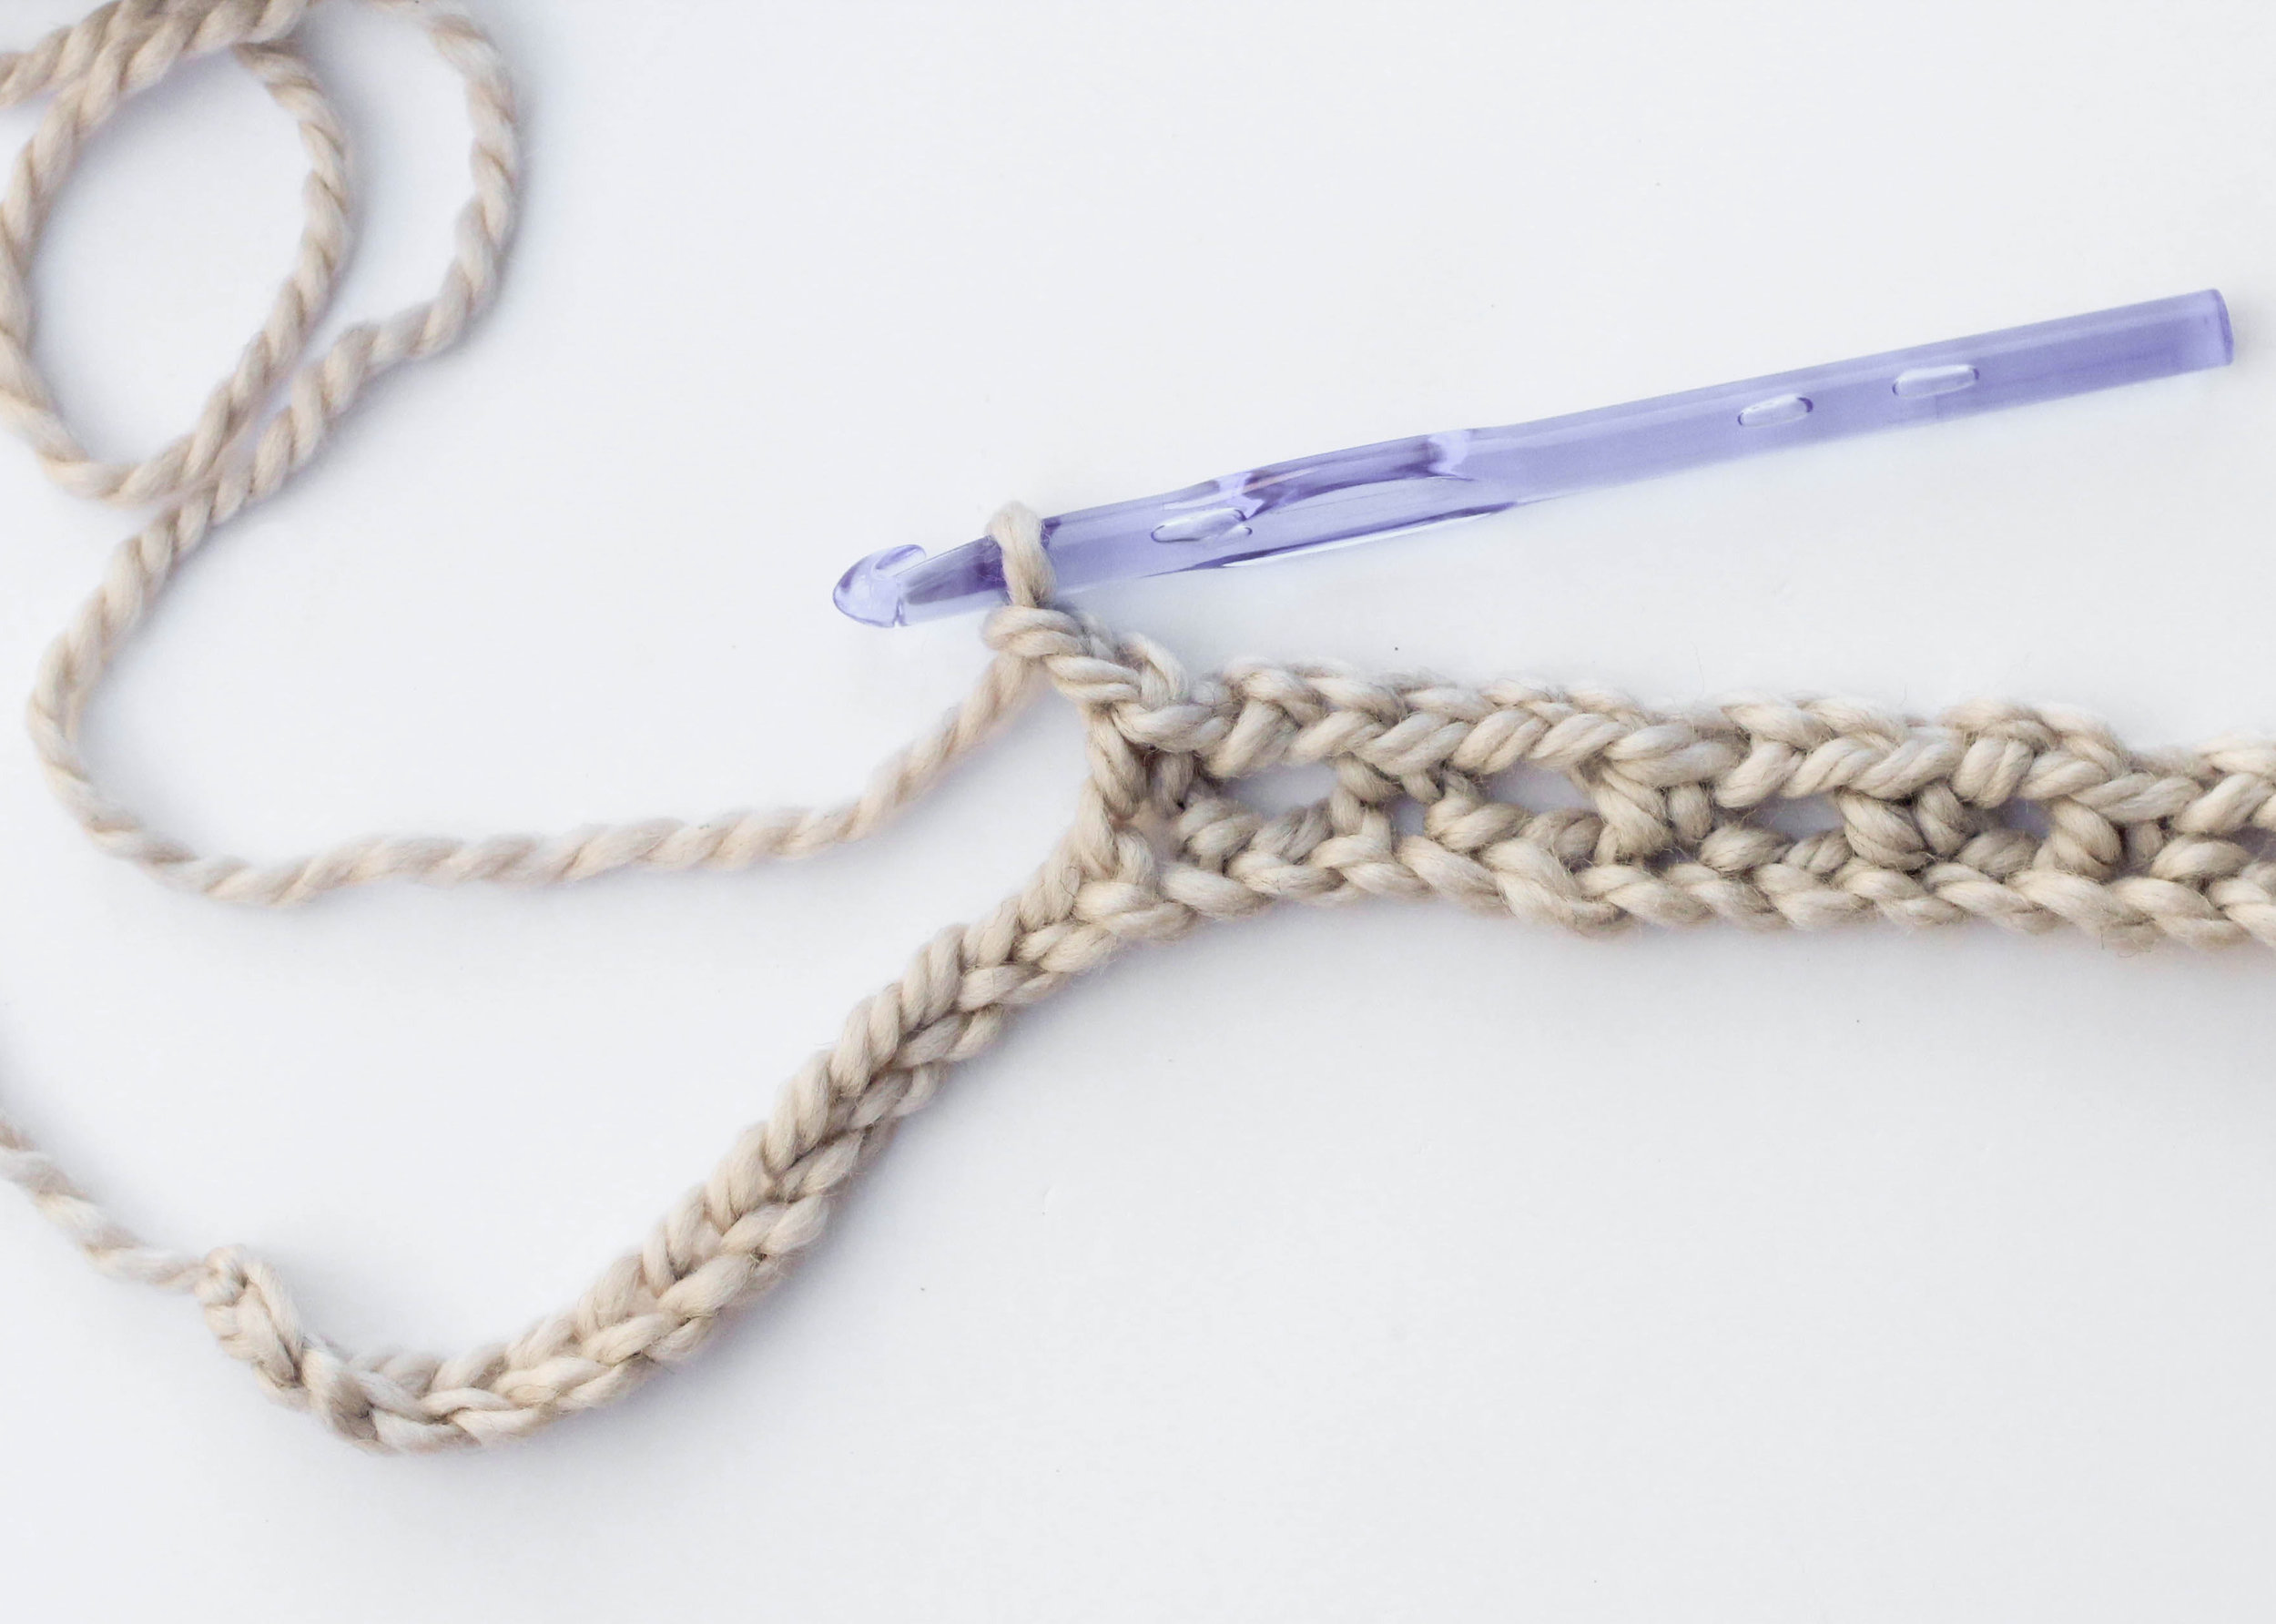
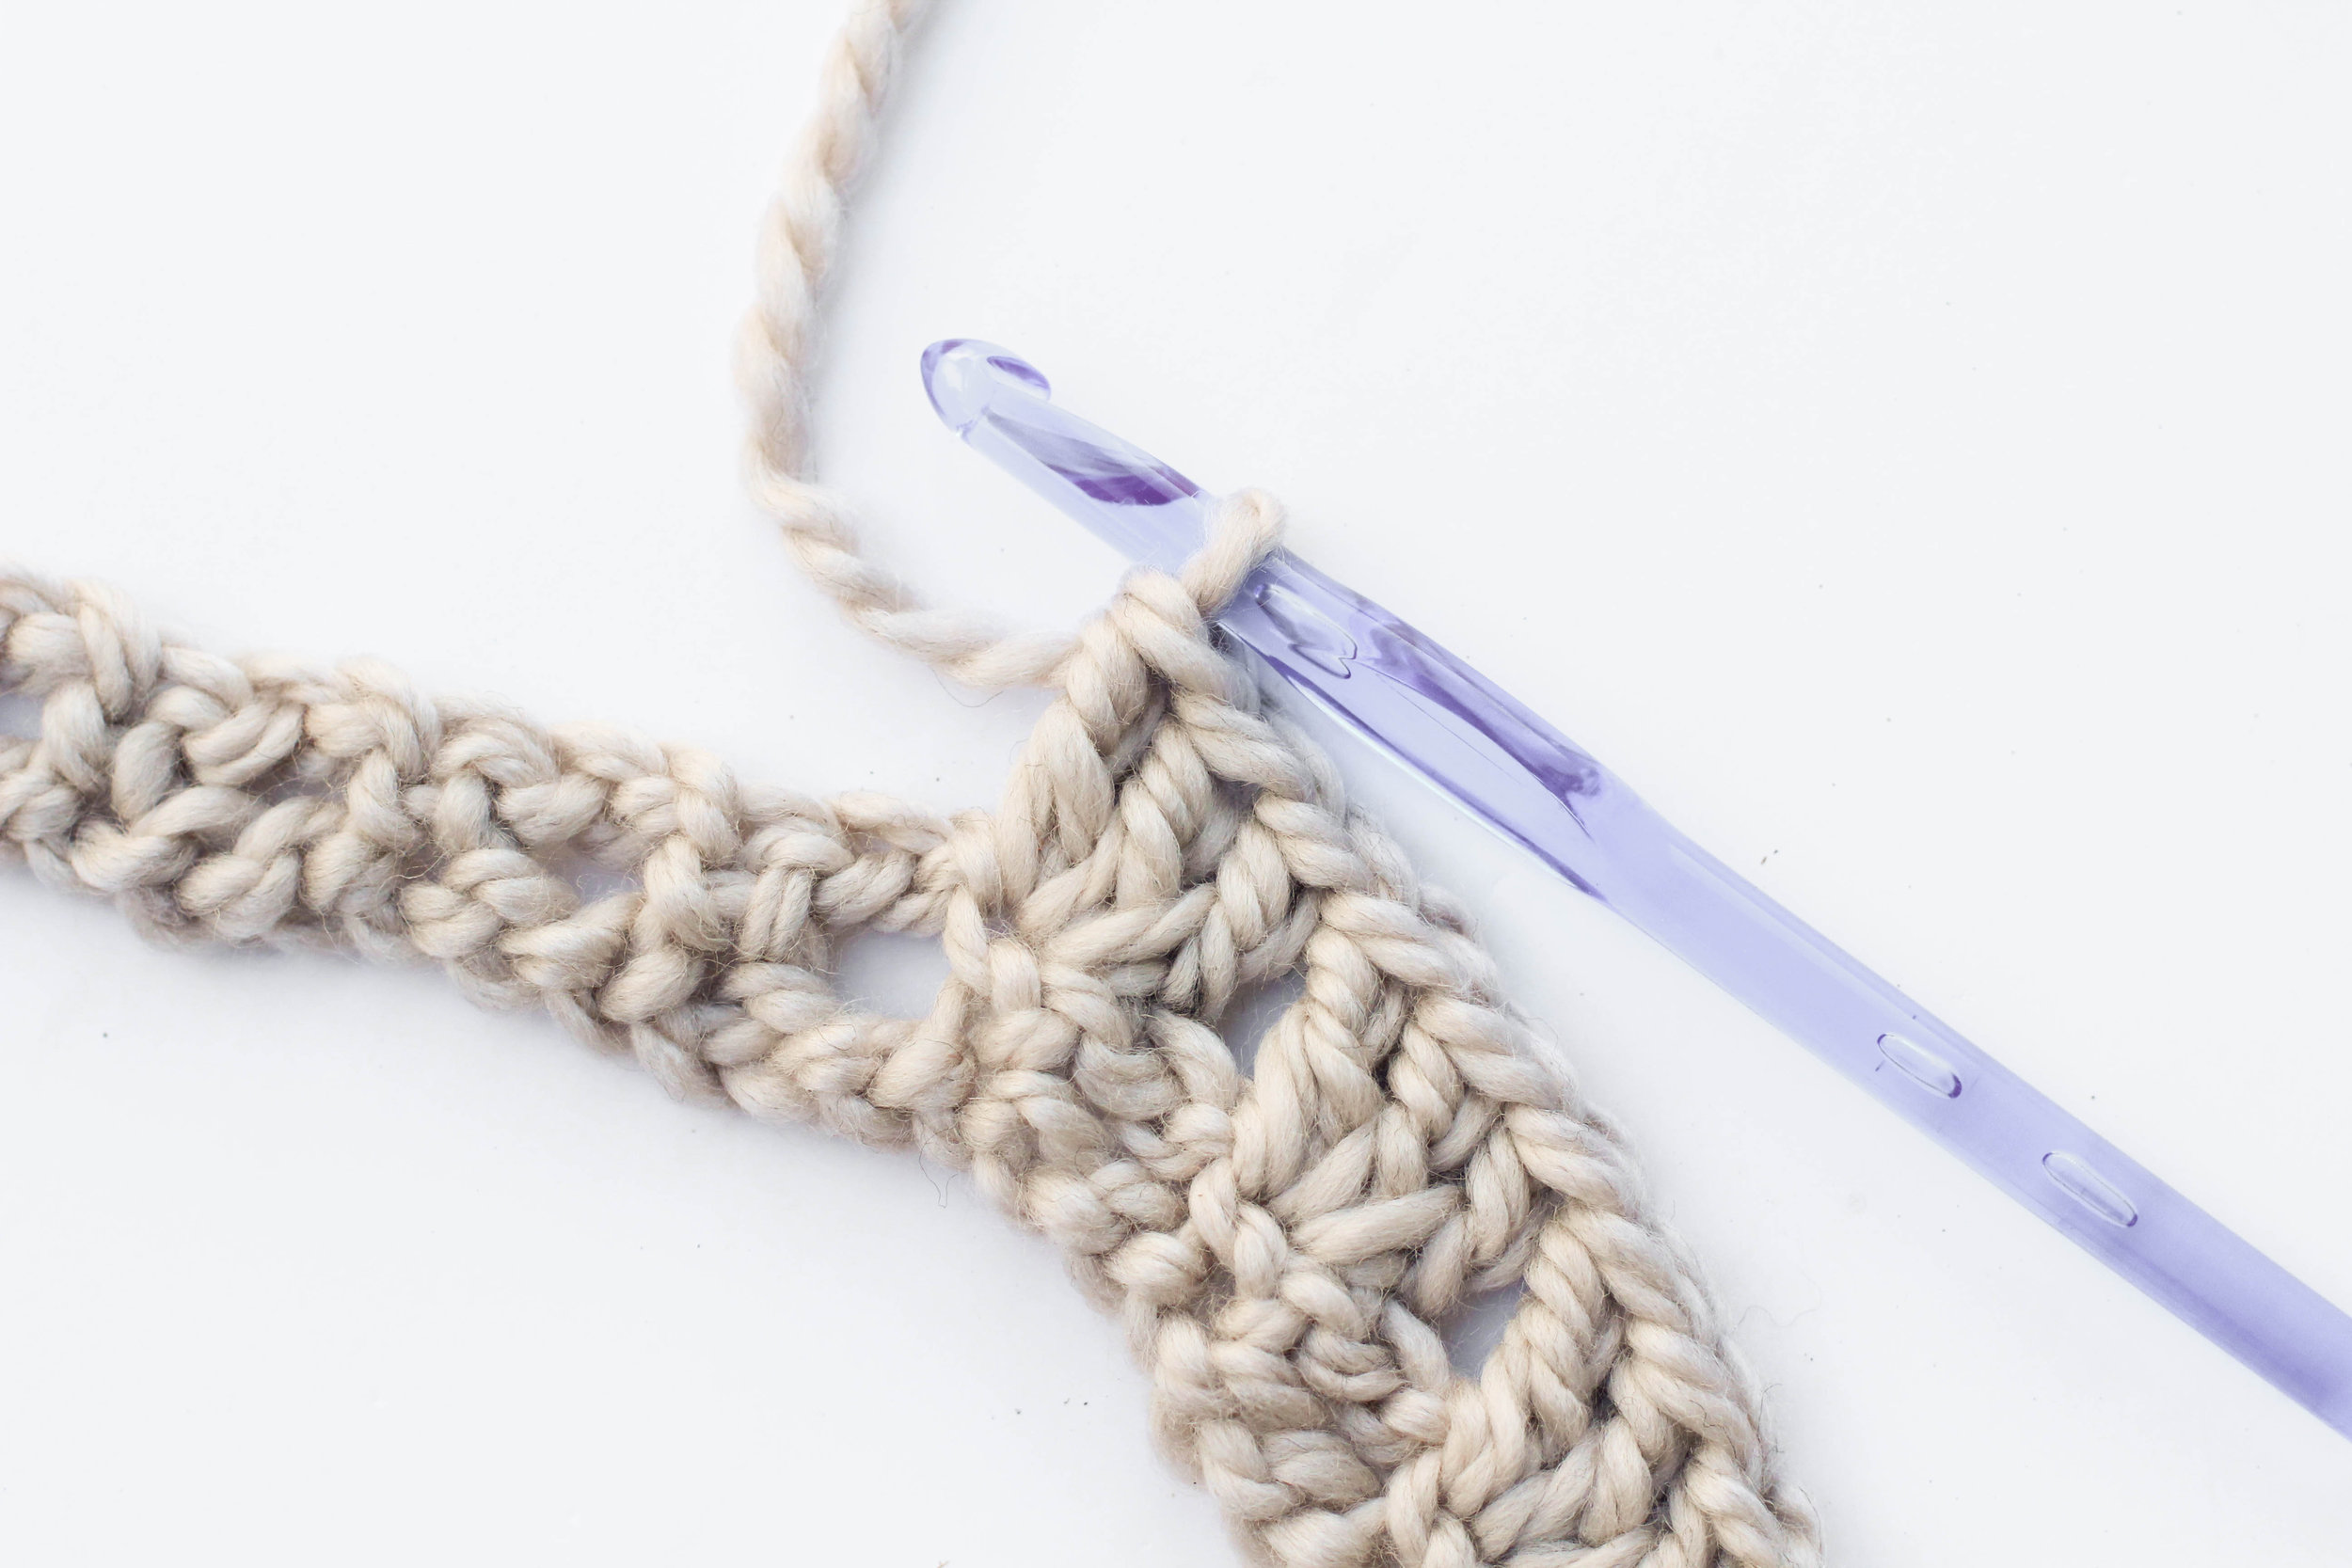
Crochet Shell Pixie Bonnet Pattern

Any child who wears bonnets definantly needs a pixie bonnet in their collection! This Crochet Pixie Bonnet pattern is crocheted with a shell stitch that creates a beautiful texture. See this blog post for more details on this pattern: Make Your Own Crochet Baby Pixie Bonnet blog post.

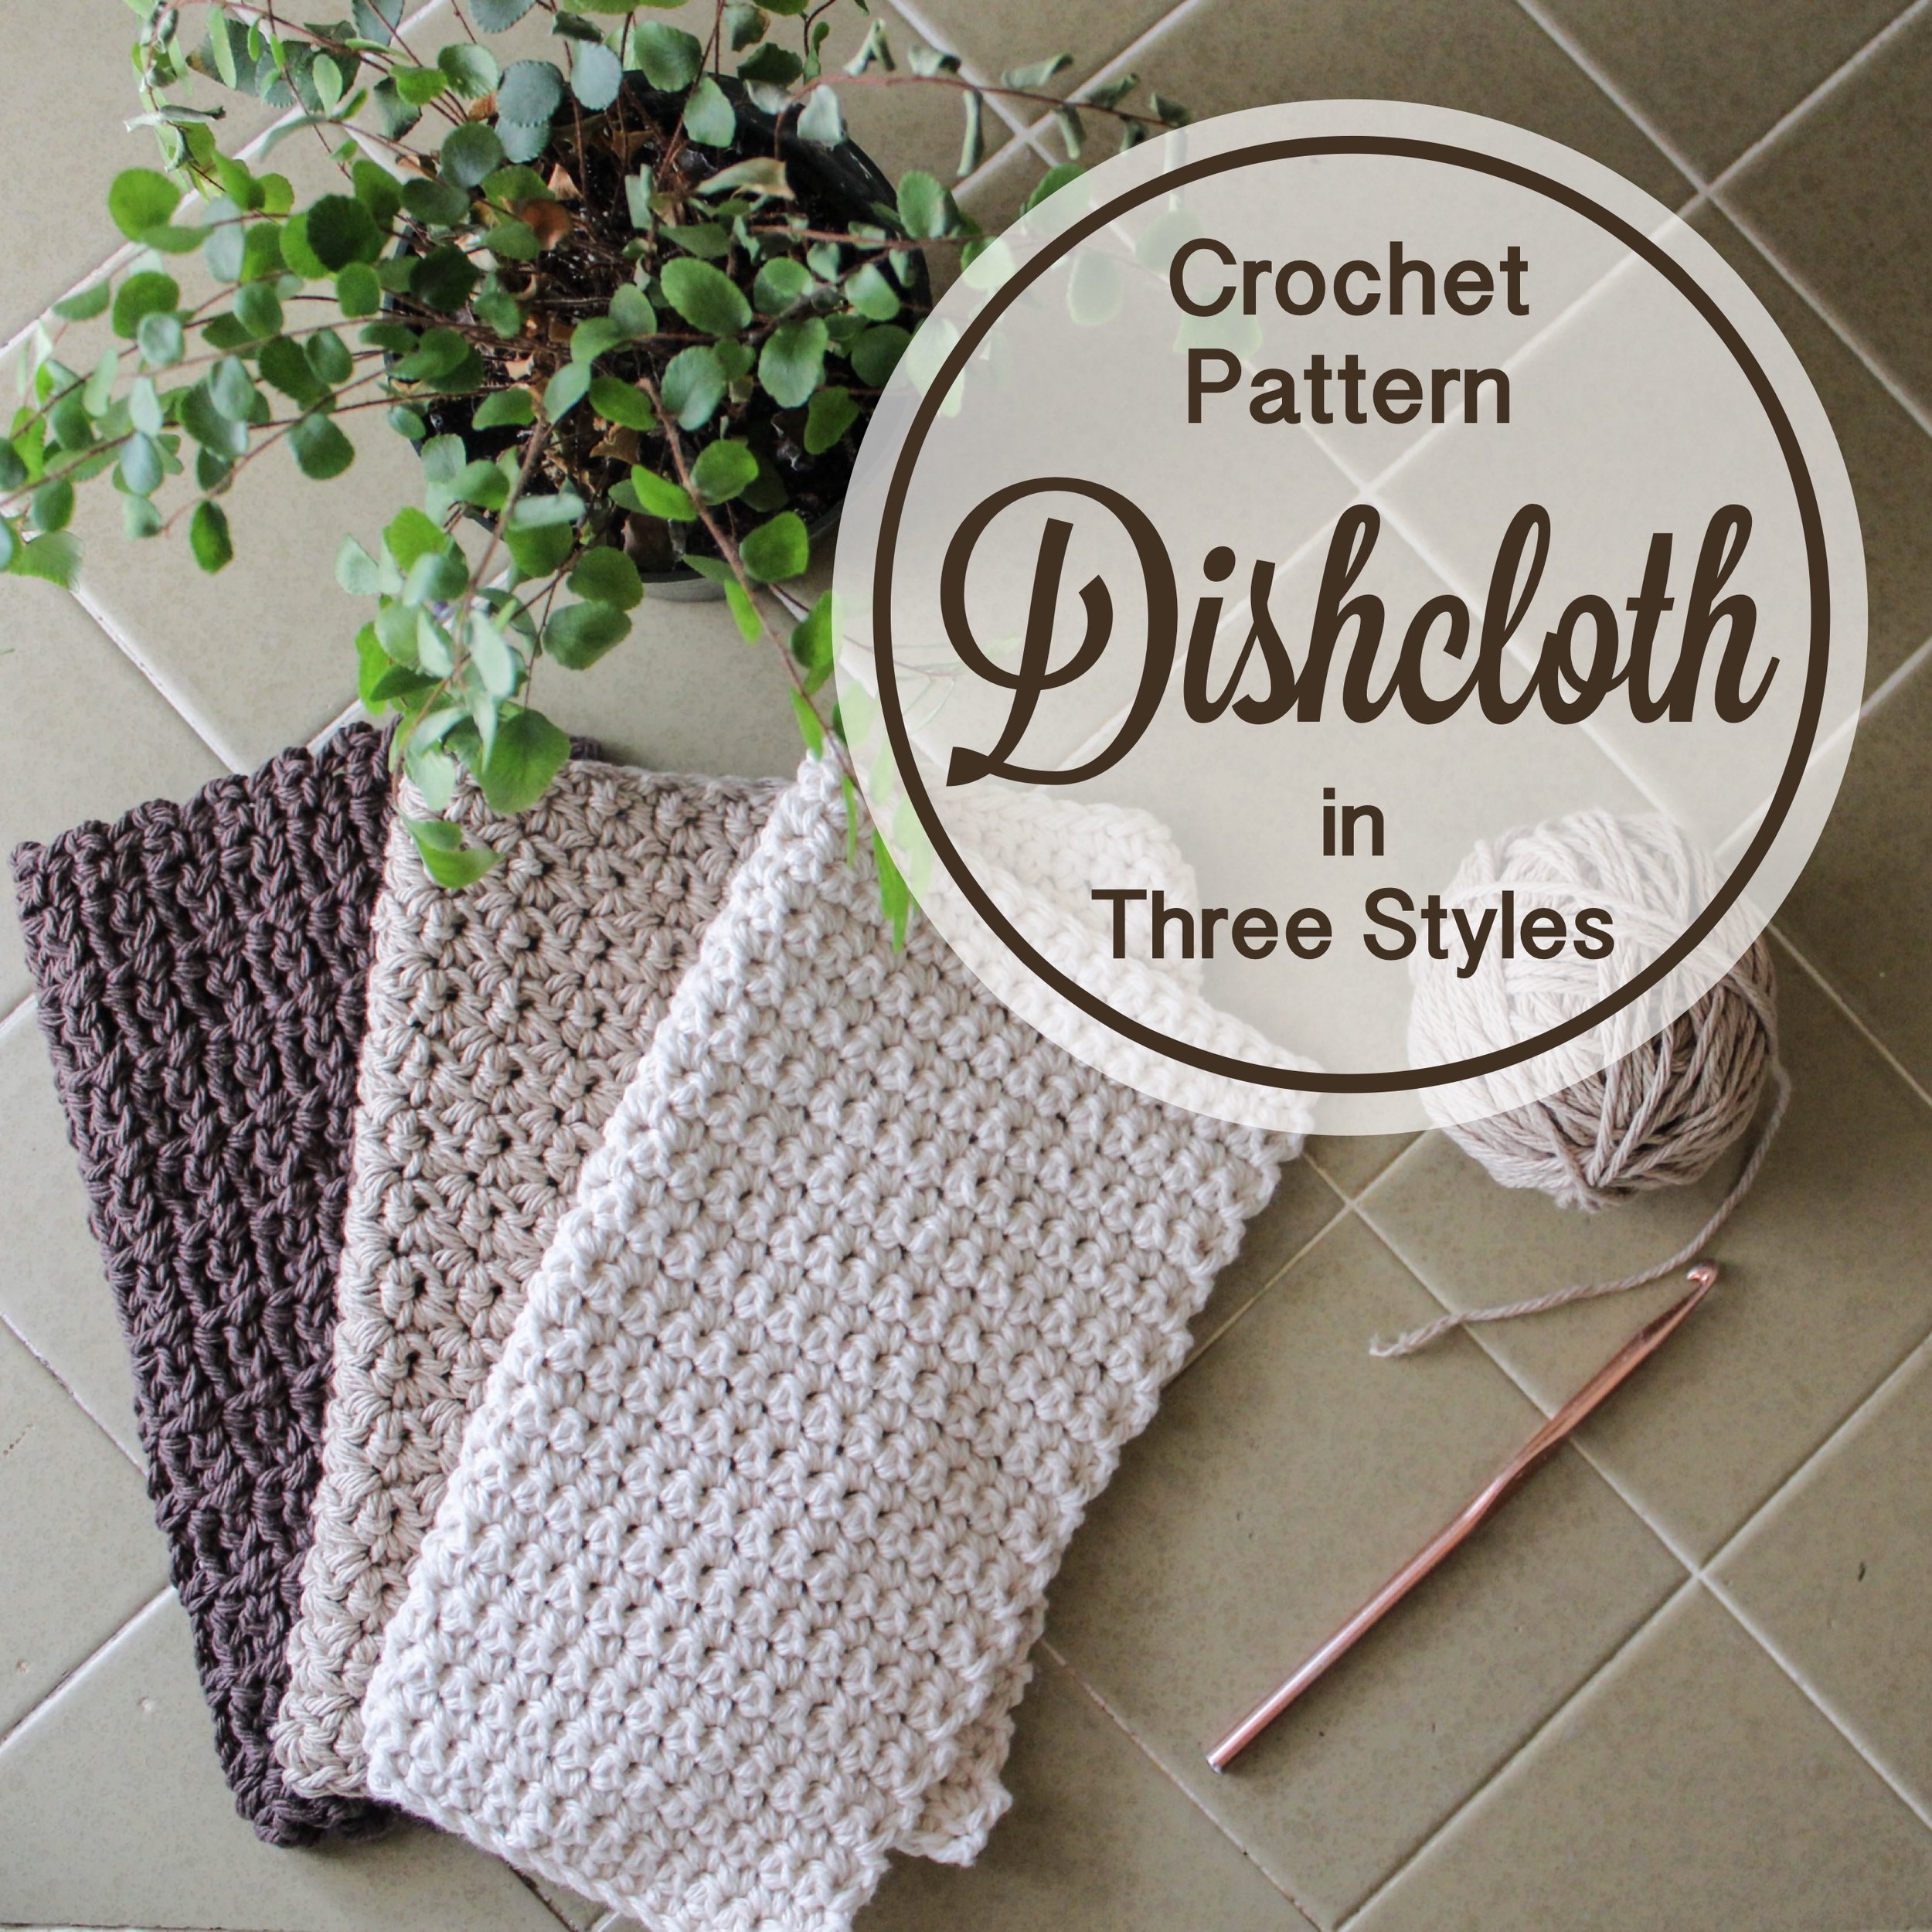
Free Crochet Dishcloth Pattern

For those of you who really want to make one of these crochet bonnets, but need to learn still, or want an easier project to warm up with, then grab this FREE Crochet Dishcloth Pattern, and visit my Blue Corduroy Crochet Lessons Series. You CAN do this!

I find that I equally love knitting and crocheting. Anything with yarn, people! But I’m well aware that many of you prefer one to the other, or have only learned one so far. For those of you who are knitters…

Knit Baby Bonnet Patterns

Knit Garden Bonnet Pattern

Bonnets are so quick to knit up that they are the perfect project for learning new stitches and techniques. This sweet Garden Baby Bonnet uses a technique called stranded colorwork, where you use two strands of different colored yarn to create a color design. See this blog post for more details: The Garden Lattice Knit Baby Bonnet Pattern.

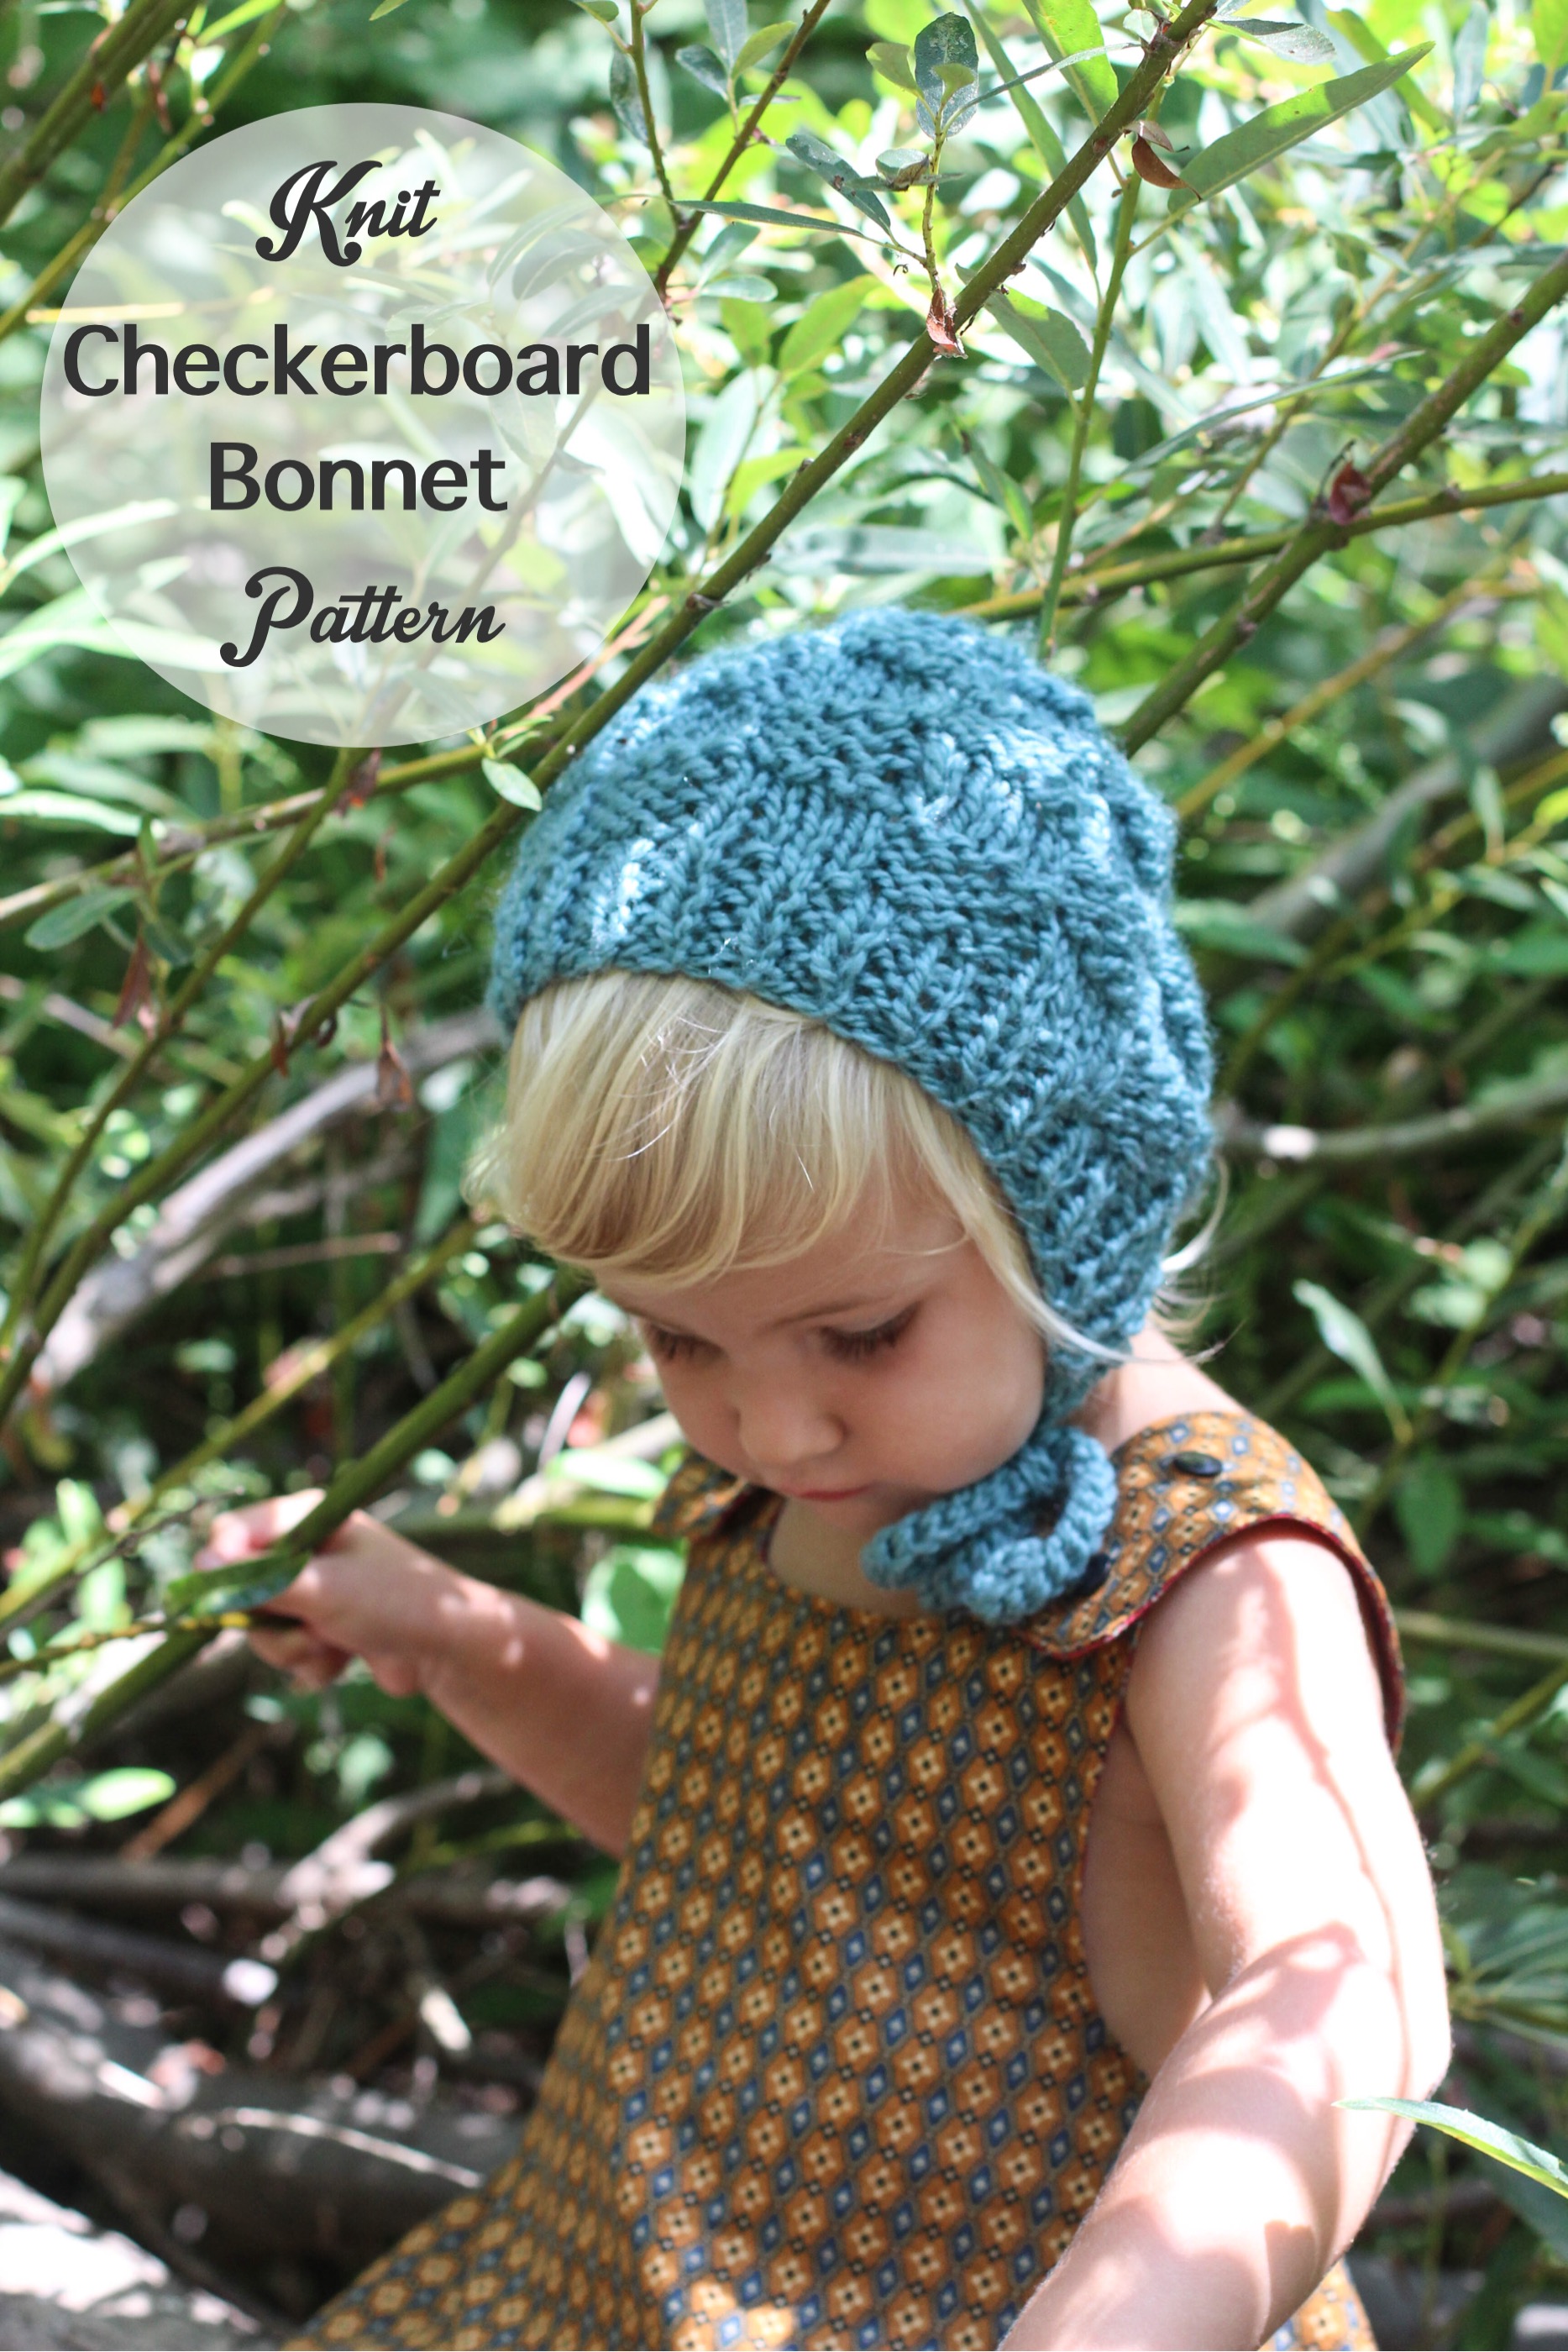
Knit Checkerboard Bonnet Pattern

Knitting is really just different combinations of Knits and Purls, right? Well this Checkerboard Knit Baby Bonnet Pattern uses knits and purls to create a classic checkerboard texture. For more details you can read: Knit Baby Bonnet Pattern :: A Chunky Checkerboard blog post.

Free Knit Scarf Pattern

Need to warm up your knitting needles? This FREE Scarf Pattern is a great way to get your groove back, and learn a simple new stitch in the process. Complete with video tutorial to help you every step of the way.

I truly hope at least one of these patterns gets you excited and motivated to CREATE! When you finish your project, I’d love to see it! You can tag me on Instagram @emily_bluecorduroy.

Sign up for my newsletter and get %15 off your next purchase in my shop, including patterns! And be the first to know when new patterns and products are released.

xo Emily

Blue Corduroy Crochet Lessons :: Slip Knot and Yarn labels

Who wants to learn how to crochet, raise your hand!

I'm so excited to present a series of crochet tutorials starting with the basics and working our way up to more advanced techniques so that you can crochet everything you've always dreamed of!  Dishcloths, scarves, baby blankets, bonnets, granny squares....what are you excited to make? 

Crochet Lessons, how to read a yarn label and how to do a slip knot by bluecorduroy.com

We're going to start at the very beginning with a slip knot. Ruby and Ginger will be helping me make these videos.  I set up a Blue Corduroy channel on YouTube, and if you subscribe, you will have easy access to step by step crochet lessons.

How to Make a Slip Knot

Learn how to do a simple Slip Knot! This easy tutorial for a slip knot is the first step in learning how to crochet or knit.

Getting to know your supplies is a must when learning a new skill. Yarn and crochet hooks come in all different sizes.  A thicker yarn will produce a bulkier finished project and will need a larger hook than a more delicate project with thinner yarn.  But how are you supposed to know which yarn goes with which hook?

I'm a big fan of asking the sales clerk for help, they almost always have all the answers you need.  But if you're left to your own devices, the yarn label has an easy to read chart to tell you exactly which hook and/or knitting needles to use.   

How to read a yarn label by Blue Corduroy

HOW TO READ A YARN LABEL

Yarn Thickness

When you flip the label over to the back, you'll see on the left side the yarn thickness, on this particular label in the photo below you'll see that the yarn is a SUPER BULKY #6.  When picking out projects to make, it is very handy to know what size yarn will produce the desired look. 

Recommended Knitting Needle Size

Moving to the right of the yarn size you'll see a square box with knitting needles crossed on the inside.  This image tells you to use a knitting needles size US 13, or 9 mm.  If you were to knit a square swatch of 9 stitches long and 12 stitches high, with the appropriate knitting needles, it should measure 4" x 4" (or 10cm x 10cm)

Recommended Crochet Hook Size

Moving to the right of the knitting needle box, you'll see a crochet hook icon.  This particular yarn label suggests a crochet hook size US M/13 or 9 mm.  Notice how the crochet hook and knitting needles sizes correspond? Very handy!

Laundry Instructions

At the far right of the yarn label are the laundry instructions.  This is something you definitely want to pay attention to if you plan on laundering your finished product. Thankfully, it also tells you in words underneath the drawings on most labels, because I can often forget what each symbol means. This particular yarn wants to be hand washed, lay flat to dry. No iron, no bleach.

A Special Note about Tension

Some people will naturally crochet or knit with a very tight stitch, and others will make their stitches looser.  It's funny to notice in yourself, if your feeling stressed out about something, your stitches can become tighter and tighter, without you even trying!  

Each pattern usually comes with a "gauge" and this is a simple way of working up a small portion of the pattern to check on what size your stitches are compared to the pattern makers.  If you tend to work tight or you've chosen a slightly thinner yarn than the pattern suggests, you may need to experiment with a larger needle/hook or different size yarn.  

Grab my FREE Crochet Dishcloth Pattern for Beginners!

How to Slip Knot and Read Yarn Labels by Blue Corduroy

pillows {and thoughts} for a new year


Since the new year, I've been happily hooking away on these pillows here.  It's slightly overwhelming considering the endless color and pattern combinations you can make on a crocheted pillow. 

These pillows have taught me a few things about what I want for my little etsy shop this year.

One thing I discovered was that making large batches of things really exercised my creativity in a new way!  I was able to really explore and dig deeper, rather than feeling like I needed to move on to the next product idea on my list for fear of losing my creativity.  It was actually the opposite, where by making quantities of the same thing, I was getting even more ideas.

This new year I have some exciting products I plan on making, and I plan on making them in larger quantities!

fall scarves: shop update


It's starting to really feel like fall, isn't it?  It feels like the right time to be making (and wearing) some fun new scarves!!  Here's just a few of the new colors and designs I have added to the shop.  Including new flower pins!  There seems to be an infinite variety of colors and styles when it comes to scarves, so don't be surprised if you keep seeing new ones popping up over here.  And if you have any favorite combo's you want to tell me about, please do!

Another good reason to start stocking up on these scarves is that I'm preparing for the upcoming Stitch Market this holiday season!  It will be held Dec. 6th and 7th.  See here for more details.  Lindsey and I always enjoy putting this fun market together.

wip {works in progress} turns purge

So the other night, I was invited to a friends house for dinner.  Ginger showed us the things she had been making (she likes to make!).  I had a great time (she is a crack up, and the other guests are my friends too!).  And I came home with some fresh inspiration.

The next day I decided I NEEDED to make a quilt.  And I knew I wanted it to have a built in chevron pattern.  So I searched pinterest for all the different ways to make a quilt block that would combine with the other quilt blocks to make a zig zag pattern.  This one was so easy, and not full of a bunch of tedious piecing.  If you look closely each block is just a big square, cut into two triangles.  


The other thing I couldn't wait to get started on was a crocheted rug.  Ginger showed us this awesome trick with making long yarn strands out of t-shirts.  I loved it.  But, it was going to take me a while to collect enough t-shirts to make a rug the size I wanted.  I couldn't wait that long.  I moved to plan b.  My big stack of thrifted sheets was crying out to me.


Once I cut them up into long 2" strips, I started crocheting.  I'm using my big fat hook, and a double crochet stitch.  In these pictures the rug is about 2' x 3' and had used up about 3 sheets.  I am now 6 sheets into it, measuring roughly 4' x 5'.  I'm going to put it in the girls room and am going to make it a bit bigger still.  I'll probably end up using about 8 to 10 sheets.


What a great way to destash my fabric collection.  After clearing out so many sheets, I moved on to my other fabric stacks, and piles, and boxes, and bagged up 4 garbage bags of fabric that just did not inspire me any more, and sent it off to the Goodwill.  And that just opened up a flood gate of purging around here.  I'm still going...

a new beach hoodie


Ruby has a new beach hoodie for the summer time foggy mornings at the beach.
It was a hand me down, too big, boy sweatshirt with a skull on the chest.  
But, where there is a large aqua zipper, there is potential.

We knew the sweatshirt would be usable if we could think of a creative way to cover up that skull.  
(We are not partial to skulls on our belongings in this house).
We thought of various shapes to applique on.  None of them seemed quite right.  Then I knew when our buddy Toni came over for a visit that she would have a great idea.  (You can always count on Toni for great ideas!). 
 She had an idea for us right away!  A doily!
I have a basket full of vintage thrifted doilies for such occasions as this, but they were all too large.  I knew in time I would come across just the right size, or I could even buy a new one at the craft store.  I couldn't wait.  I made one.  I found the doily pattern here.  I also put a new white string in the hood to tie it all together.  Now I want to put a doily on everything.  And you know what they say in Portlandia...


how to crochet a granny square

I know there must be a million granny square tutorials out there, but when I haven't made one in a while, and need a refresher, I never can seem to find a good pattern. So here is my recreation of a granny square for myself, and anyone else, who sometimes needs to refresh (or learn anew) their granny square skills.

I like to begin circular patterns with a magic circle.  You will want to chain 4 after you wind the yarn around your finger a few times.
 Then (3dc and chain 1) 3 times total.  2dc then slip stitch into the third chain that you started the round with.  This completes the center of your granny square.  At this point I like to switch colors!
Pull your new color through one of your corners (the chain one space between one of your 3dc groups from the first round).

Now you can work your fist corner.  Chain 3(this counts as your first dc), 2dc and chain 1.  3dc and chain 1.  All this is worked into the same space.
Move to your next corner (the next chain 1 space between the 3dc group from the center of your granny square).  (3dc, chain one, 3dc, chain one) repeat 2 more times (four corners total).  Slip stitch after your last chain one, into the 3rd chain from your first chain in this row.

Now it's time to start your third row.  Pull your new color through any corner and chain 3.
Work your first corner of row 3:  2dc and chain one, 3dc and chain one. * 3dc into the middle  chain 1.   Move to your next corner.  3dc, chain one, 3dc, chain one. *  Repeat from *  3 more times.  Slip stitch into the third chain of your beginning chain.
Add your new color for row 4.  Work your first corner:  Chain 3. 

2dc, chain 1, 3dc, chain 1.  *Move to next chain one space.  3dc, chain 1.  Move to next chain one space.  3dc, chain 1.  Move to next corner.  3dc, chain 1, 3dc, chain 1.* repeat from * 3 more times.  Slip stitch into 3rd stitch of beginning chain.

At this point you can continue to grow your square until it is the size of a blanket (and beyond!) or start making more squares to eventually sew together to make a blanket, pillow, etc.  There are so many things you can do with a granny square!  And yes, at some point you will need to weave in all your loose yarns.


sister sweater


It wasn't super easy to find a simple crochet cardigan sweater pattern in a girl size.  But I knew I would find what I was looking for in the vintage pattern section of etsy.  This pattern booklet was so 80's, it was perfect.

It was just a few different panels (front sections, back, sleeves), then weave them all together.  The yoke was last with the color contrast.


I told the girls "it's just one stitch after another, then pretty soon, it's a sweater!"

sister sweater!


weekending


We had such a nice, relaxing, rainy weekend.  Lots of inside time, with little hints of outside time.  I spent hours on the couch crocheting.  Perfecting some new crochet rosettes, and almost finishing the sweater I'm making for Ruby.  I had a great date with Ginger at the kitchen table, playing UNO while our lemon bars cooked.  We tooked a refreshing walk at the beach with some good friends, and met some new friends (missionaries from Ethiopia!).

Blue Corduroy's etsy shop is now stocked with some new girl's spring dresses.  Crochet Rosettes will be available soon.

I hope the new week goes well for you!

crochet basics {the magic circle}

I wanted to do a series of crochet tutorials.  There are so many fun stitches and patterns out there.  And whether you're learning them for the first time, or if you're like me, you forget from time to time, it's nice to have a source of compiled crochet basics.

The Magic Circle

The magic circle is my preferred way for beginning any crochet pattern that begins with a circle.  You can modify any circular pattern to begin this way.

1)  Wind your yarn around your finger 3 times.  Make sure to have the short end of the yarn at the tip of your finger, and the end attached to the ball of yarn at the base of your finger.

2) Slide your hook under all three strands and grab the third with your hook.

3) Pull that third strand under the other strands on your finger, and keep it on your hook.

 4)  Do a chain stitch with the loop still on your finger.

5)  Pull the whole loop off your finger.

6)  Now, if you are doing a pattern with double crochet you will want to chain 2 more (pictured below).  If you are working a pattern with a singel crochet you will stop with just one chain.

7)  If your work is double crochet, and you chained 3, then do 12 double crochet into the circle (pictured below).  If your work is single crochet, you will do 6 single crochets into the circle.

8)  Now slip stitch your final double (or single) crochet into the top chain that you started with.  You now have a complete circle, with a large center.

9)  Abra Kadabra.... Pull your short tail and watch your circle magically shrink!  Now you can complete your hat, flower, granny square, etc.

a yellow sweater for ginger

The last time I knitted a sweater was for my 13 year old neice when she was 3!  I had made a couple for myself before that.  And then I swore to myself, and made a pact with my mom that if we ever talked about knitting a sweater again we would hope the other would talk some sense into us so that we wouldn't actually try that again. 

So I didn't tell her this time.  And I found myself a good old vintage crochet sweater pattern for kids on etsy.  And I took it one peice at a time.  Enjoying the fact that I was making a sweater for my own daughter, one stitch at a time.

And she loves it!  And I love it!  And it fit just right!

Next one is for Ruby.  I'll keep you posted.

crochet pillows in the shop!

Thanks to all my friends and family who shared the words of encouragement through my rut a couple weeks ago.  I'm feeling fresh and free once again!

These pillows certainly were good medicine for my lack of inspiration.  The patterns and colors perked me right up.  I've made a handful of them for my shop.


They will instantly perk up any couch, bed, or chair.  Bringing their retro cottage style with them!


They are made with a colorful crochet top and a vintage fabric envelope enclosure for the back.


They are stuffed with a 14" x 14" pillow form.


Find them here in my shop with different colors and patterns!

lacking and looking for inspiration

My inspiration left me this week. All of a sudden. I'm not sure it had ever happened to this degree before, ever. I did not want to make anything. I couldn't think of anything I wanted to make. I just sat on the couch, looking into space, not interested in making at all. I was even thinking that I would stop making all together, forever. Just be done. Well, that was all ridiculous, really. Who was I kidding. I need to make. I just had to look back over my life to see how much making was a part of it.

It started coming back to me. Slowly, and in small amounts. I made a baby hat. Not my regular, tried and true baby hat. Something completely new and different. I just made it up as I went. I needed freedom.


Then I dug up the wooden hangars I had buried somewhere. I put some yarn on one. I liked it.


It's all baby steps. Next, I want to make a new beach blanket. Something simple. Something for me. Maybe even some new pajama pants out of my big stash of vintage sheets. For me.
Baby steps.

quotes to start off with

"Write it on your heart that every day is the best day in the year."

Ralph Waldo Emerson

I like this one because when you start the new year off with a cold (like me), you have to believe that you have more than one chance to start off right.

via pinterest via sarah london textiles

And then there's my favorite for many different circumstances:

"baby steps"...{into the new year}

Bill Murray from "What about Bob"

via pinterest via dottie angel

I am excited for the new year, yes! But I am also planning on taking it one day at a time, with the best intentions on finishing strong. Sort of like when I am crocheting a granny square quilt. Oh sure, it's so fun and exciting to pick the colors and do a few squares, but when it comes to tying in all those loose ends, and you start to wonder if you really want the blanket after all. Then it's all about "baby steps" to finishing the blanket. And how happy you are when the blanket is done!

So maybe I'll call this year the "granny square baby steps year".

via pinterest via ravelry