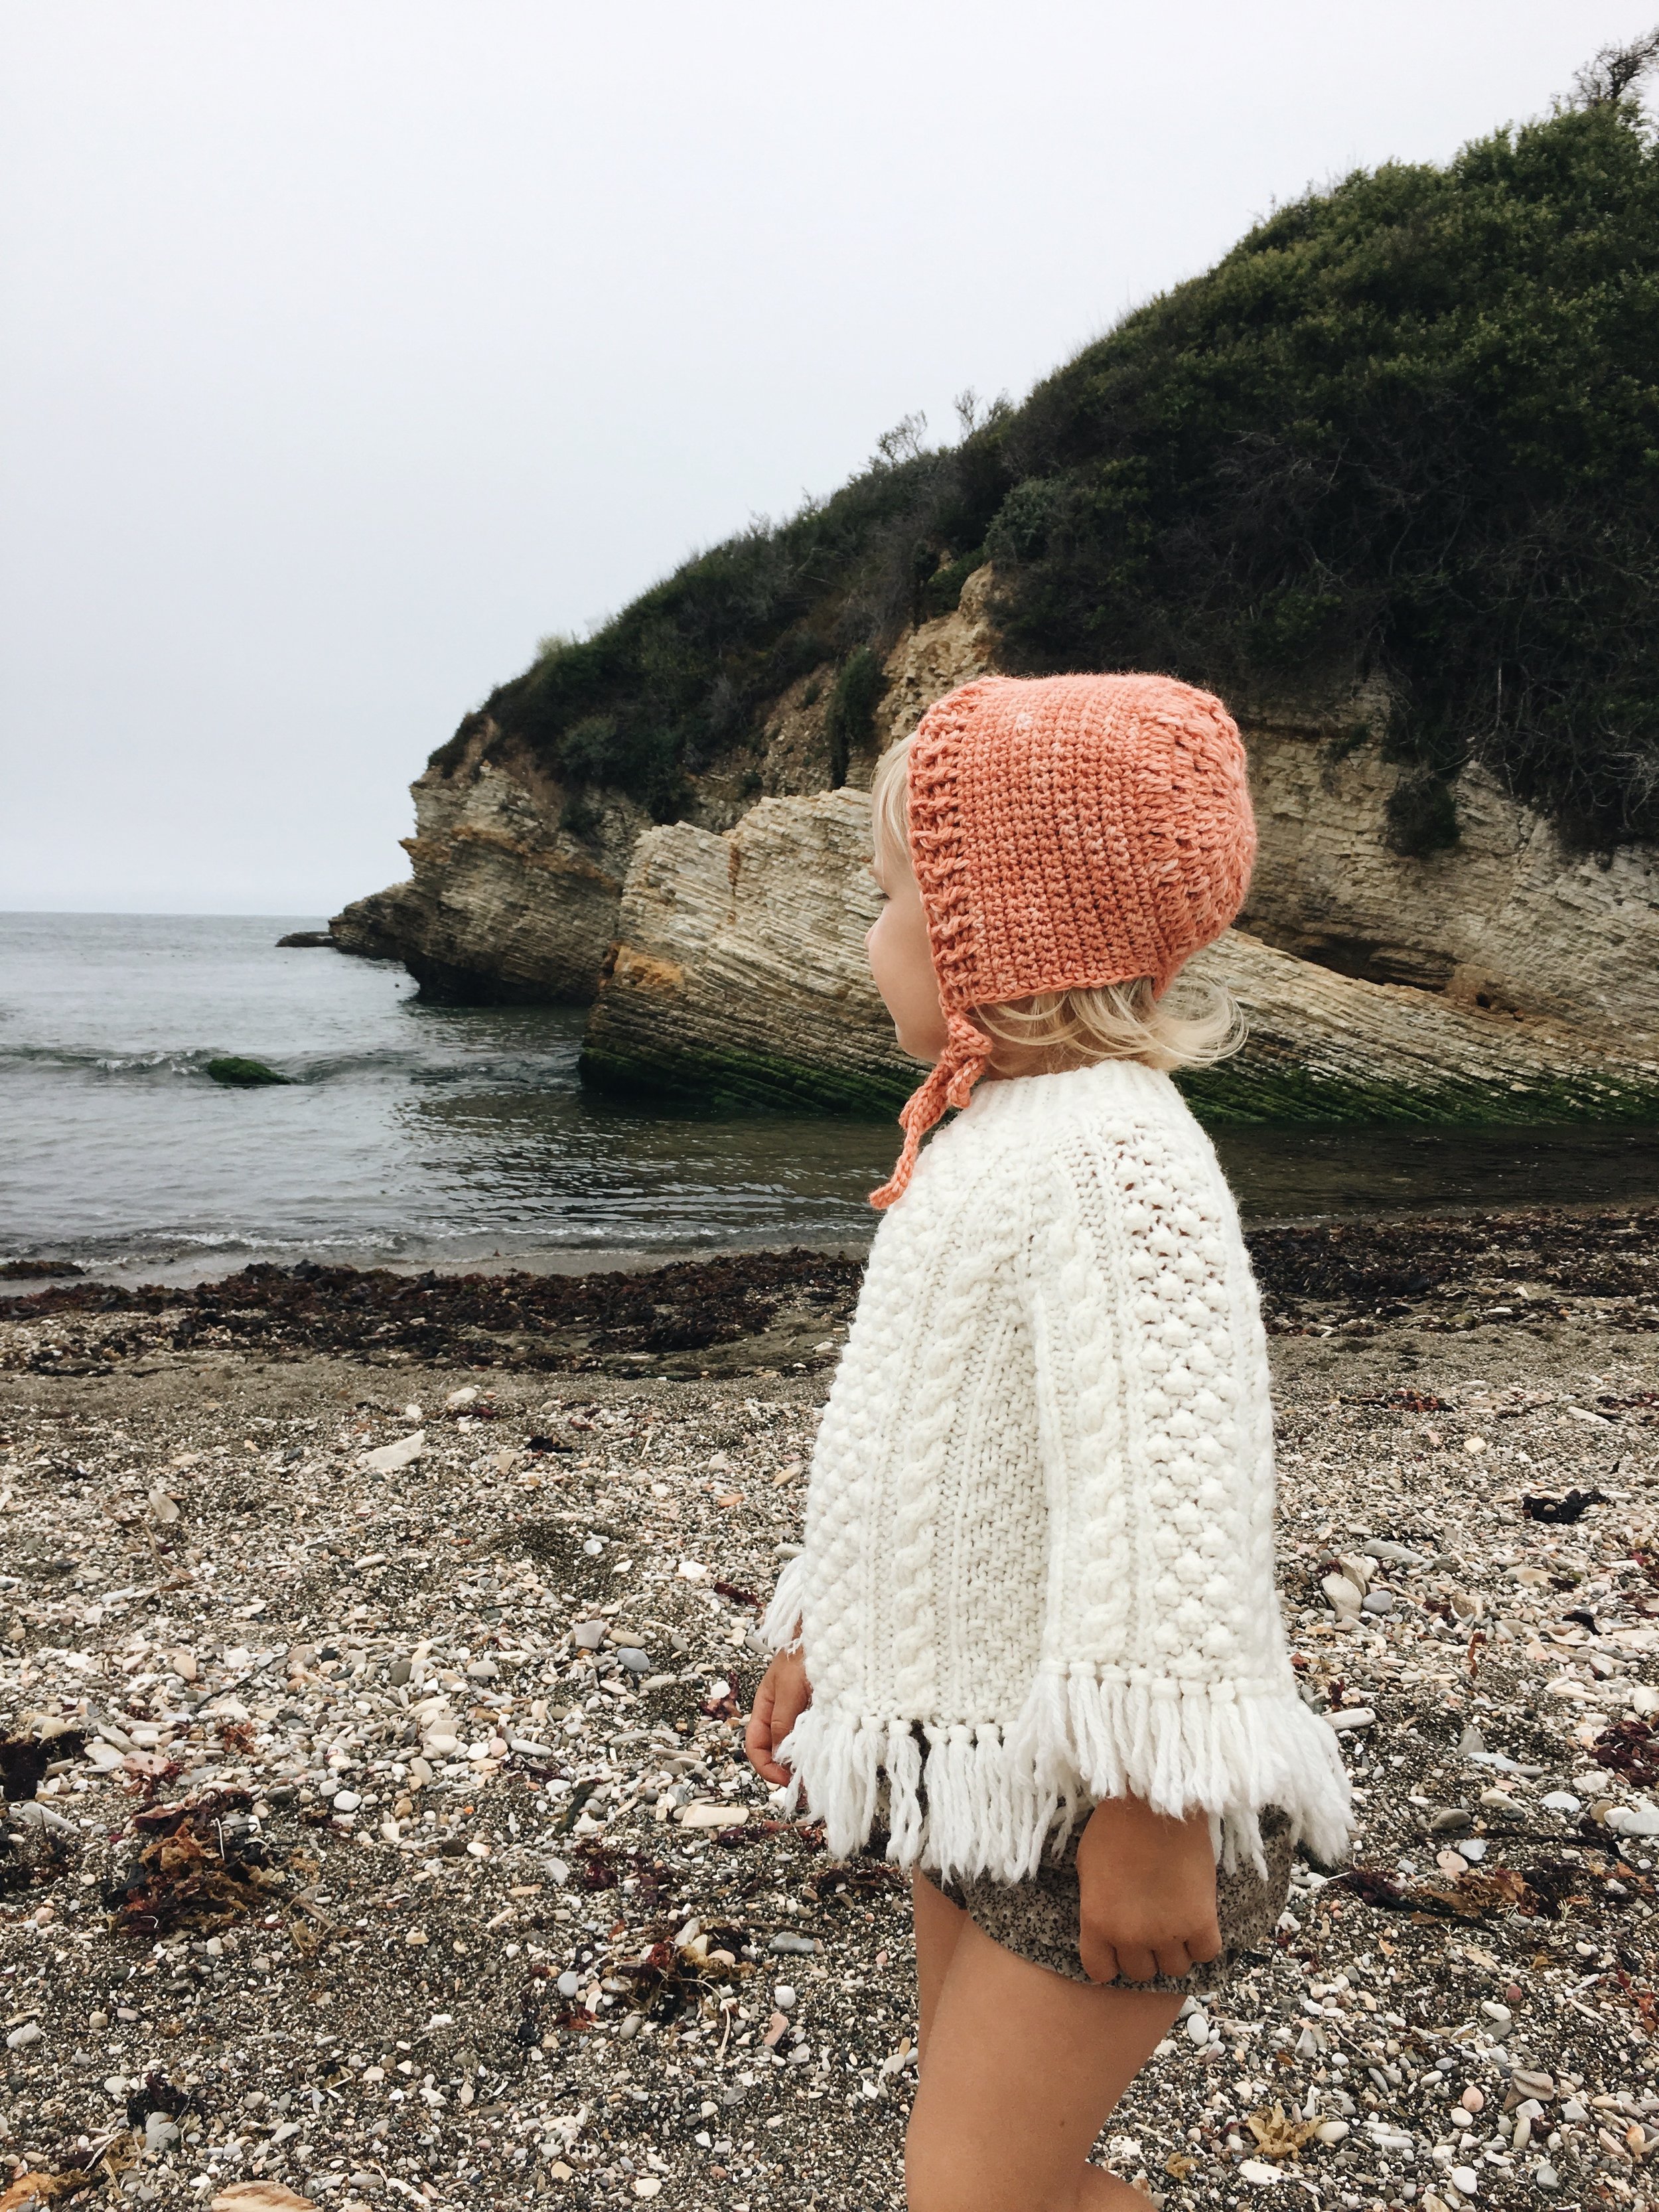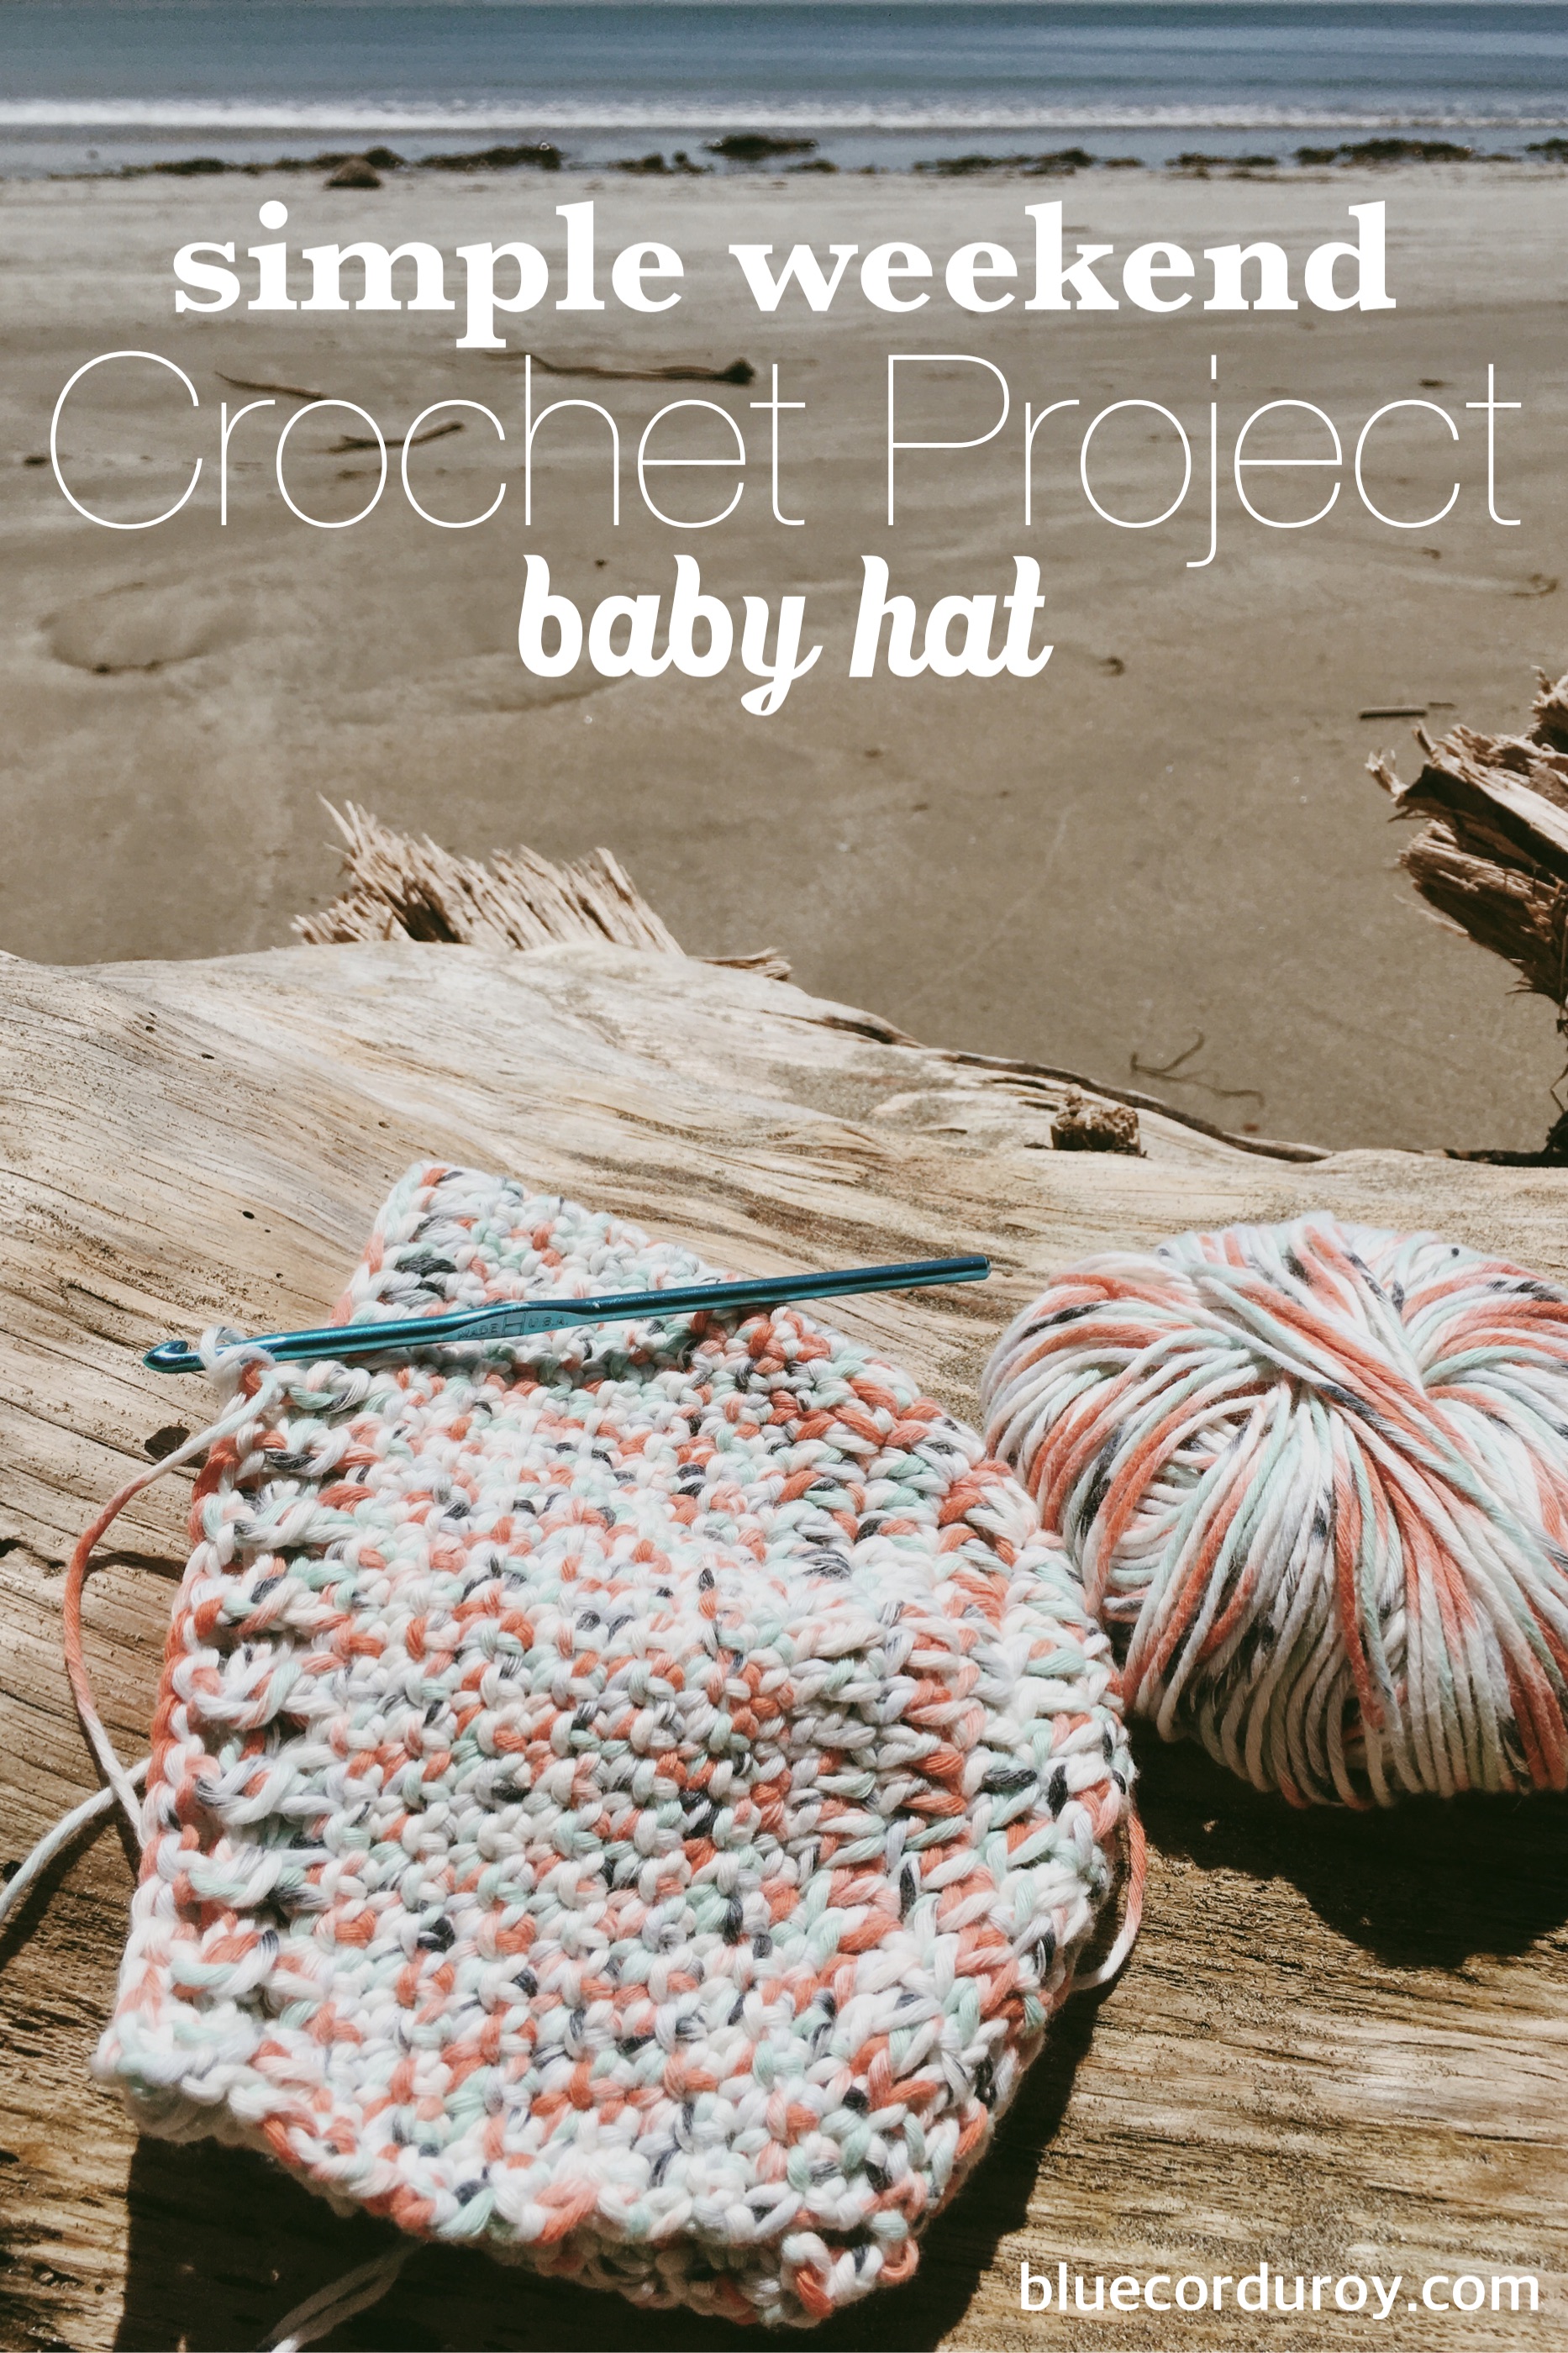
Relaxing at the beach on the weekend with a simple crochet project is always my idea of a good time.
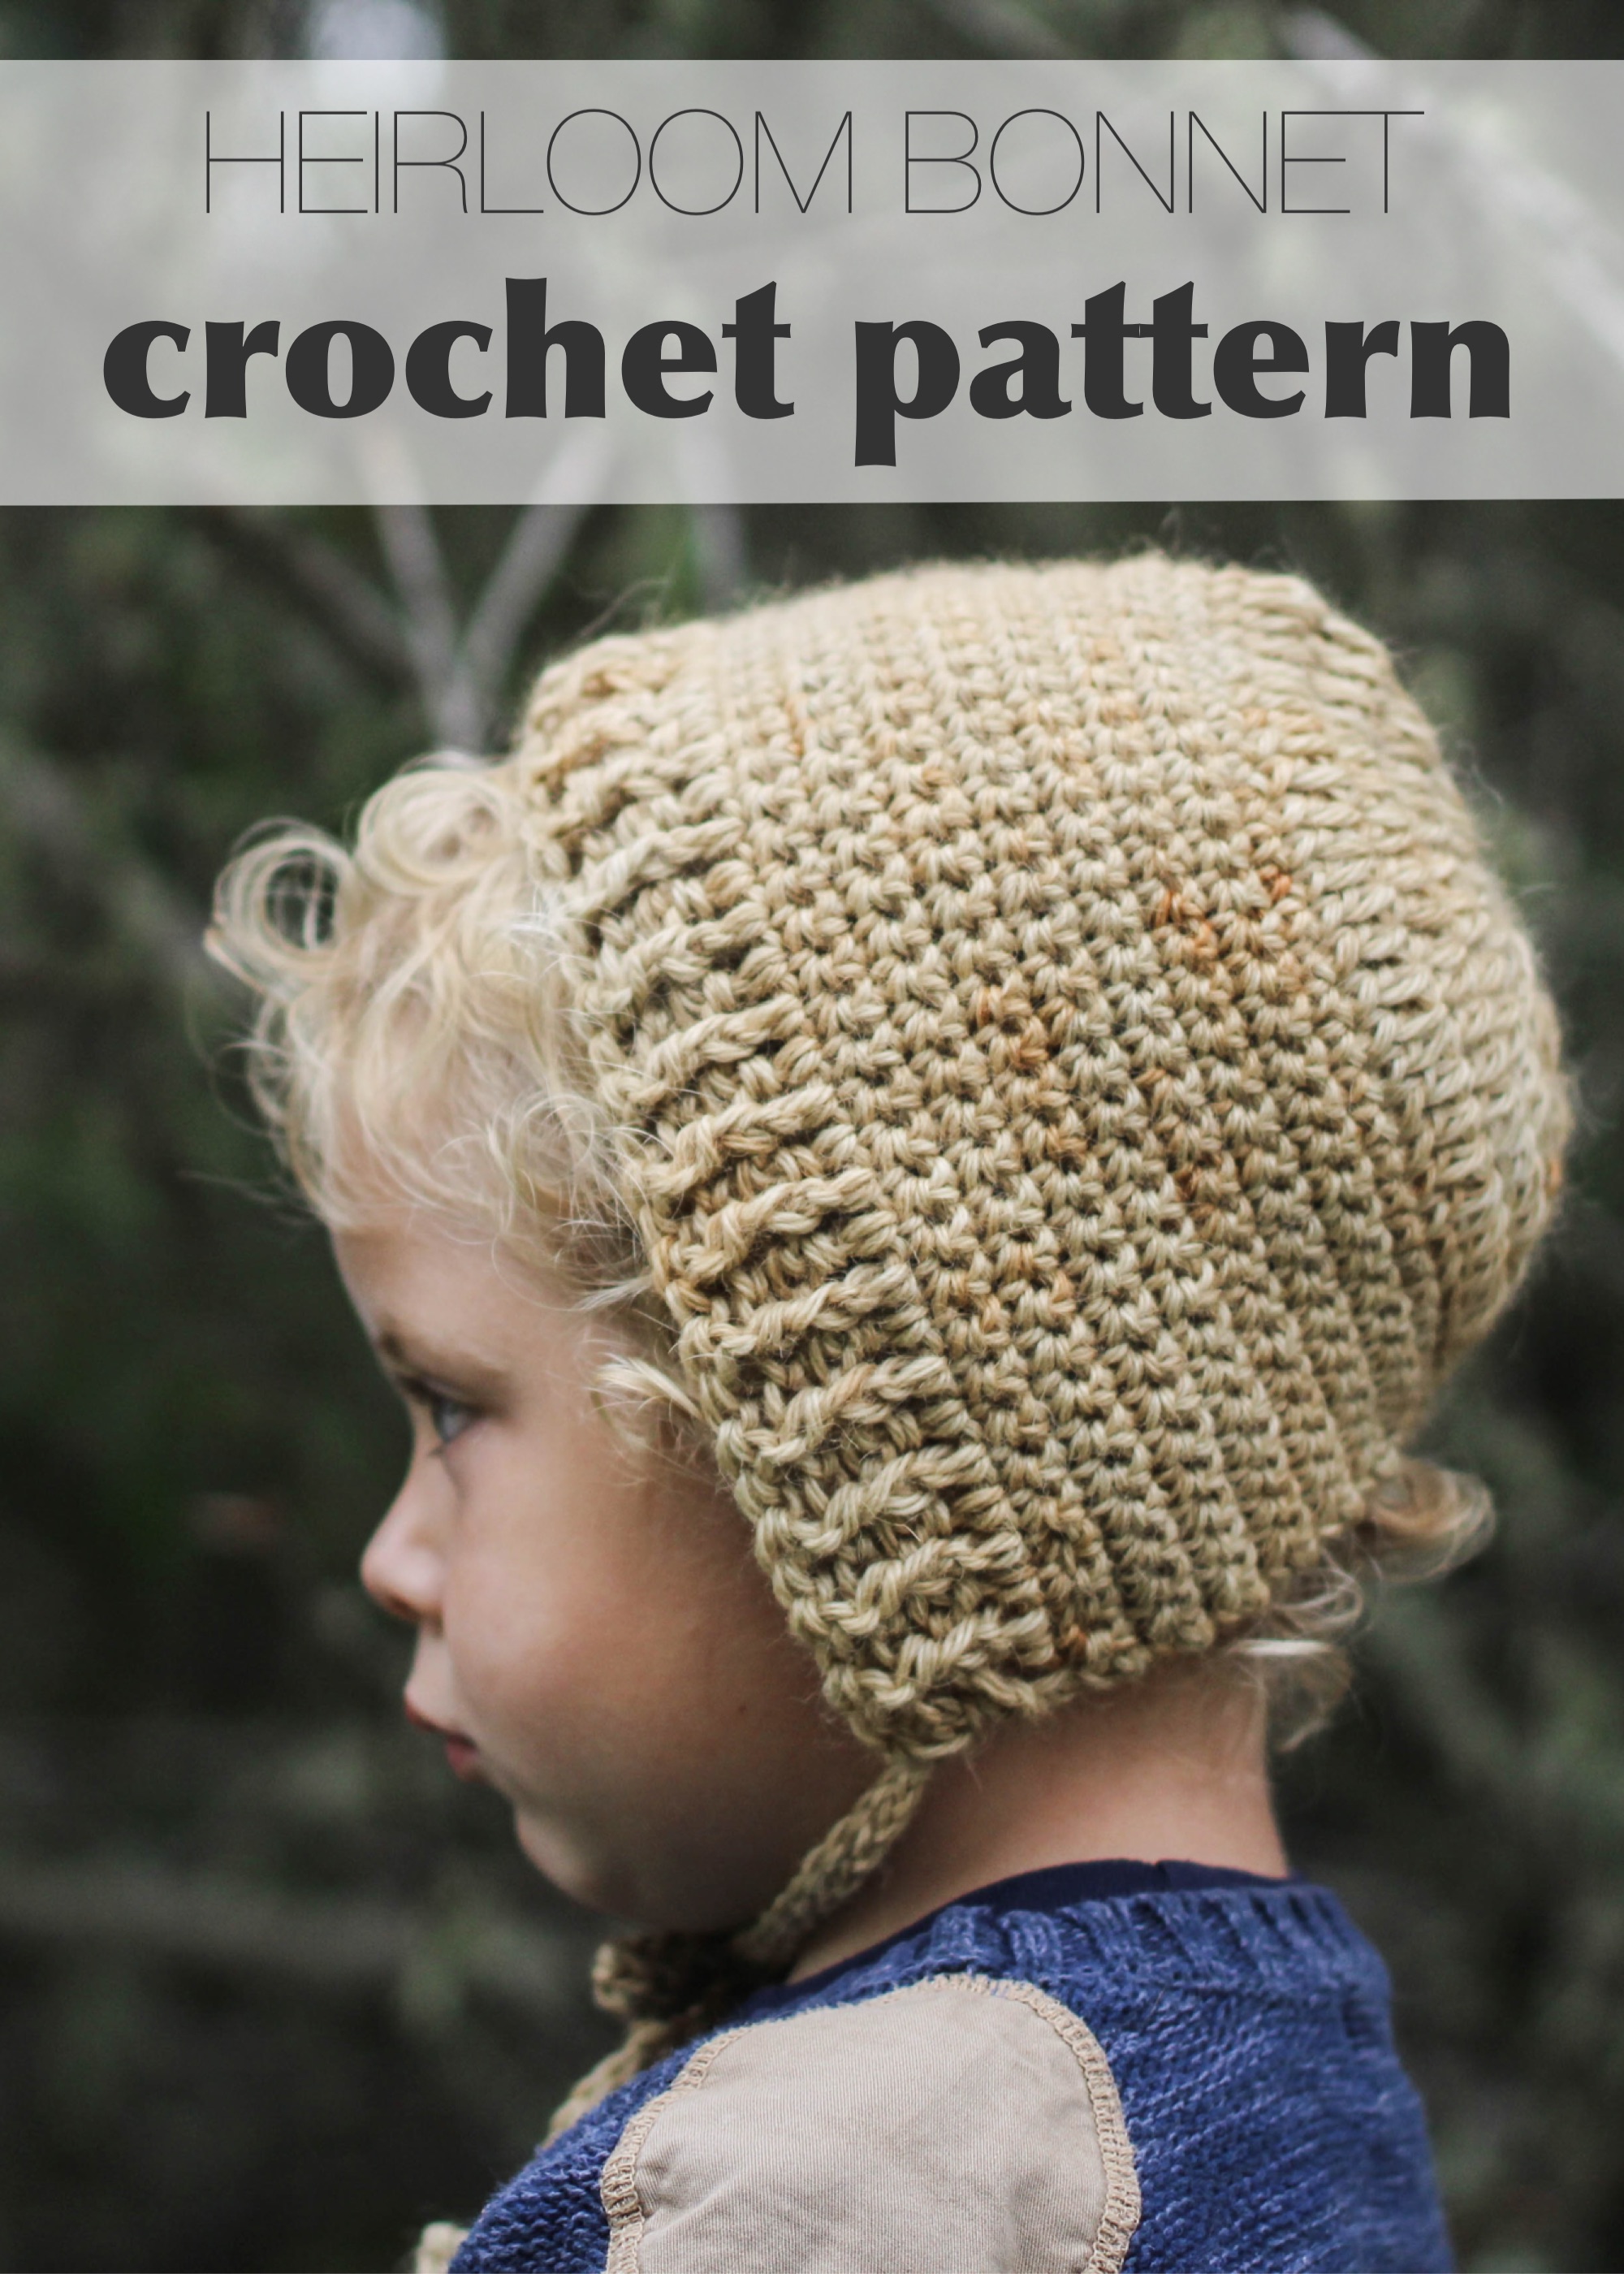
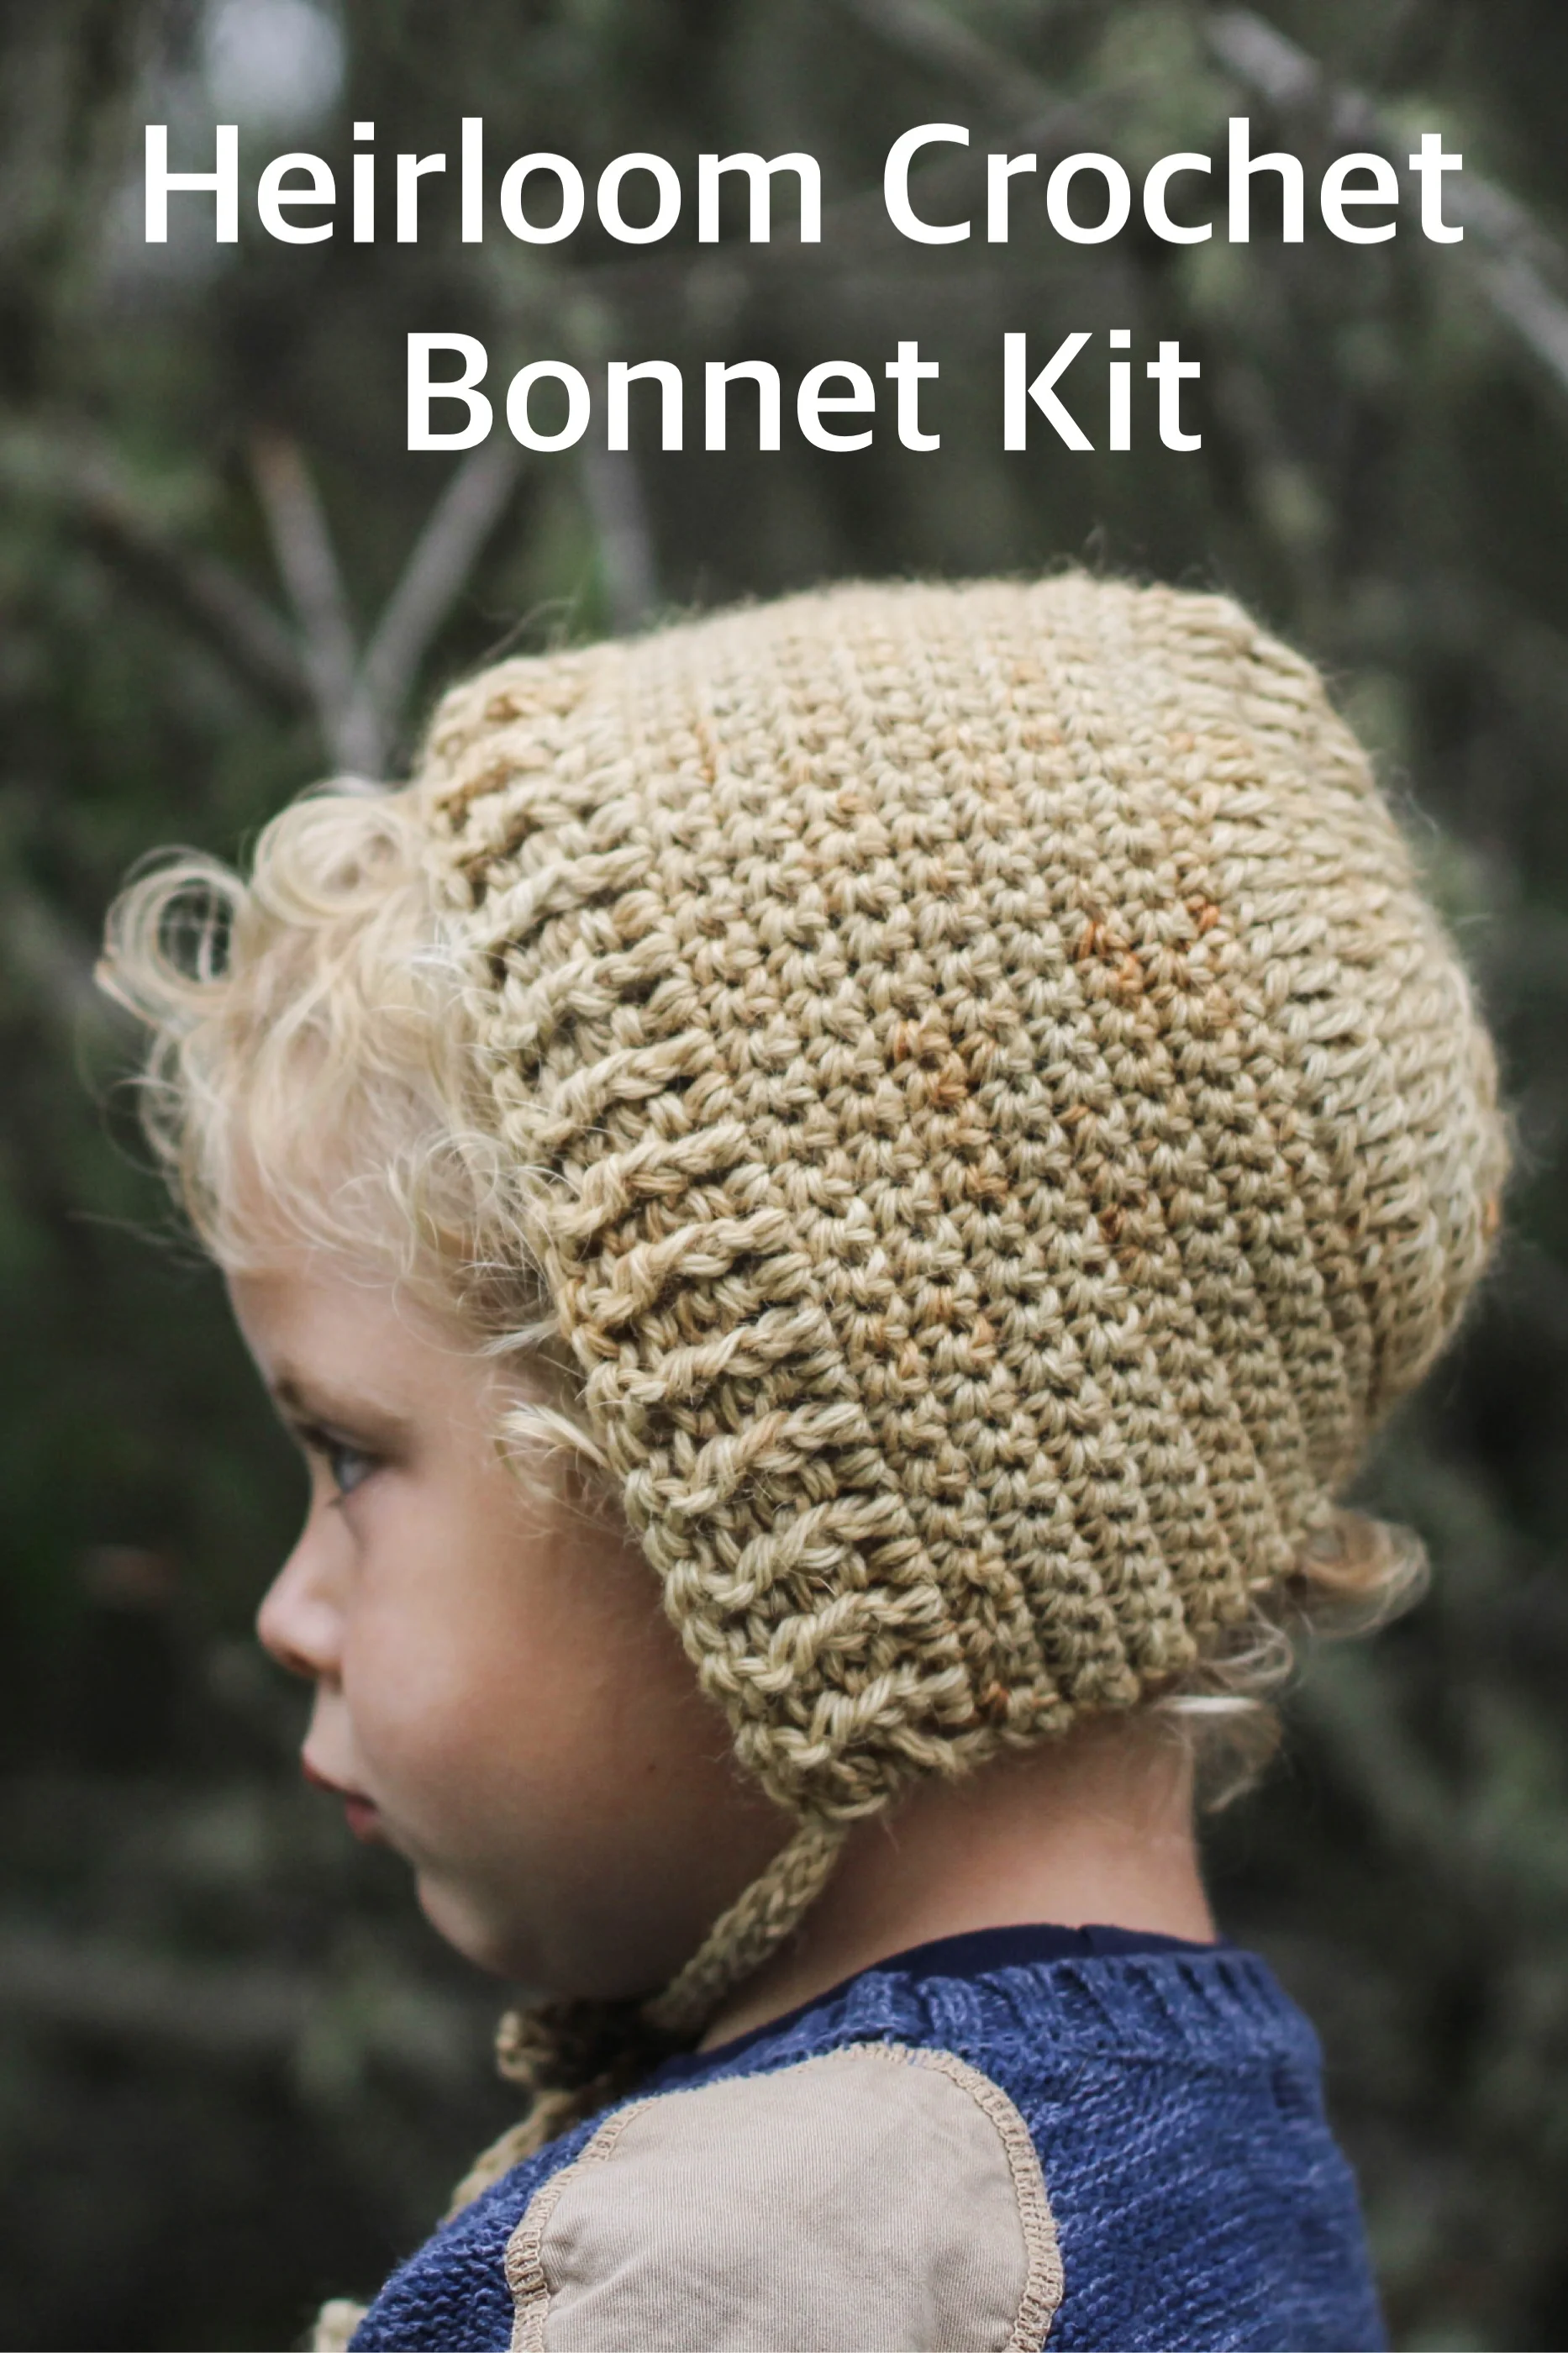
This simple Heirloom Bonnet Crochet Pattern I made years ago is the best quick bonnet pattern for beginners or advanced crocheters. Quick litlle projects are easy to carry along in your beach bag and don’t require too much focused attention, so you can let your mind daydream while watching the waves roll in.
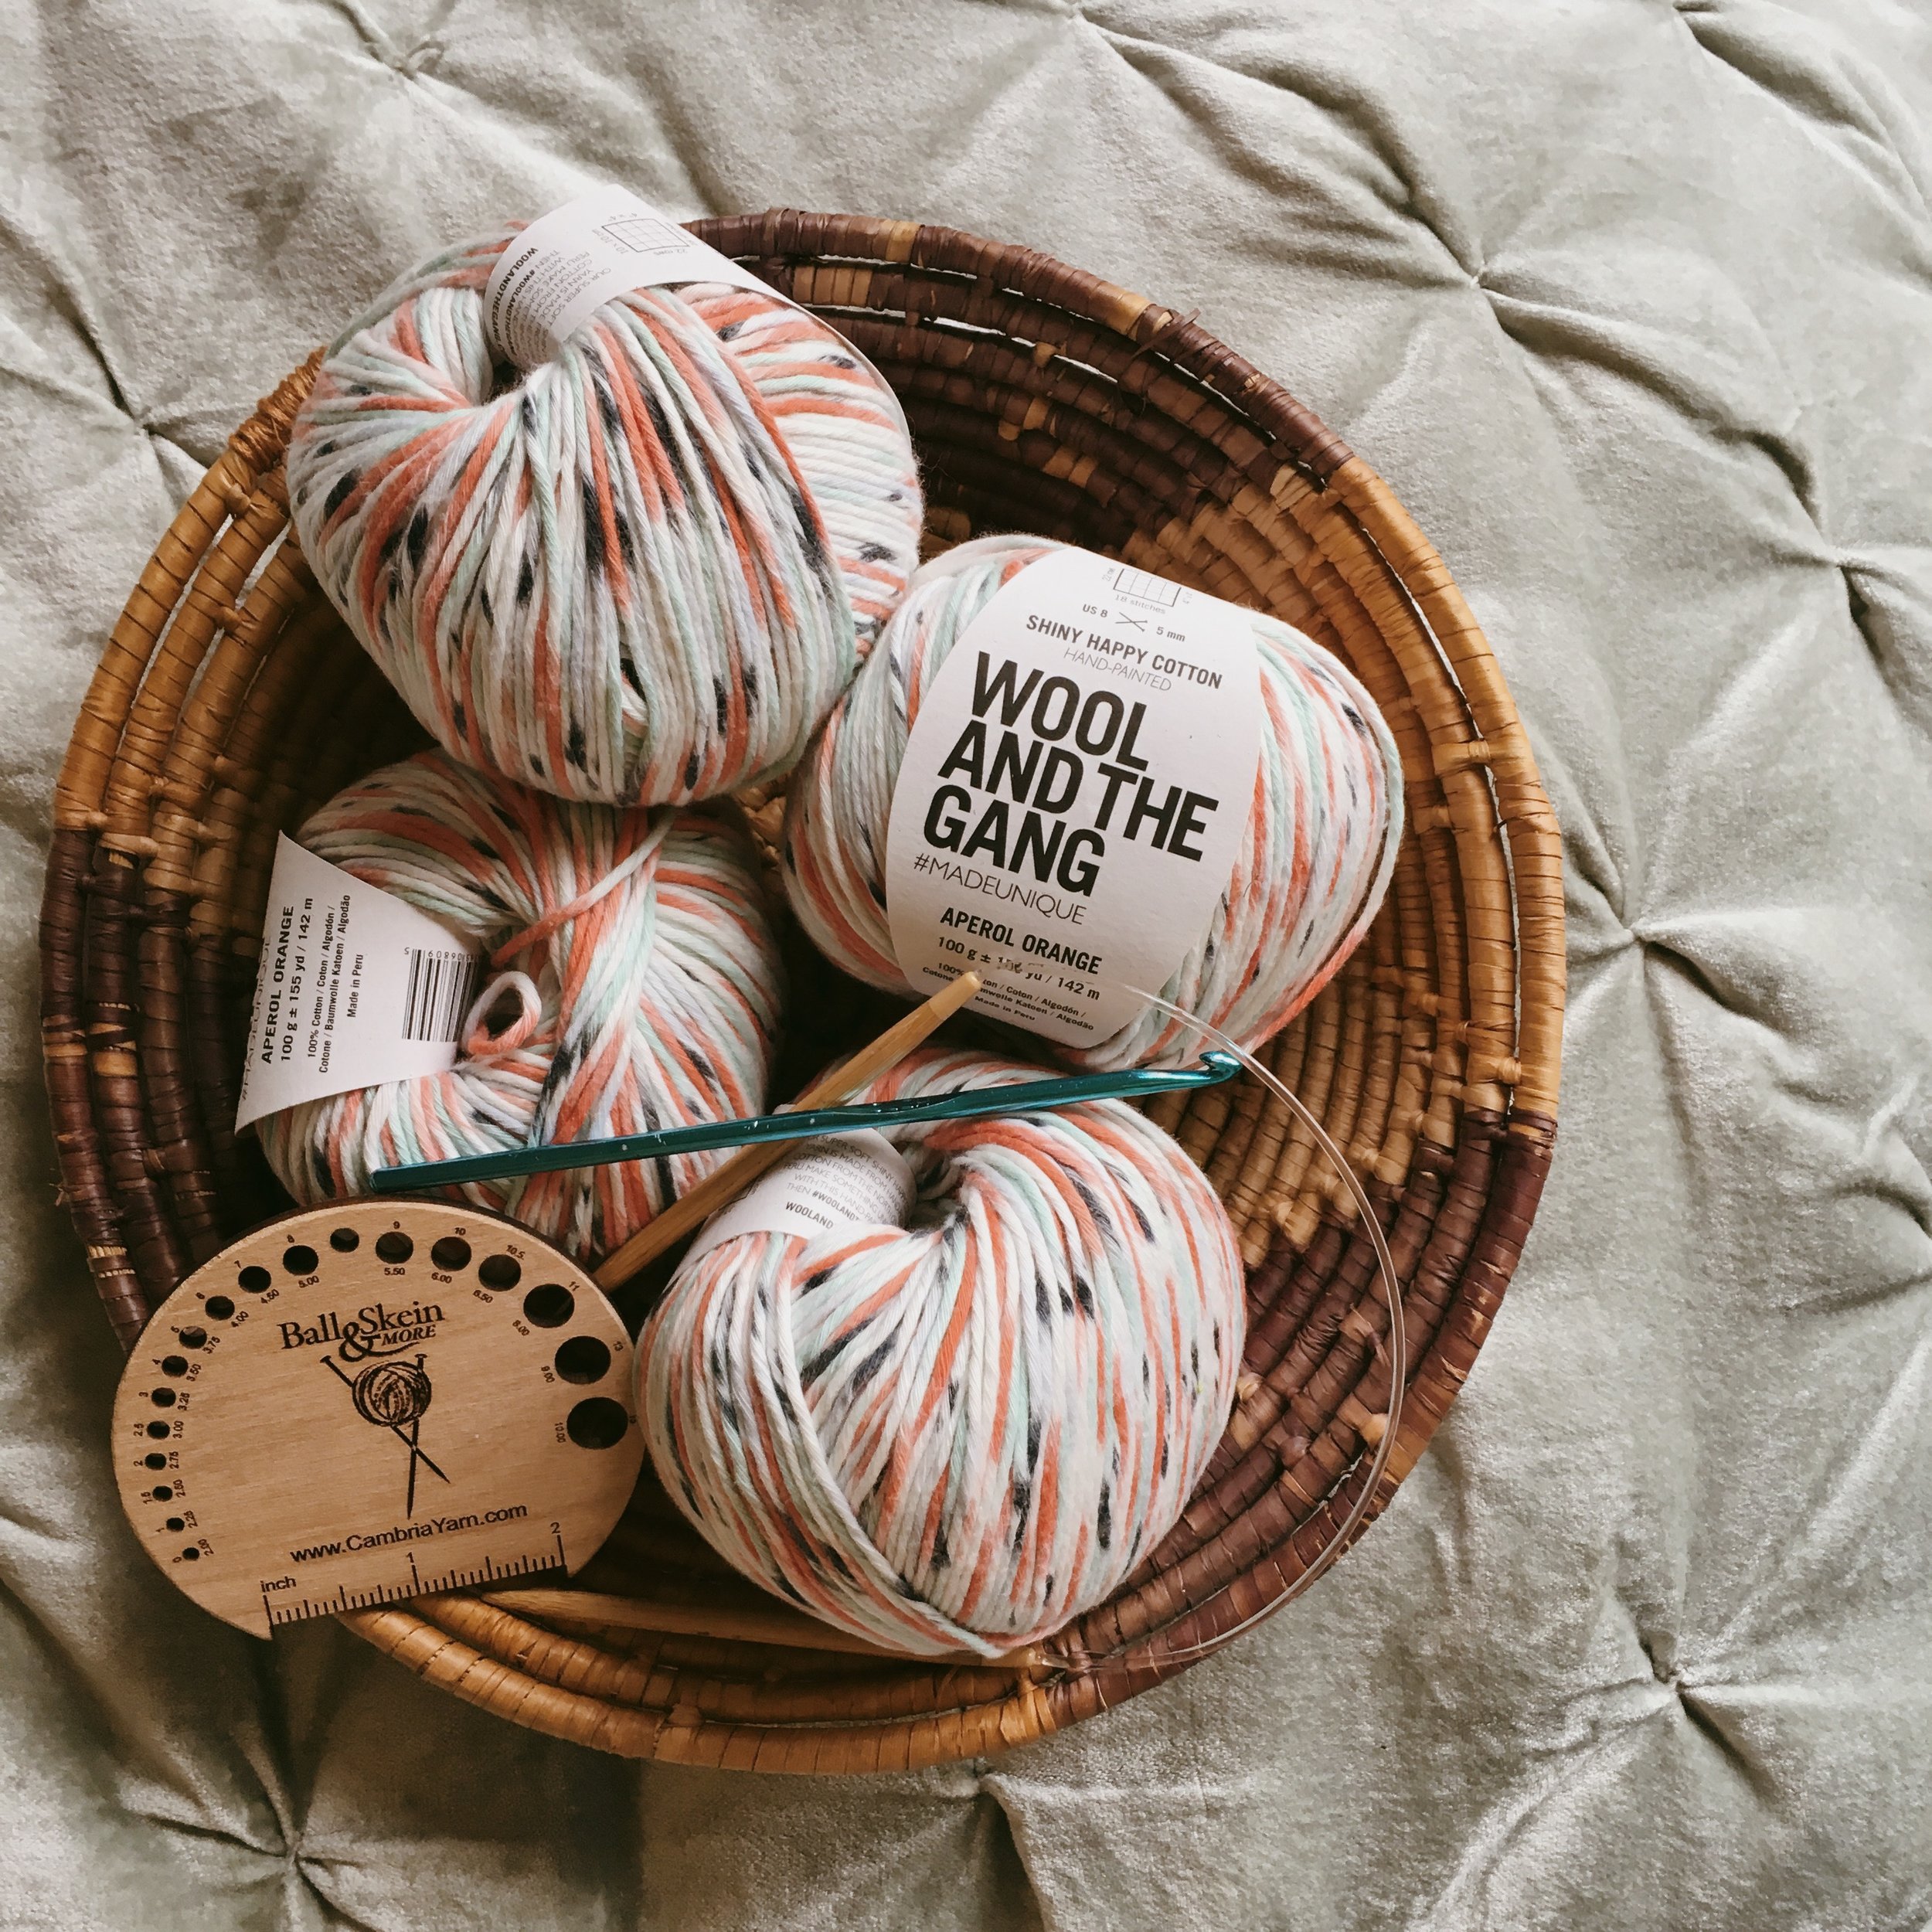
Cotton yarn is my go to for sunny beach day projects because it doesn’t over heat you while your working in the sun like wool tends to do. No one wants a big wool afghan blanket draped over them when it’s 80 degrees out!
I decided this hand painted cotton yarn from Wool and the Gang in color Aperol Orange would be a fun yarn to work up while sitting on the beach. Those colors are fabulous!
First things first, check your gauge!
The more I crochet and knit, the more I understand how important test swatching for gauge really is. Without making a test swatch before you begin your project, your really just gambling that the project will be the size you hope it to be. One persons stitches are never exactly the same as another’s.
Gauge defined: “Stitches per inch times the desired number of inches will determine the size”
Other things to keep in mind while testing your gauge:
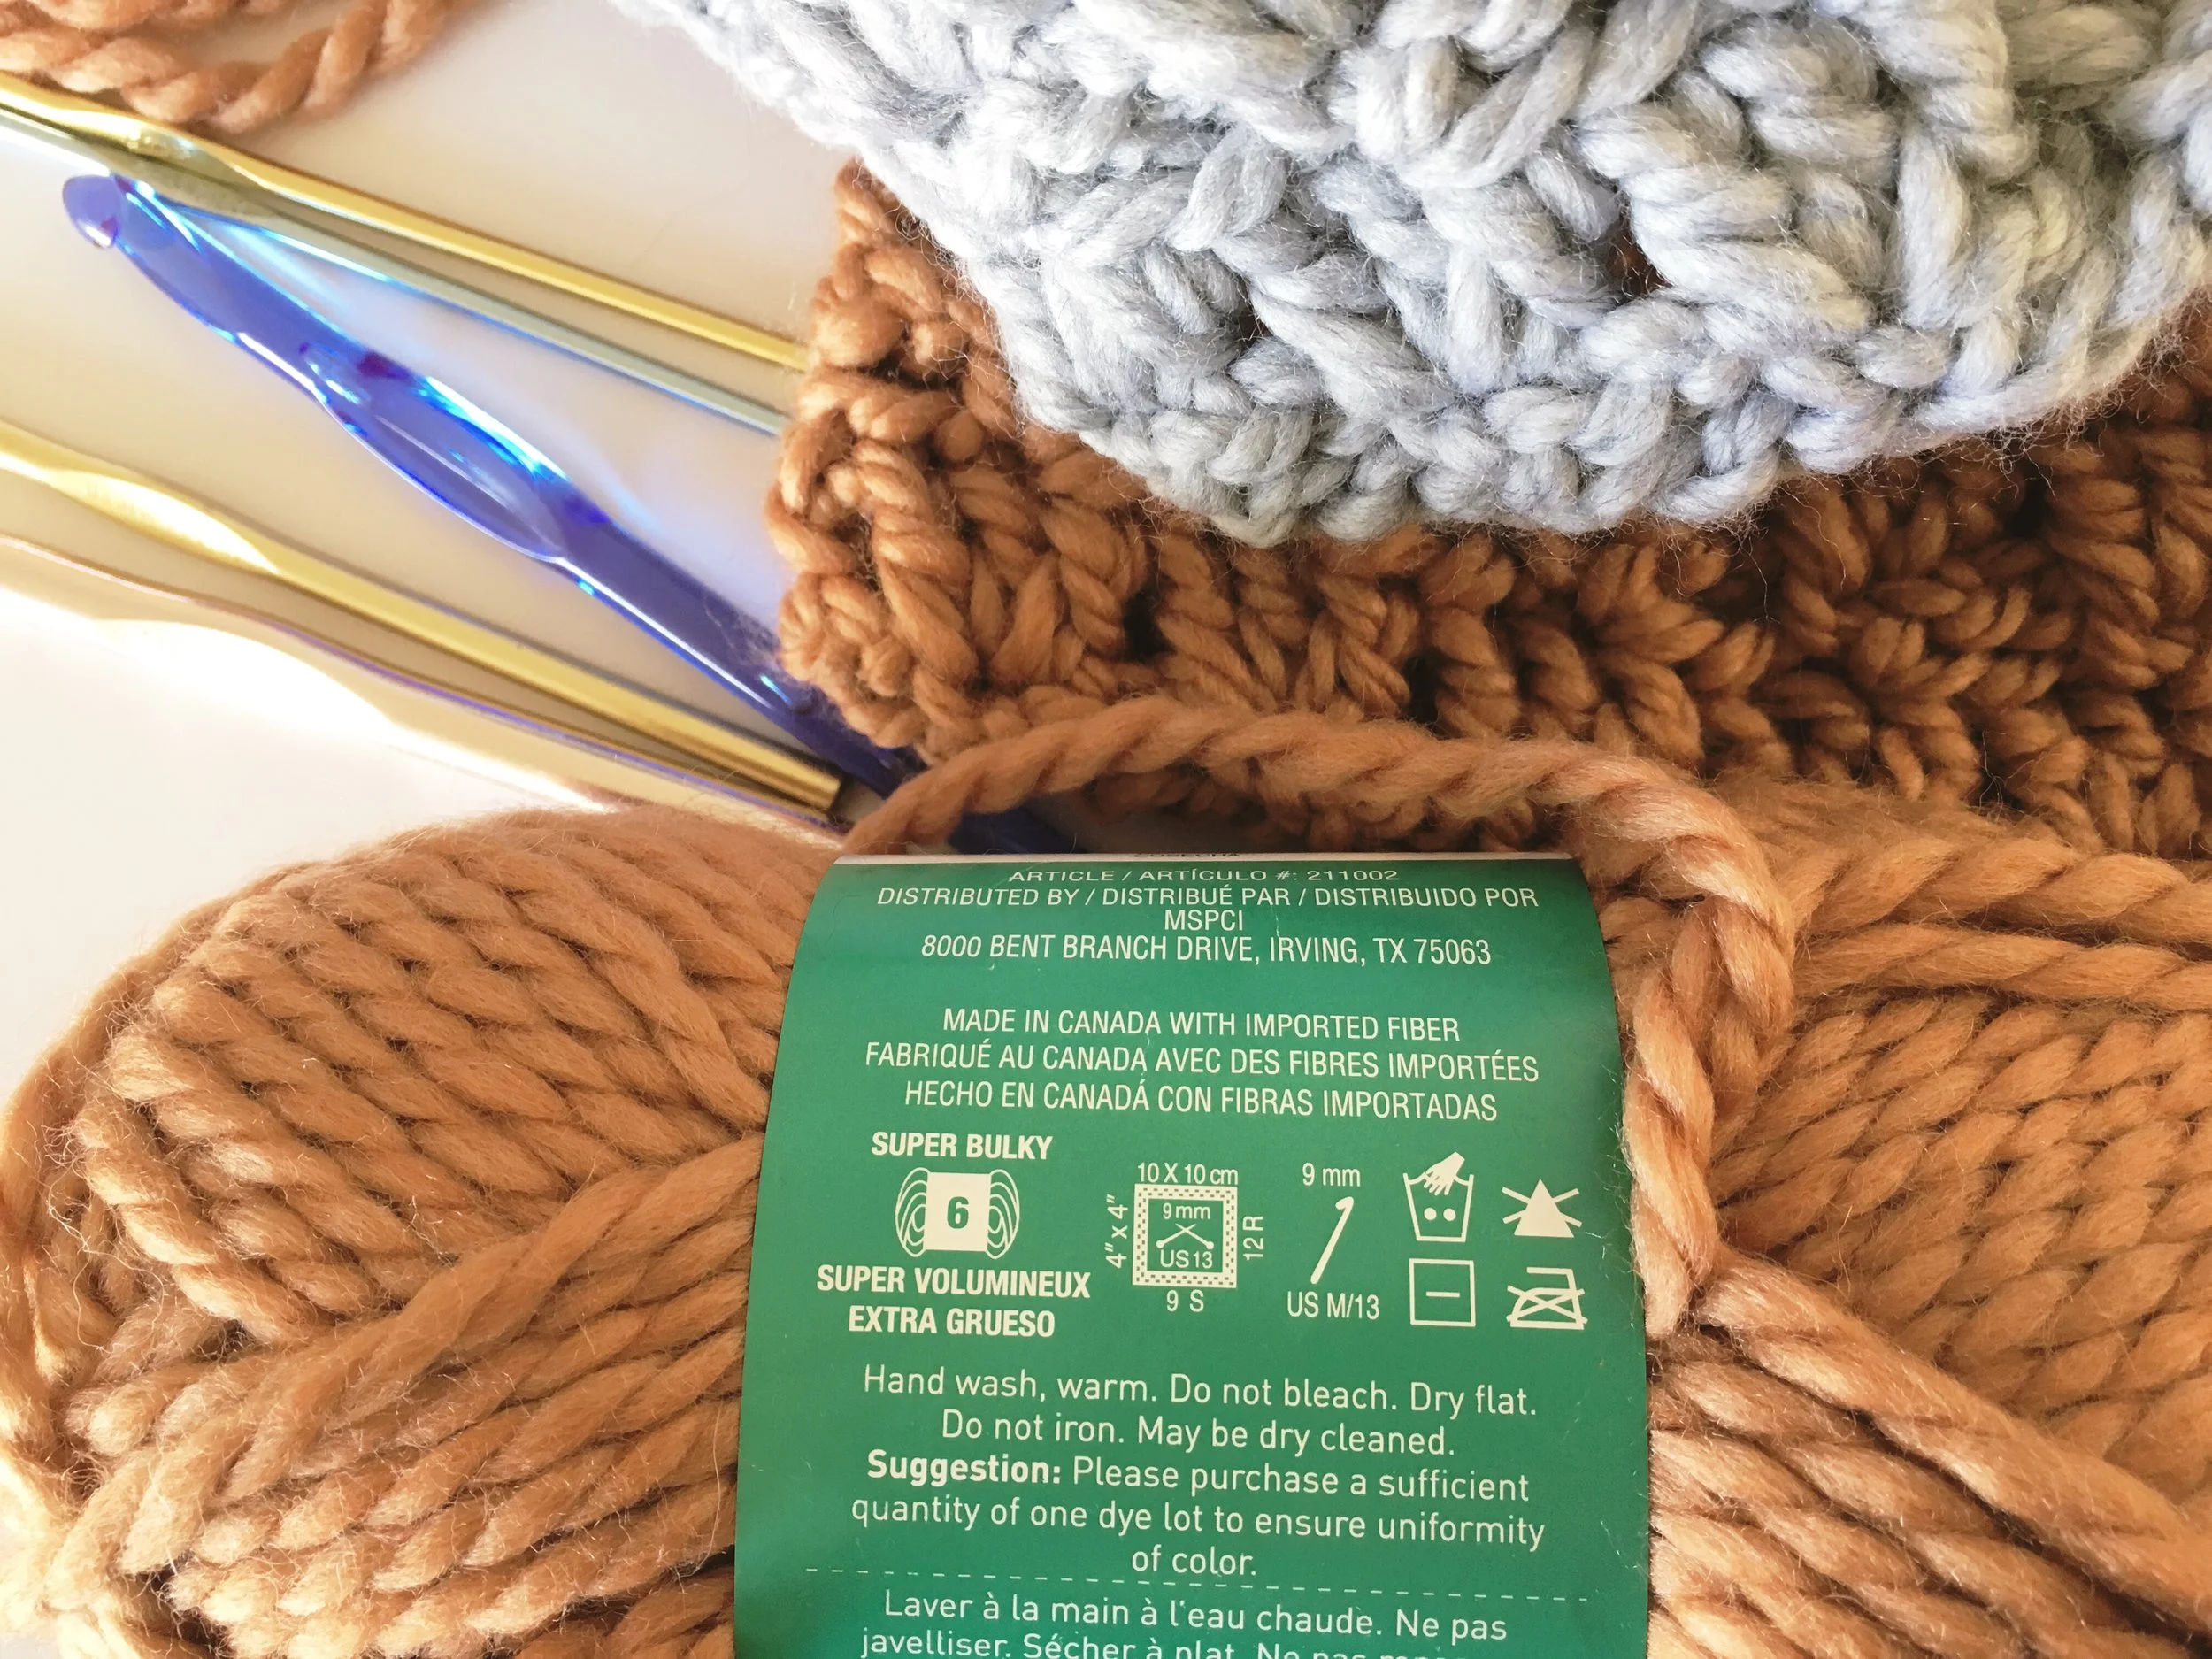
make it on the needles and yarn you will be using for the project
use the same pattern stitch specified
make sure you’re relaxed
must be at least 4” wide
don’t try to count the stitches within the swatch, instead, divide the total number of stitches in the swatch by the width of the piece.
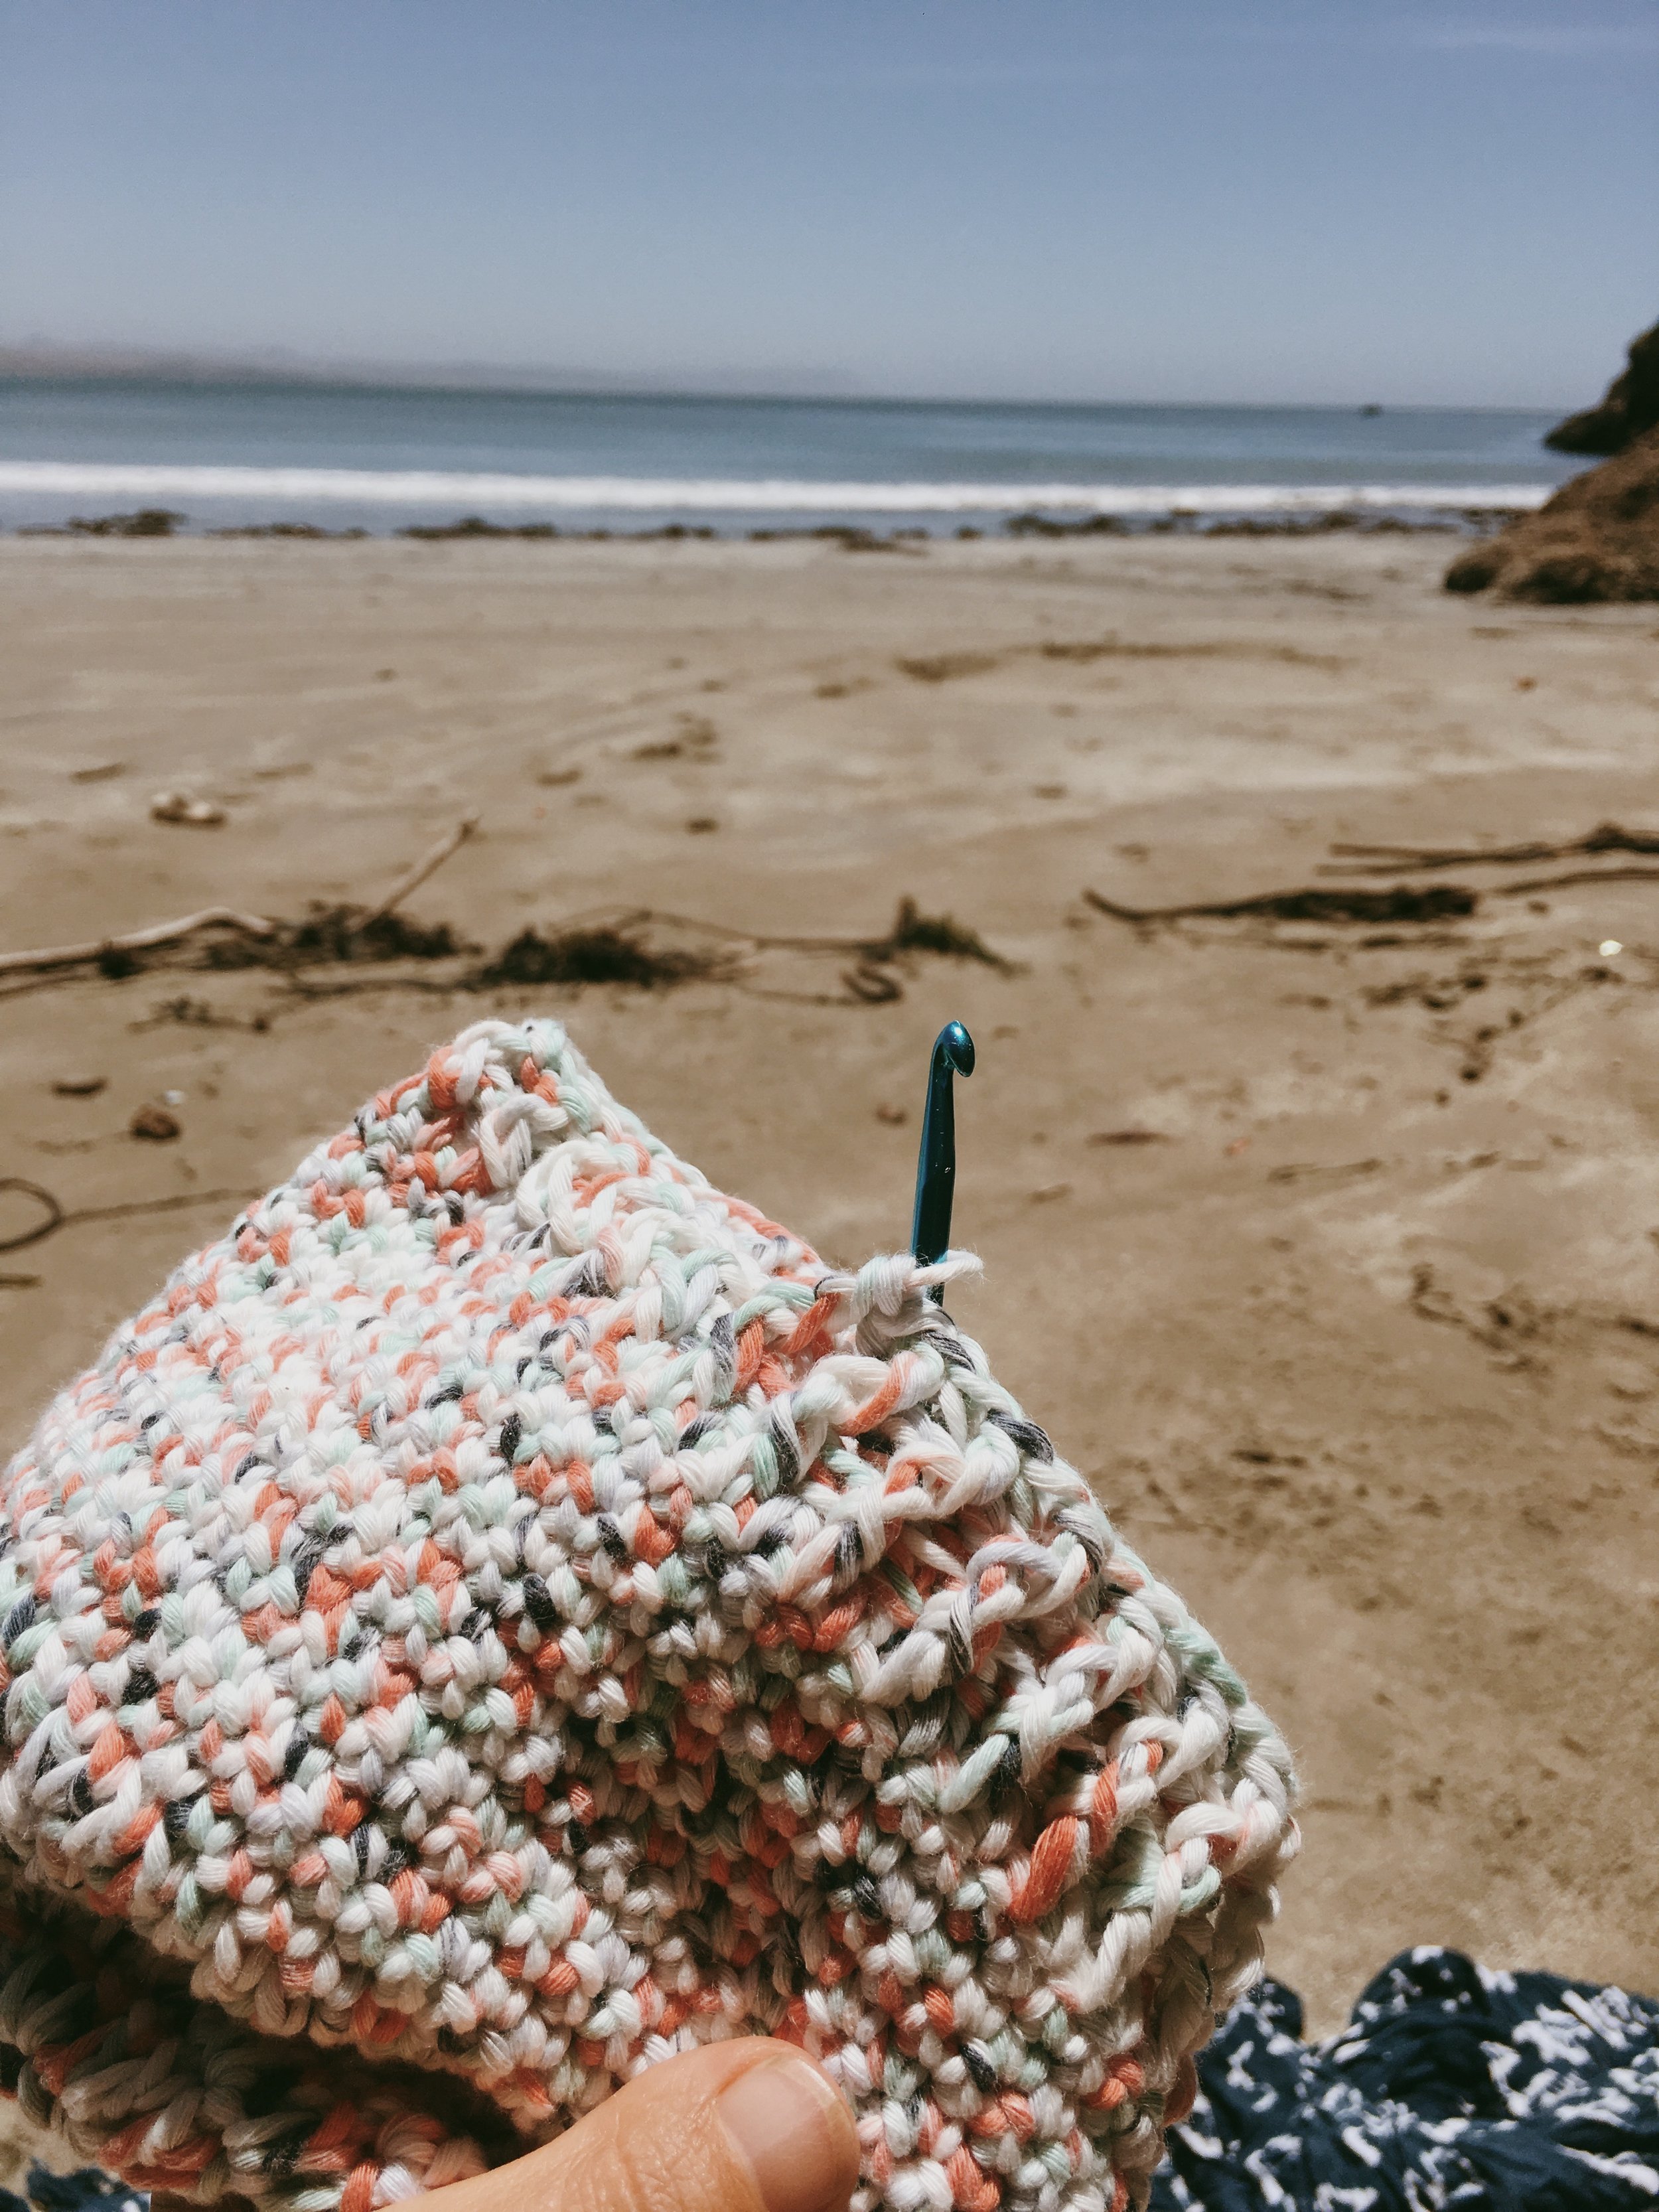
Once you’ve got your pattern, your yarn, the right needles to get the right gauge, you’re ready to hit the beach and start your relaxing weekend baby hat crochet project!
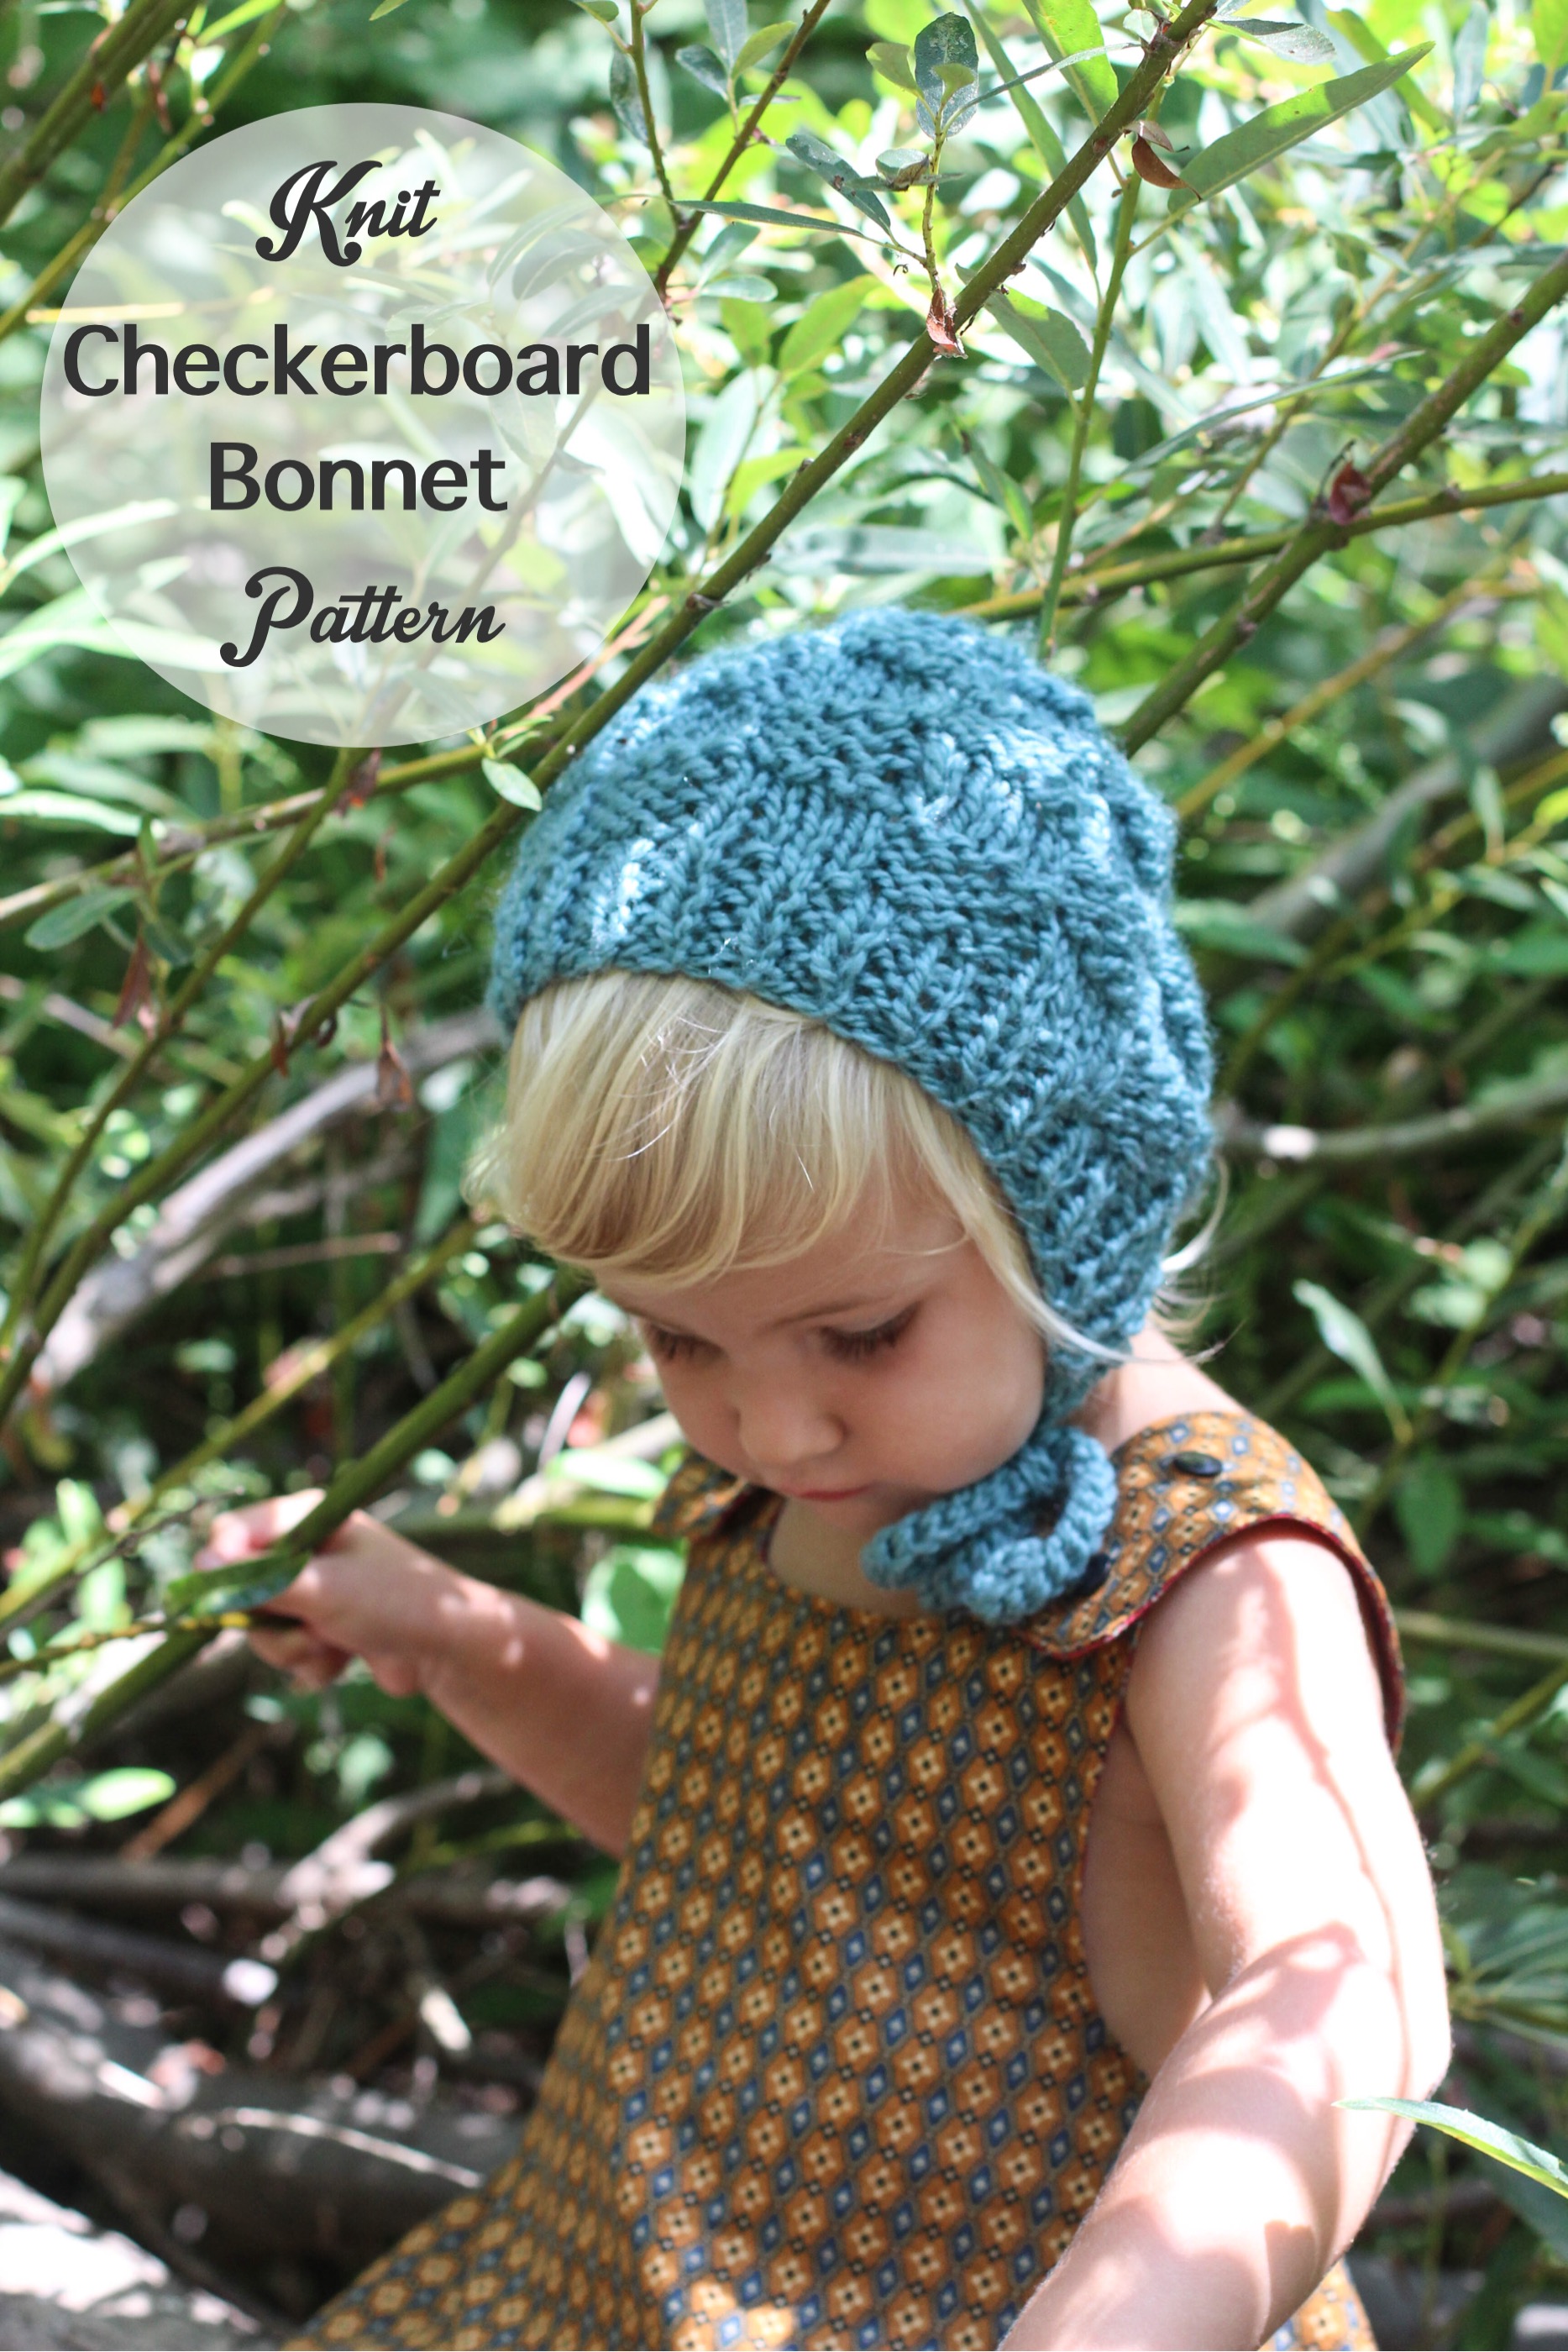
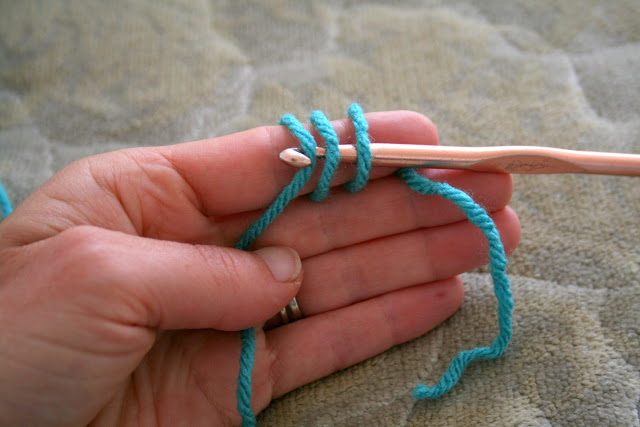
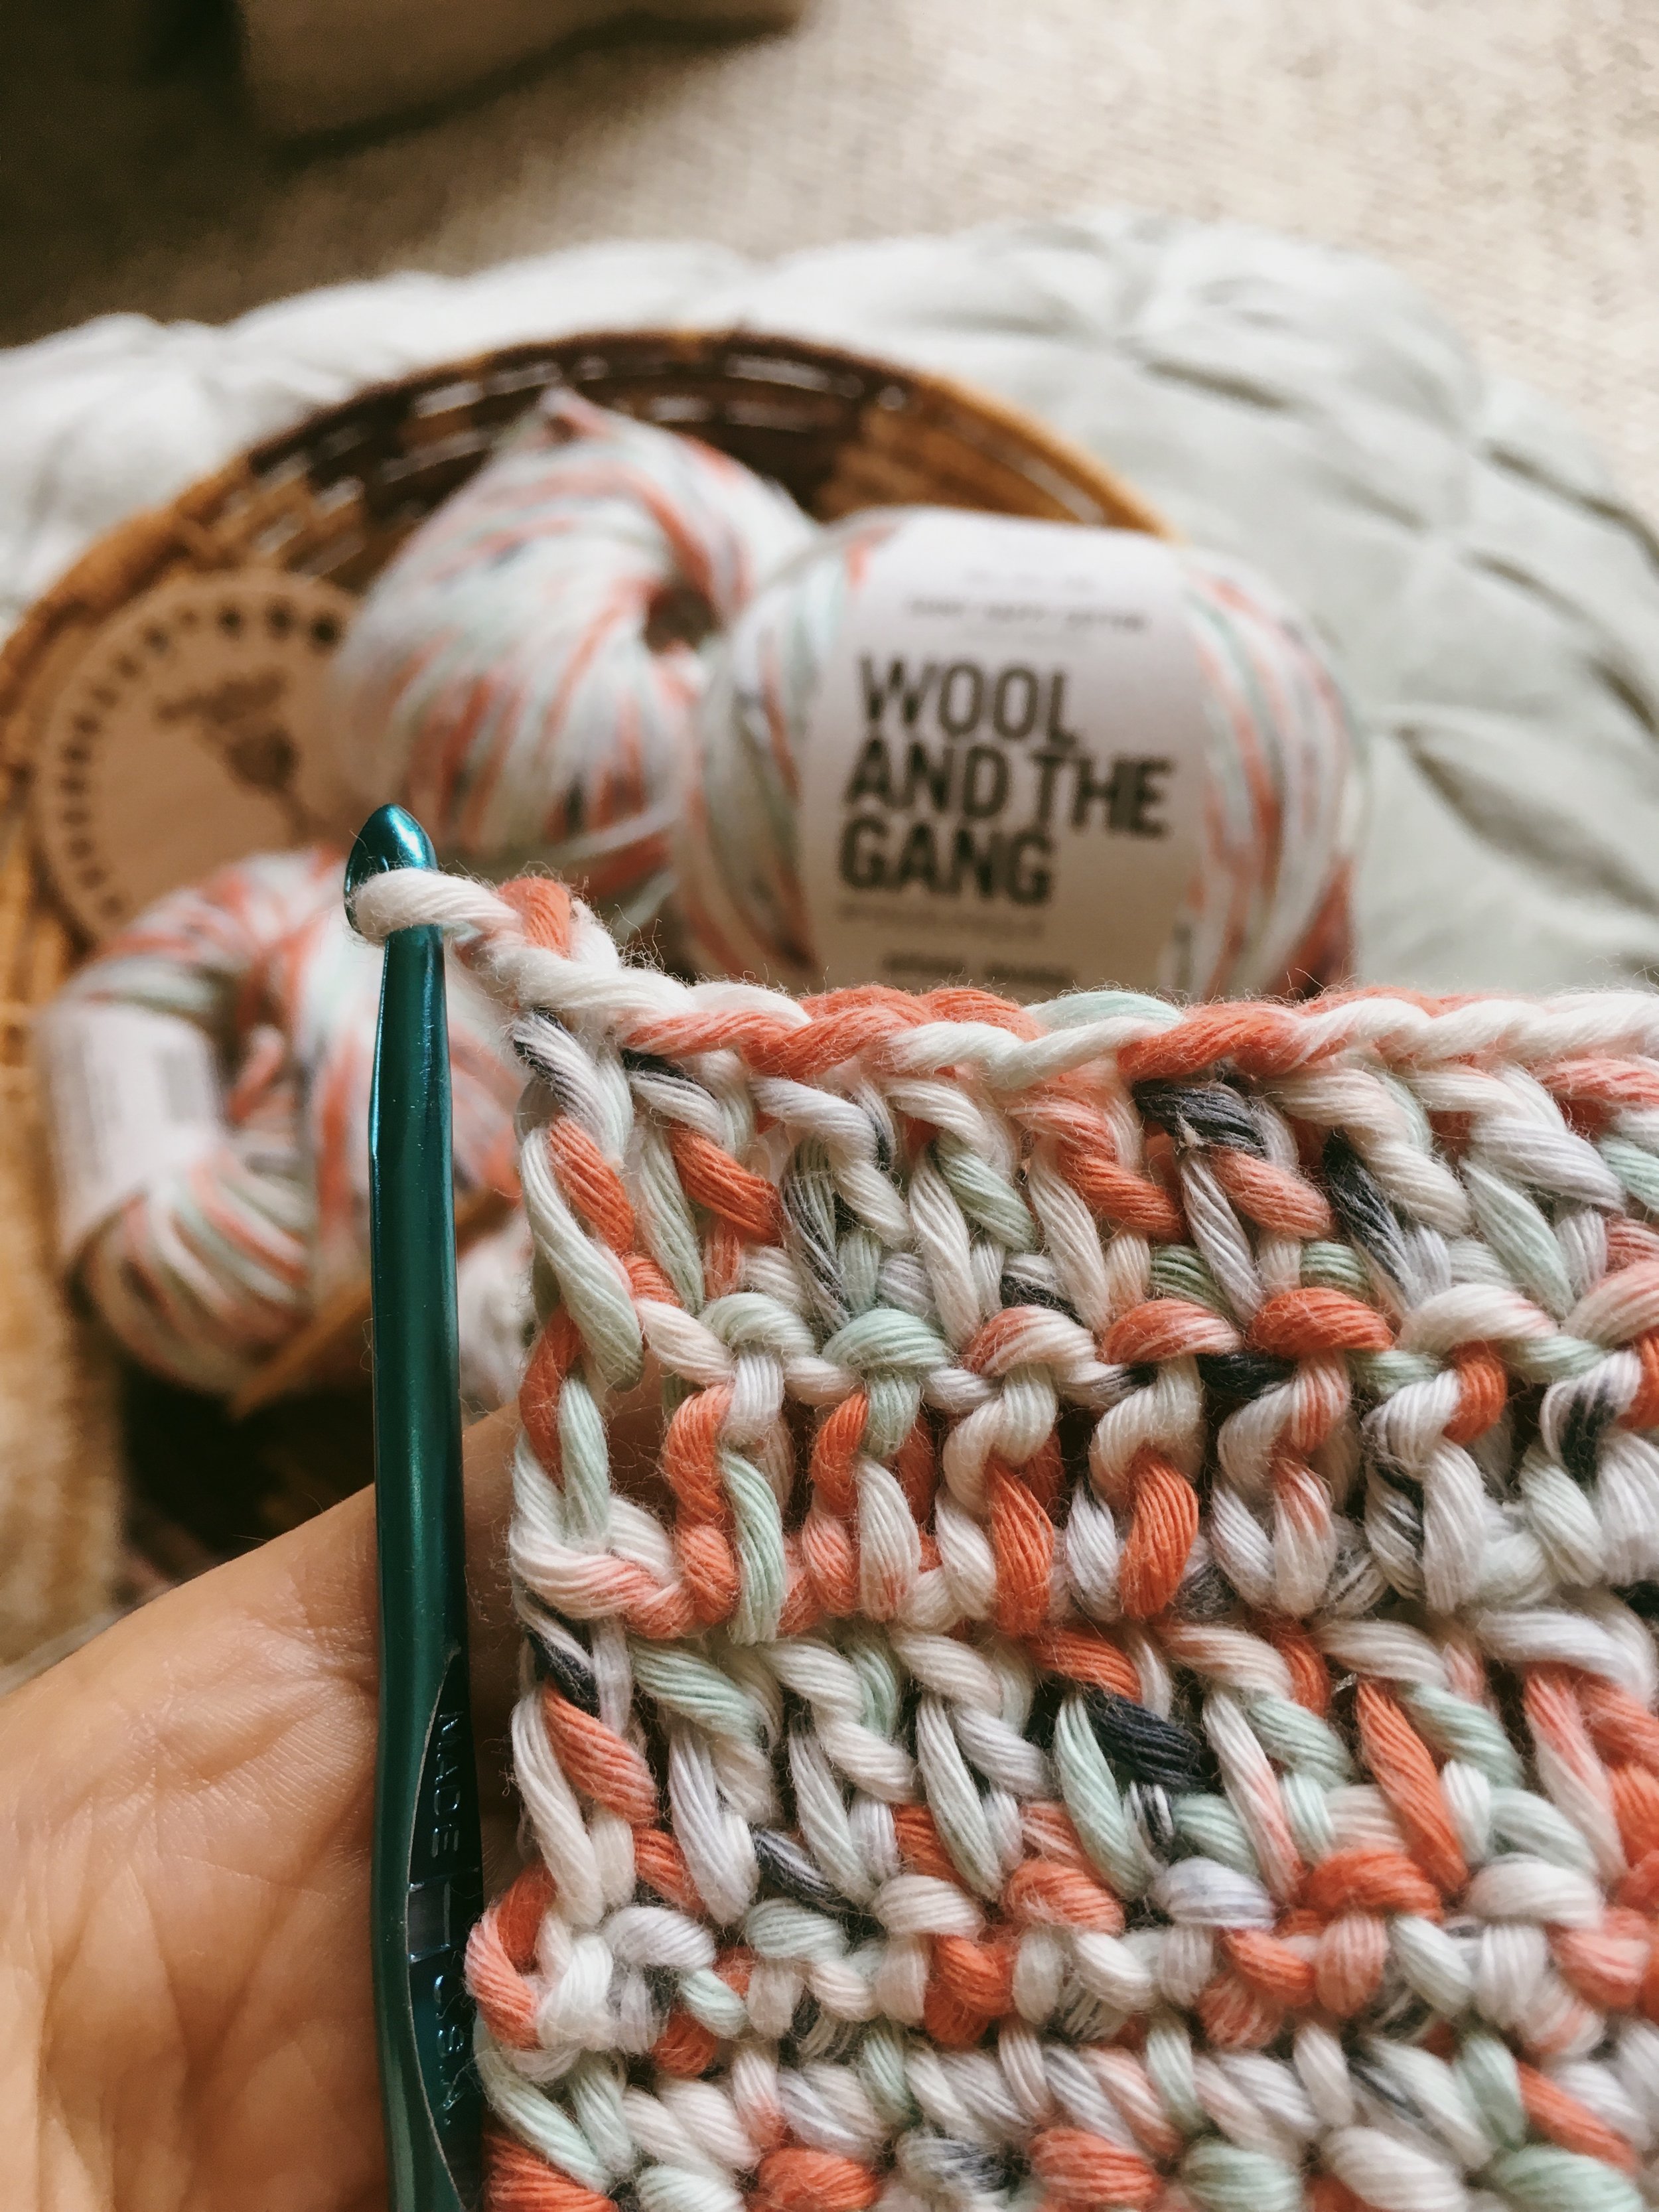
I love this pattern for many reasons, one of them being the simple stitches used to make a functional and cute product. It starts with a magic circle, continues in the round with single crochet, and then the main body of the hat is worked up quickly with a double crochet stitch. The ribbed edging is made by working a version of the double crochet stitch called a “front” or “back post stitch”, which is where you work the double crochet around the post of the double crochet stitch from the previous row, either from the front or from the rear.
Heirloom Crochet Baby Bonnet Pattern

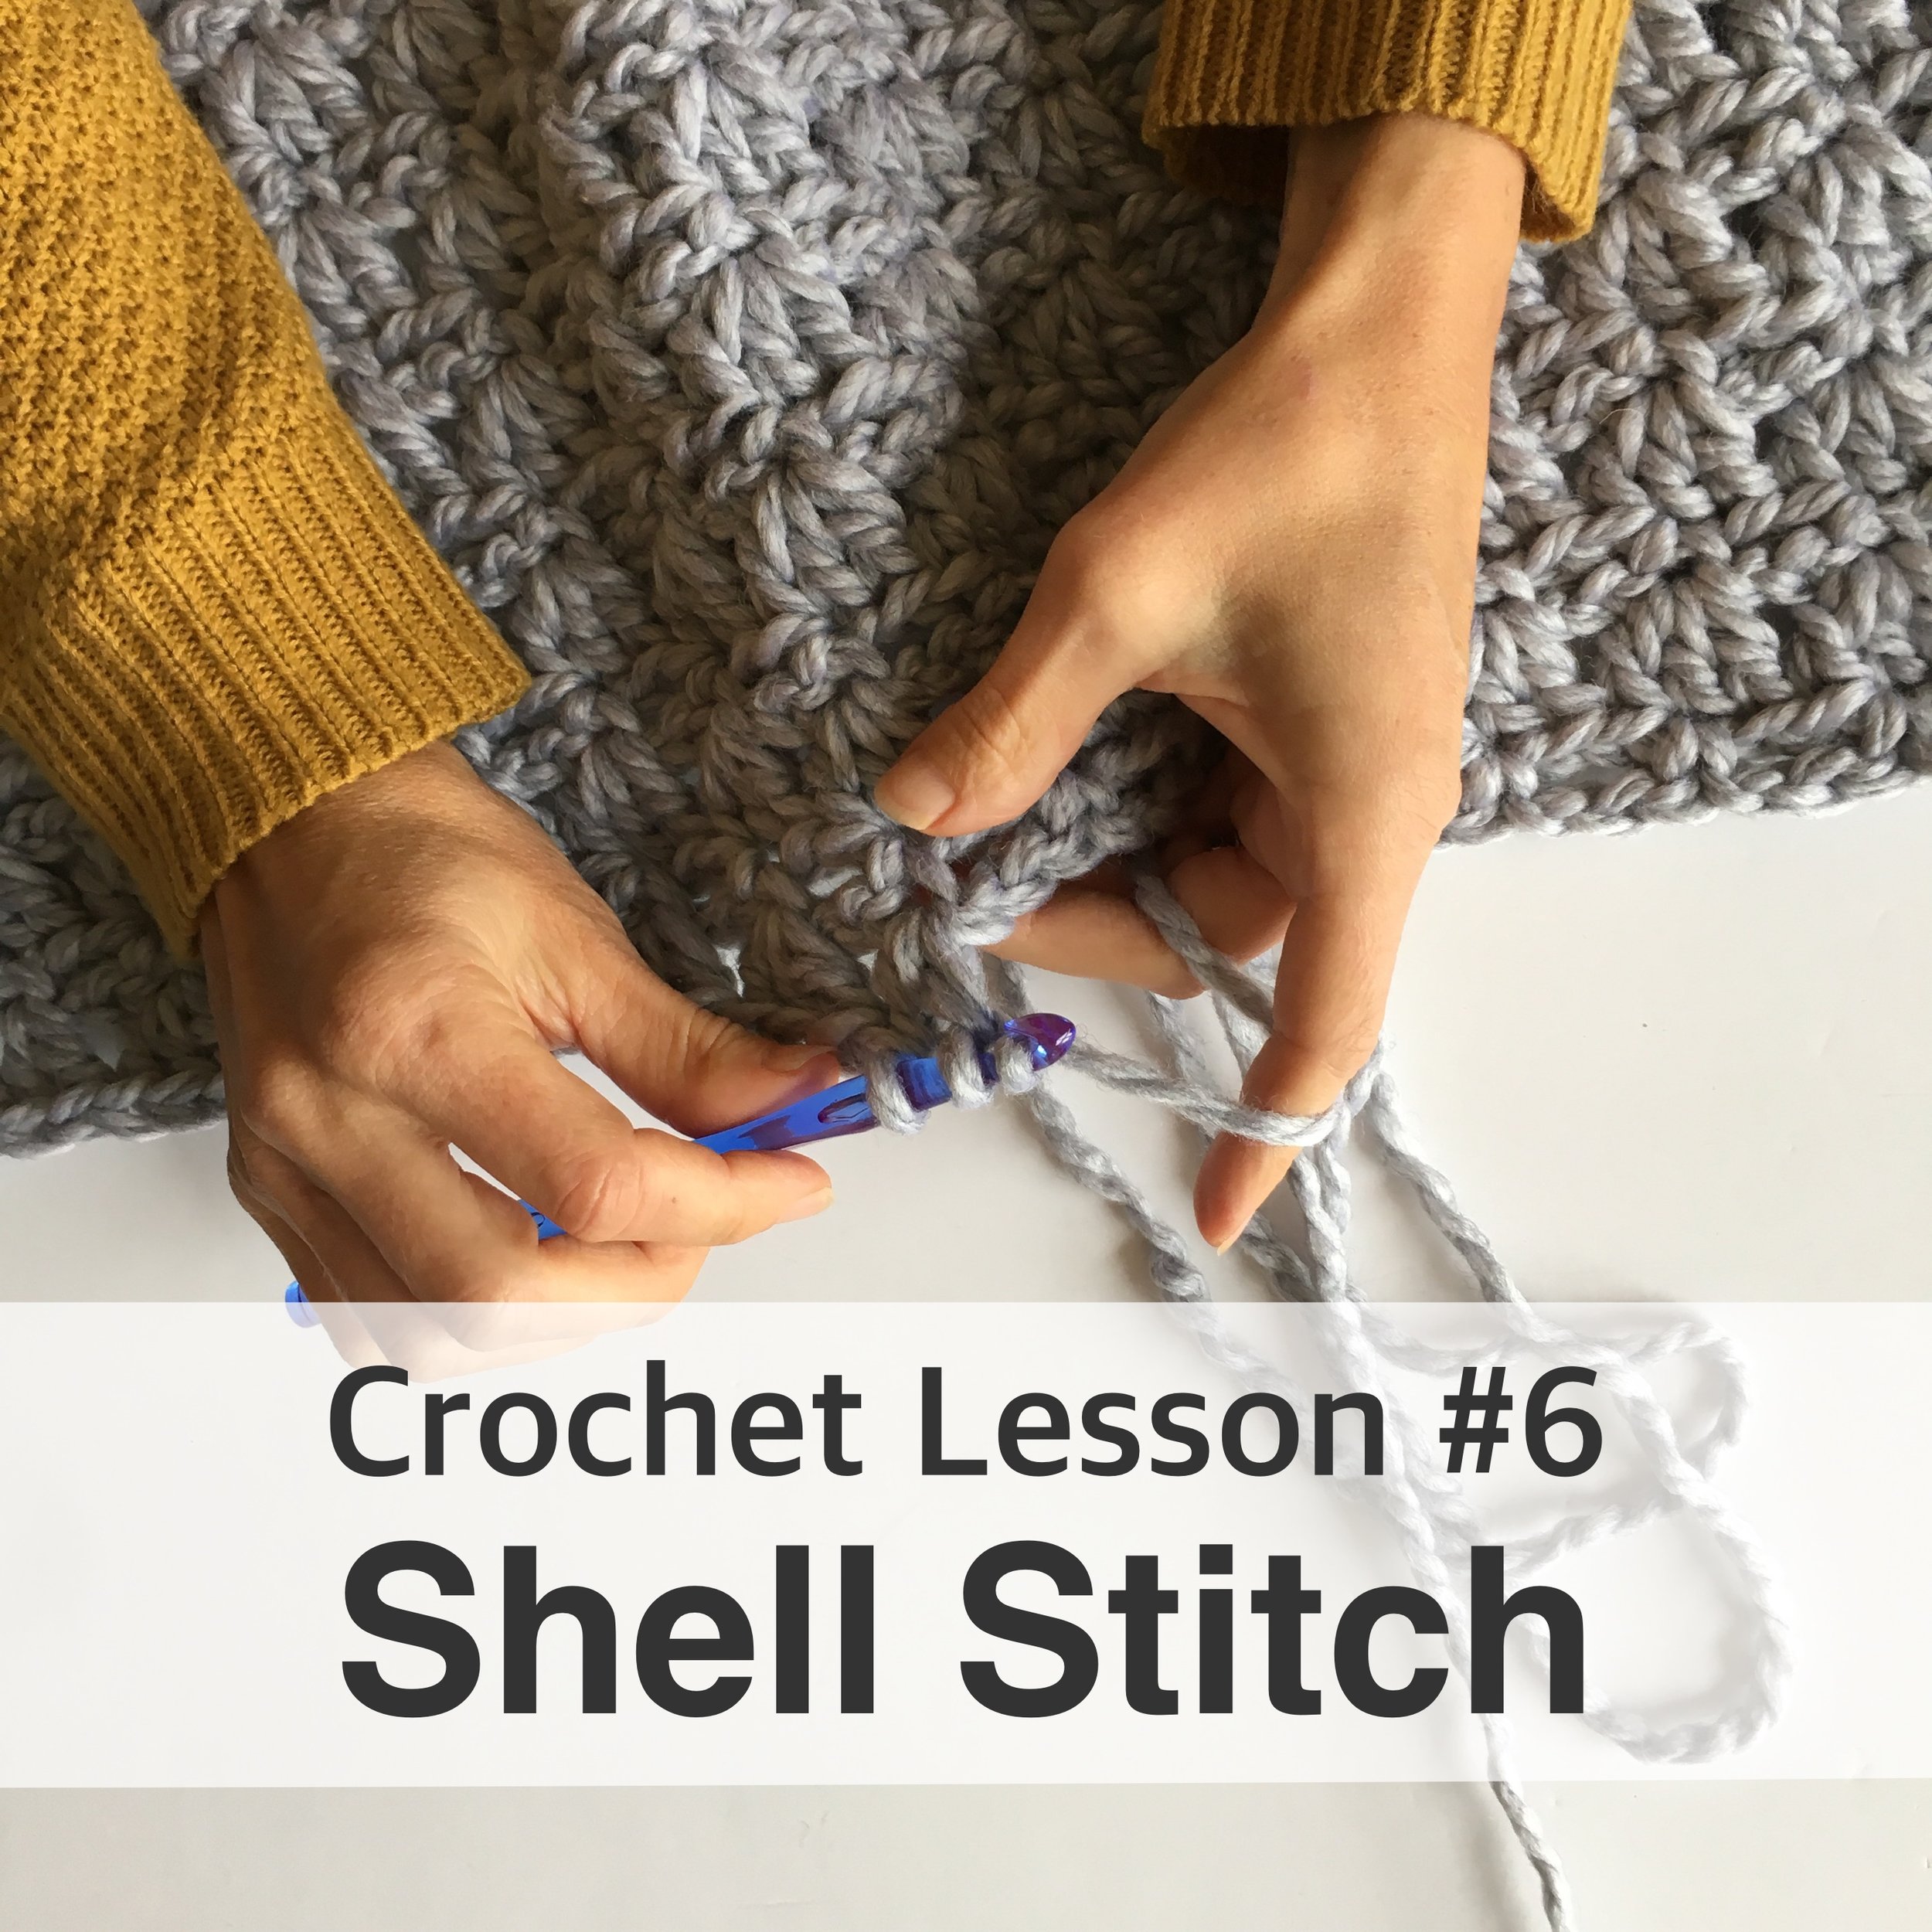
Looking for some help with your crochet skills? Check out my Crochet Lessons series!
You may want to try these fun FREE patterns for crochet and knitting!
Have fun crocheting at the beach!
xo Emily