neon prairie girls

Next week my new sewing class begins.  It's going to be a beginners Embroidery class!  We will be studying early American History this trimester in school, and didn't all those prairie girls embroider?  My little students will learn the basics, and then make their own, modern day sampler.  (neon colors included!)

I was about 8 when I learned how to embroider.  My family was living in Kentucky then, and the winters were long and cold.  After a fun afternoon of sledding, I can remember curling up by the fire and following along with the Reader's Digest Complete guide to Needlework learning all the stitches there were to learn.

I can't wait to relive my fond memories of learning this new skill while I teach those eager modern day prairie girls!

just a few things...

Here's just a few things that have already happened around here, are happening around here, or will be happening around here soon...


1) Already happened: Over our winter holiday, I upgraded our front porch chairs to these plastic adirondack loungers. (A big improvement, trust me). And I made them more comfy and inviting with these super duper easy envelope style closure pillows. This is one of my favorite places to "be" at home.

2) Happening today: We will be making these cute heart garlands in sewing class today. I just love watching the busy little fingers at work!

3) Already happened: I've recently finished a crochet lap blanket inspired by this one. I started it over a year ago. This is not normal for me. I am the kind of person who very diligently finishes every project I start, whether it's a good idea to or not.

4) Will be happening soon: I'm looking forward to playing at least one scrabble game with my good buddy, while our husbands watch the super bowl while our kids quietly play in the back ground. (this may be a bit of exaggerated bliss, but my rose colored spectacles are usually not far out of reach)

Have a good weekend!

button craft


This Friday in sewing class the kids are going to do some button work. They just love buttons! Why is that? When I get to the button sewing part in whatever project I'm working on, I'm usually not that eager. But these kids could sew buttons all day long.


What I have them do is draw an outline shape onto their felt, and then fill it in with buttons to "color" their picture. This craft very much reminds me of one of my favorite Queen Bee Market vendors,Audra from Smitten. She makes some beautiful button art, along with restoring great vintage items.


It's also a great way to use up that huge can of buttons you have in the cupboard!

sewing lessons :: needle book

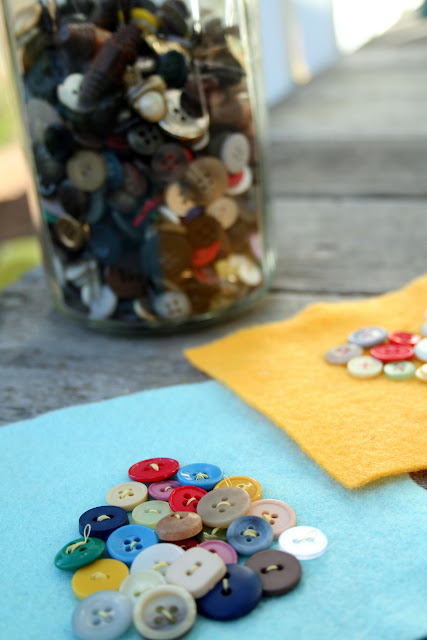
I will begin teaching my 4th session Beginning Hand Sewing class this Friday. I just love this class! The students are kinder through 2nd graders (girls and boys!). I've been learning alot about how to teach this craft I love so much. Keeping the projects simple (with room for my advanced students to grow), and keeping my expectations realistic have been my main focus as a teacher. We use mostly felt for our projects which is so easy to work with and comes in amazing colors.

I often start each session (an 8 week course) off with a simple needle book. The kids love being able to create something they can use. This needle book shows them the importance of using a pattern, how to pin, and of course, the fun part, sewing!

Simple Needle Book Tutorial


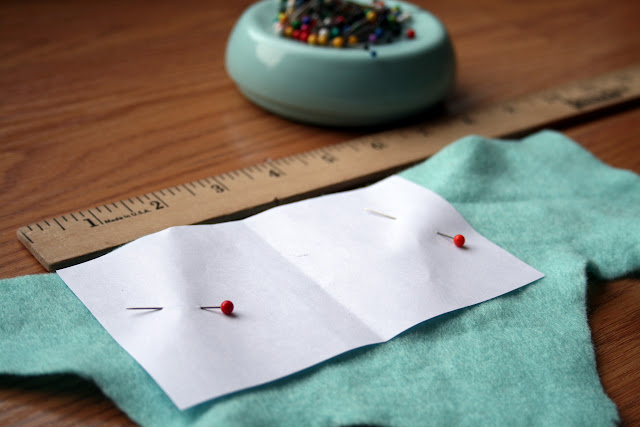
1. We start with a paper pattern roughly measuring 5" x 3".
Pin that to your fabric (felt).
Do this 2 times so that you have two pieces of felt measuring 5" x 3".


2) I cut a small amount off each edge of my inside piece. Then lay one piece on top of the other and pin at the center line.


3. Sew both pieces together at the center line (right along the pins).


4. Cut a small rectangle about 1/2" x 2" out of felt. Sew this to the middle of the outside opening edge. This will be the button hole flap.


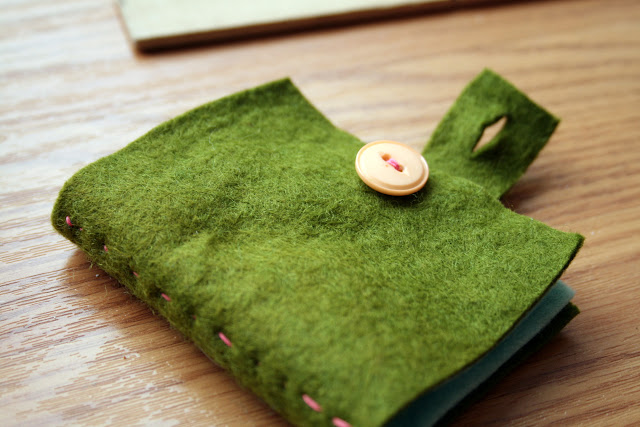
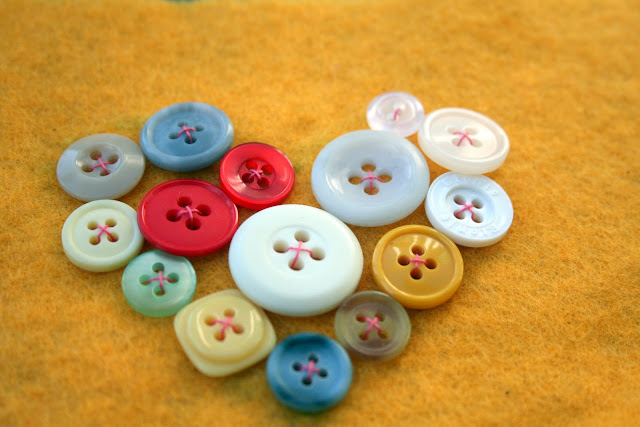
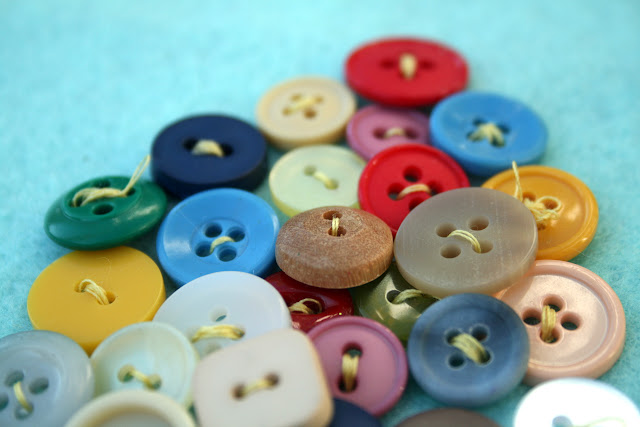
5. Sew a button on the other top opening edge. Cut a slit in your button hole flap (this is your button hole).


6. Now your book is complete! At this point, any children who get done early can embellish their front cover however they like.


When the book is done, the students get to keep their needle and pins tucked away for next class!

surf lessons


One of the perks of growing up with a daddy who is part fish, is that you get to play in the ocean, ALOT. Ruby is a good strong swimmer, can boogie board for hours, and can even ride a small wave all the way in to the beach.


Ginger is a bit more timid than her big sister. She's not as comfortable in the water.....yet, but I have a feeling she too will be a surfer girl someday.

Thanks daddy for being such a fun, willing teacher. And for spending so much time with these little mermaids!

a moment of thanksgiving


This cold I've been fighting all week has finally taken over.

I'm thankful for the long weekend ahead to recover.
I'm thankful my husband will be home from working far far away from home.
I'm thankful for the wonderful week I had with my mom who came to visit.
I'm thankful I'll be teaching a small class of kids sewing again.
I'm thankful I'll also be teaching a crochet class.
I'm thankful for the sun that soon will be shining on my house, as soon as all this summer fog goes away.
I'm thankful for these orange flowers that live down the street.

camera challenge{d}


i don't know about you, but i'm rather camera challenged. i am very often NOT pleased with the pictures i take. but i'm getting sick of complaining about my weaknesses, so i have a plan!

i'm setting up a camera challenge for myself, and anybody else who wants to follow along. now i'm hoping that those of you who are also camera challenged will follow along so that we can learn together, and those of you who are have victory over their cameras can lend pointers and be our cheerleaders!

i want to use this challenge as a way to learn about the science of photography (i.e. iso speed, shutter speed, aperture, etc.) and also as a way to work on composition and subject.

here is our first assignment:
  • find your camera user guide.
  • learn how to set your camera to the manual setting.
  • learn how to adjust your iso speed, aperture value, and shutter speed.
  • take a ton of test photos playing with these new settings.

that's it. nothing fancy today. just exploring the camera itself. and starting to get a feel for how these 3 elements (iso, aperture, shutter speed) relate to each other and to the end product.

i also want to make a point to read this article, over and over again if necessary, until it makes sense.

**note: i am using a canon power shot A620, just a regular old point and shoot digital.**

laughing and stenciling


what a super fun time i had the other night at my buddy ginger's house!
she was celebrating the end of a very busy season for her
by having a handful of crafty friends over to learn along with her the art of freezer paper stenciling.

ginger may possibly be the funniest person i've ever met.
i don't know if i stopped laughing the entire night!
we had a fabulous meal, a fun tour of her studio,
and learned a new (totally doable) craft.

i have seen this craft recently explained on emily sparks blog
(who is very adorably pregnant).
and i'm sure there are a hundred other tutorials out there.
although, i really do enjoy the in person tutorial, myself.

knowing i was just going to be learning,
i decide to make a few very simple patches to sew on to my girls' library bags.
the girls were pleased.

thanks ginger for the fun night! and kristina for showing us all how!!

robin hood in lincoln green felt

i was so excited for our sewing lesson this week. robin hood hats!!
what makes this extra exciting for my students is that they have all been reading and studying robin hood in their regular classrooms this past month.

i don't know about the rest of the kids, but my girls have been having their fair share of bow and arrow shooting and sword fights at home. the hat will make a perfect accessory.

i found a simple tutorial here.
i scaled down the measurements to a 20" diameter, and 10" radius.
once their pattern was cut, all they had to do was a simple whip stitch on one seam, a tack on either side of the hat to hold up the flaps.
insert a feather.
done.

i loved watching them all leave the classroom with their lincoln green caps on.
ready to battle prince john.
robbing the rich.
stuff like that.

lessons

sewing lessons have started up again!
this time around i am really going to try to document the precious treasures the kids are creating.

the class has about 10 kids from 5 to 9 years old.
i even have a couple boys who are so very enthusiastic about there creations.

each meeting i try to bring an idea that the kids can finish in that hour.
the projects need to work for boys and girls, be adaptable to a range of abilities,
yet allow the student to learn how to exercise their imagination muscle.

i have been getting project inspiration from the crafty crow and sewing school.
both a wealth of knowledge.
but, i would welcome any ideas you have to share.


first lesson done

well, it's all behind me now. the first lesson is done.

thanks so much all y'all for sharing your love, hate, and want to love of sewing.
thanks for all the good ideas, the great memories, and the courage.

the lessons were a bit overwhelming for me, but a must. i am still really excited to get in there again next week, but with a slightly different approach than the "winging it" approach i started off with.

i am going to enlist a couple helpers who's sole purpose is to thread and knot. that will free me way up to spend time with each kid in developing there own stitching style.

streamline, basics, think 30 years ago, think do re me.

lessons


tomorrow i start teaching sewing lessons for the very first time. i will be teaching two different classes. the first class will be 5 to 8 year olds, the second class is 9 to 17 year olds. i've got no major plans here, just winging it until i have a good feel of what these kids know and what they want to know. my one goal is to get them to LOVE sewing.

what was the turning point for you? when did you decide you loved or hated sewing?